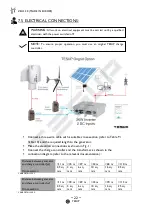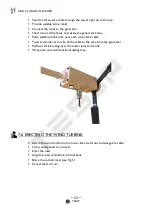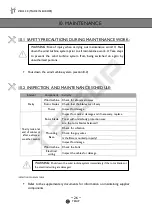
ZEUS 3.0 (MADE IN EUROPE)
~ 20 ~
TESUP
7.3 UNPACKING THE COMPONENTS:
▪
Carefully open the packaging.
▪
Check the shipment for completeness (refer to the shipping documents).
▪
Separate the packaging material and dispose of it in an environmentally responsible
way.
7.4 ASSEMBLING THE WIND TURBINE:
Turbine Assembly:
▪
For installation, select sheltered place.
▪
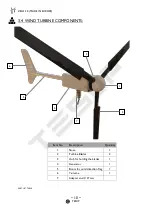
Hold propeller blade (1) with flat side to hub (2).
▪
Fasten with a M8x45 bolt, nut and one.
▪
Screw on further M8x45 screws and tighten by hand.
▪
Attach boom rod (3) with M8x60 bolt to alternator housing.
▪
Screw nose (4) to hub with M8x75 screw.
▪
Screw wind vane (5) to boom with M8x60 bolt.
▪
Plug - in pin 37 mm as mast connection
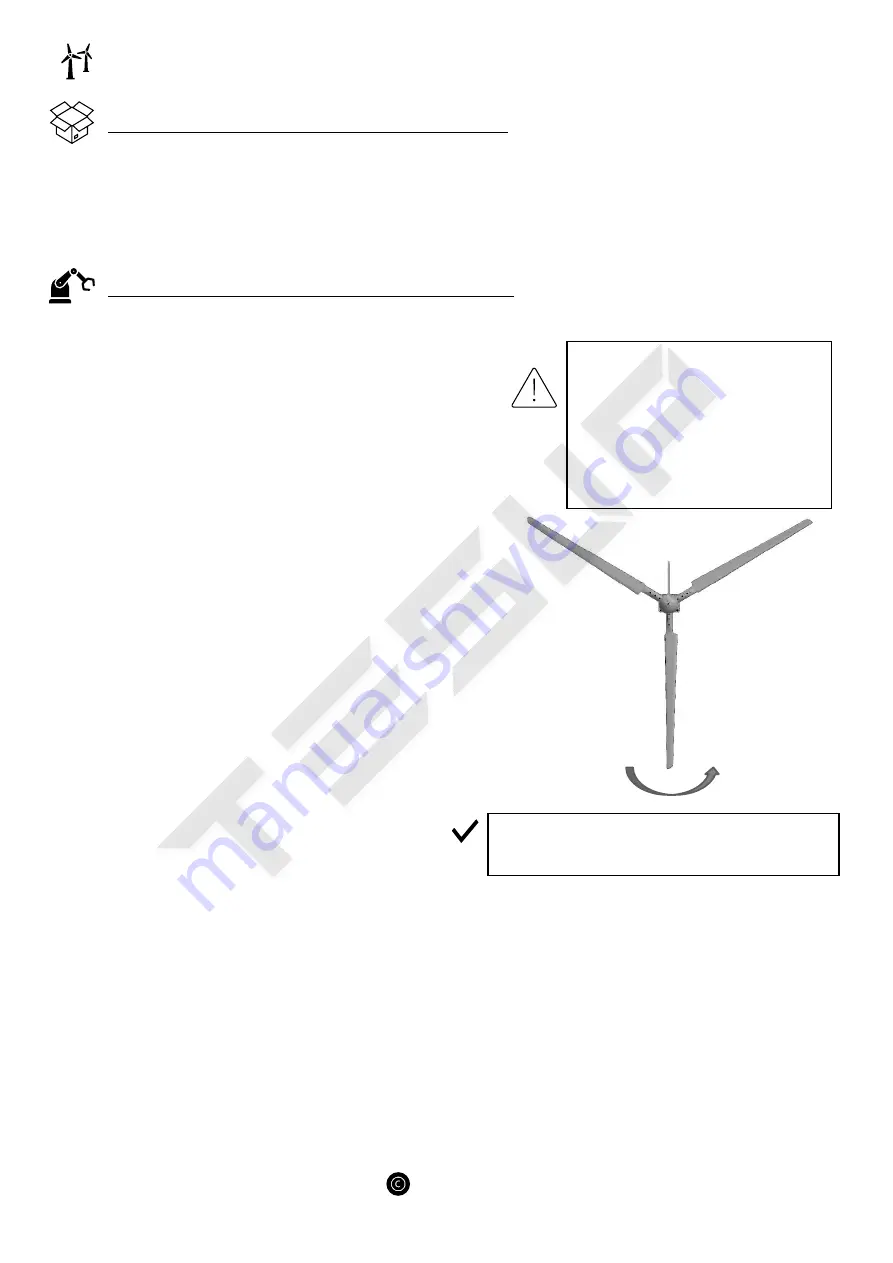
Balancing the rotor:
▪
Move rotor to Y position (see Fig. 7)
▪
Carefully release rotor blade.
▪
Observe in which direction the rotor turns
(the heavier rotor blade pushes downwards).
▪
Repeat the process for all three positions
to determine which rotor blade is in imbalance.
▪
Check reveller for balance
▪
Tighten all screws to 25 Nm.
▪
Check balance again.
▪
Secure all screws with locking varnish.
WARNING:
Choose an assembly
site which is sheltered from the wind.
The assembly process requires calm
weather conditions.
Always replace the complete set of
rotor blades.
NOTE:
Note: The repellers have already been
tested for equal weight by the manufacturer.
Summary of Contents for ZEUS3.0
Page 2: ...ZEUS 3 0 MADE IN EUROPE 2 TESUP A GLIMPSE OF ZEUS 3 0 ...
Page 12: ...ZEUS 3 0 MADE IN EUROPE 12 TESUP 4 1 1 POWER CURVE POWER CURVE ...
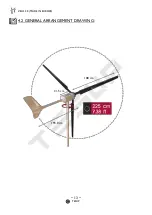
Page 13: ...ZEUS 3 0 MADE IN EUROPE 13 TESUP 4 2 GENERAL ARRANGEMENT DRAWING 31 5 cm 193 0 cm 108 cm ...
Page 21: ...ZEUS 3 0 MADE IN EUROPE 21 TESUP ASSEMBLY PROCEDURE ...
Page 30: ...ZEUS 3 0 MADE IN EUROPE 30 TESUP 13 DECLARATION ...

