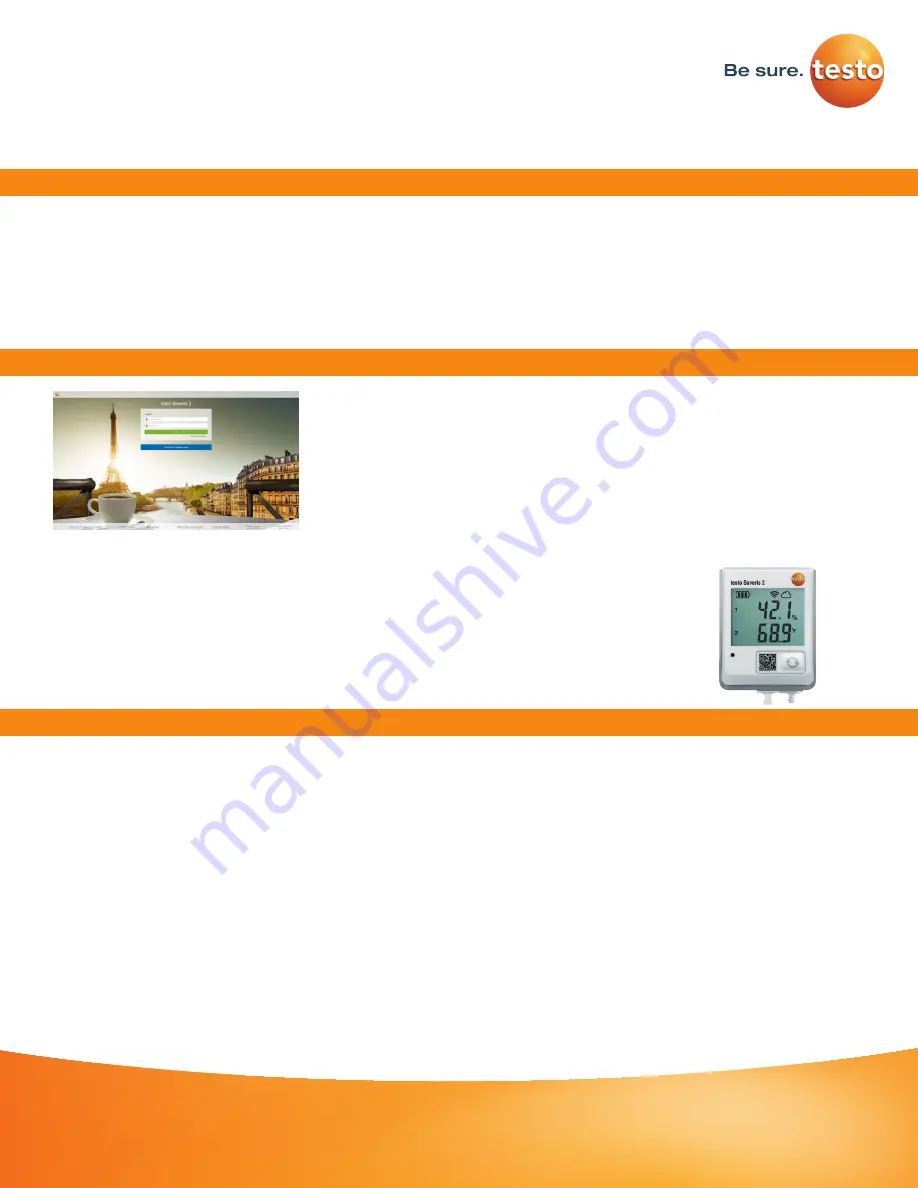
Testo Saveris 2 Configuration
Introduction
Logger Configuration Methods
For assistance on any aspects of this document, please contact us.
P: 800-227-0729 E: [email protected]
www.testo.com
First Steps
To activate Advanced License billing, install first all loggers under the Basic License.
To activate an Advanced License, click at the link at your Cloud account page and license fees will be auto calculated.
This guide will explain how to create a testo Saveris 2 Cloud account and connect data loggers.
Information for minimal system requirements are at the end of this document. Ensure that the system
meets the requirements. Please follow the setup instructions in order. The cloud account must be
created first before turning the data logger on. Once the account has been setup, turn on the data logger
and connect it to a network. Troubleshooting, FAQ, and system behaviors are covered in this document.
Register your testo Saveris 2 or testo 160
1. On your PC, Go to https://americas.saveris.net/
2. Use the Register Now button.
3. You will receive confirmation mail from [email protected].
(Note: Check your Spam/Junk folder if you do not receive the confirmation)
4. Confirm your email address within the confirmation mail.
(Note: User has 48 hours to confirm their email address to be fully registered)
5. Log back to the account.
Setting up the testo 160
1. Pull tab from the battery compartment, on the back of the testo 160.
2. Check front display for Battery Icon (if not replace with fresh batteries)
3. Mount with Screws/Anchors/ Magnetic Mounting Plate.
(sold separately at Testo, Part Number: 0554 2001)
Cloud account Setup Assistant
1. Use the USB to connect logger to the computer when logged on to Saveris 2 Cloud account.
2. On your computer, select a logger icon with + sign at the upper right corner of the page. Ignore the QR code App
suggestion. Press the Connect the Wi-Fi logger link.
3. When the form is filled out save it to the Saveris 2 data logger.
4. Follow steps, and at the last step don’t wait for the Cloud icon on the logger. Disconnect USB from the Task Bar, then
disconnect cable and logger will start connecting to the Wi-Fi and the Cloud account.
Notes:
If the 160 IAQ does not connect, press the reset button once and this should allow the logger to connect.
USB must be safely ejected from the computer. Failure to safely eject will corrupt the embedded file on the logger.


