Menu Operations
-25-
In
this
menu
,
you
can
pair
Bluetooth
devices
.
MULTIMEDIA PLAYER
In
the
HOME
interface
,
select
the
MMP
APP to
display Video,Photo,Audio,Text.After inserting the
USB flash drive, you can view the corresponding
files in the USB flash drive.
NOTE
:
The menu may be different depending on when you
purchased the TV.
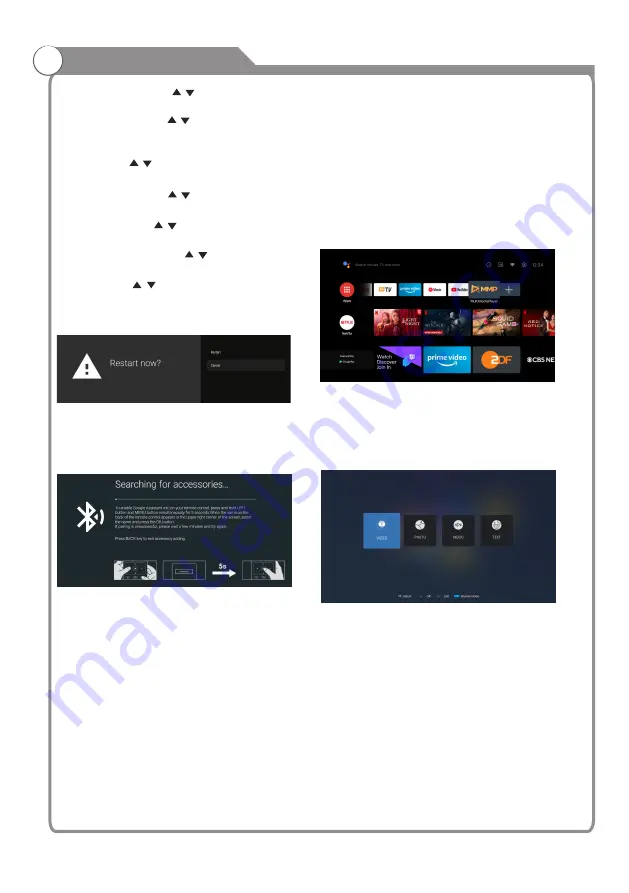
1
.
Press
the “
MENU
” and
LEFT
buttons
at
the
bottom
of
the
remote
control
for
5
seconds
.
2
.
When
the
LED
starts
to
flash
,
release
it
.
The
remote
controller
will
send
the
pairing
signal
to
the
TV
and
display
the
information
of
the
remote
control
on
the
right
side
of
the
screen
.
3
.
Press
the
OK
button
to
display
the
pairing
.
If
the
paired
is
displayed
,
the
connection
is
successful
.
“
”
4
.
If
the
couldn’t
pair
appears
,
the
connection
fails
.
Wait
30
seconds
and
then
press
the
“
MENU
”
and “
LEFT
”
buttons
at
the
bottom
of
the
remote
control
for
5 seconds
to
repeat
the
previous
steps
.
5
.
Press
BACK
button return to the previous
menu.
Audio Description
Press / button to select
:
the option then press OK button to choose ON/OFF.
Visually Impaired
Press / button to select the
:
option then press OK button to enter the sub-menu .
(Need: Audio Description ON)
Captions
Press / button to select the option then
:
press OK button to enter the sub -menu
REMOTE ACCESSORIES
&
High contrast text
: Press / button to select the
option then press OK button to choose ON/OFF.
Text to speech
: Press / button to select the option
then press OK button to enter the sub -menu
Accessibility shortcut
: Press / button to select the
option then press OK button to enter the sub -menu
TalkBack
: Press / button to select the option then
press OK button to enter the sub -menu
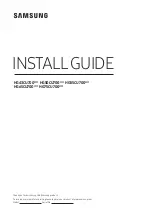
RESTART
Press
OK
button
to
enter
the
sub
-
menu
Click “Restar” to restart the TV.