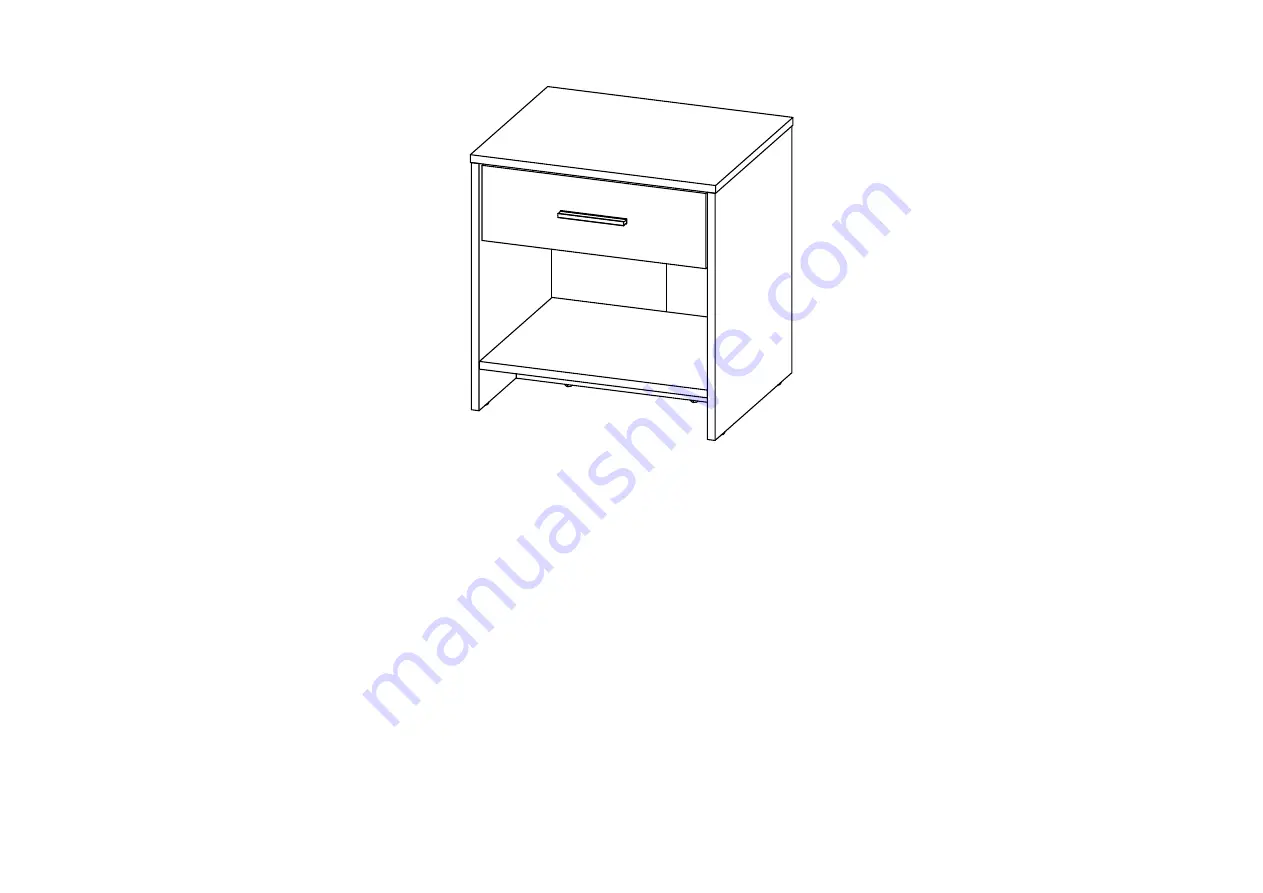
Bedside Table
Assembly Instructions
Model Number:
AOF-C1BT011
AFTER SALES SUPPORT
(AU) 1300 886 649 (NZ) 0800 836 761
1
Page 1: ...Bedside Table Assembly Instructions Model Number AOF C1BT011 AFTER SALES SUPPORT AU 1300 886 649 NZ 0800 836 761 1...
Page 2: ...shoulder of the quickfit should be flush against the panel as shown in a When inserting the cam lock ensure the orientation is correct as shown so that it aligns properly with the quickfit as shown i...
Page 3: ...ensory or mental capabilities or lack of experience and knowledge Handle this product with care Do not shake the product vigorously or drop it from an elevation Doing so will damage the product or sho...
Page 4: ...damp cloth before drying thoroughly Do not place hot or wet items on the surface Do not drag or pull your furniture Important Safety Information Responsible disposal Packaging materials are recyclable...
Page 5: ...NI FIX 4 SIDE PANEL L 6 SIDE PANEL R 7 8 QTY 3 5 HARDWARE A B C D E F G 12 SETS ALLEN KEY M4 1 PC BOTTOM PANEL H I J A1 A2 A3 M8 X 30MM WOOD DOWEL 14 PCS 9 10 12 PCS M3 5 X 16MM C B SCREW 6 PCS 4 PCS...
Page 6: ...UIRED Ensure the arrows on hardware A1 point towards mounting positions PRESS A1 x4 A2 ROTATE x4 PRESS B x4 Insert hardware A1 onto panel 2 9 10 and 12 Repeat 8 times Insert hardware B onto panel 2 5...
Page 7: ...and 5 Insert all hardware A2 into A1 Rotate all A1 until tight Apply A3 onto all A1 Repeat 4 times OR HARDWARE C SCREWDRIVER REQUIRED In this step hardware A1 A2 and B are pre inserted ROTATE Section...
Page 8: ...T G Assemble panel 8 to panel 9 and 10 by using hardware F Repeat 4 times SCREWDRIVER REQUIRED x4 F ROTATE Insert hardware I1 into slot at panel 1 2 3 and 4 Assemble hardware I1 by using hardware L2 R...
Page 9: ...epeat 4 times OR HARDWARE C SCREWDRIVER REQUIRED In this step hardware A1 A2 and B are pre inserted Section View ROTATE A2 A1 PRESS A3 x4 x4 Assemble hardware J2 L R to panel 9 and 10 by using hardwar...
Page 10: ...ole on the wall Hit hardware K3 into the wall Repeat 2 times HAMMER REQUIRED POWER DRILL REQUIRED HIT x1 K3 Assemble hardware K1 to K3 by using hardware K4 Repeat 2 times SCREWDRIVER REQUIRED ROTATE x...
Page 11: ...erform to your expectations make sure to contact our After Sales Support Centre on AU 1300 886 649 or NZ 0800 836 761 for advice For an electronic copy of this manual please contact our after sales su...