Teltronika FMT100 Quick Manual Download Page 12


12 

FMT100 | 

Wiki


Safety information 

This message contains information on how to operate FMT100 
safely. By following these requirements and recommendations, 
you will avoid dangerous situations. You must read these 
instructions carefully and follow them strictly before operating the 
device!  


The device uses a 10 V...30 V DC power supply. The nominal 
voltage is 12 V DC. The allowed range of voltage is 10 V...30 V 
DC.  


To avoid mechanical damage, it is advised to transport the 
device in an impact-proof package. Before usage, the device 
should be placed so that its LED indicators are visible. They 
show the status of device operation. 


Before unmounting the device from vehicle, ignition 

MUST be


OFF


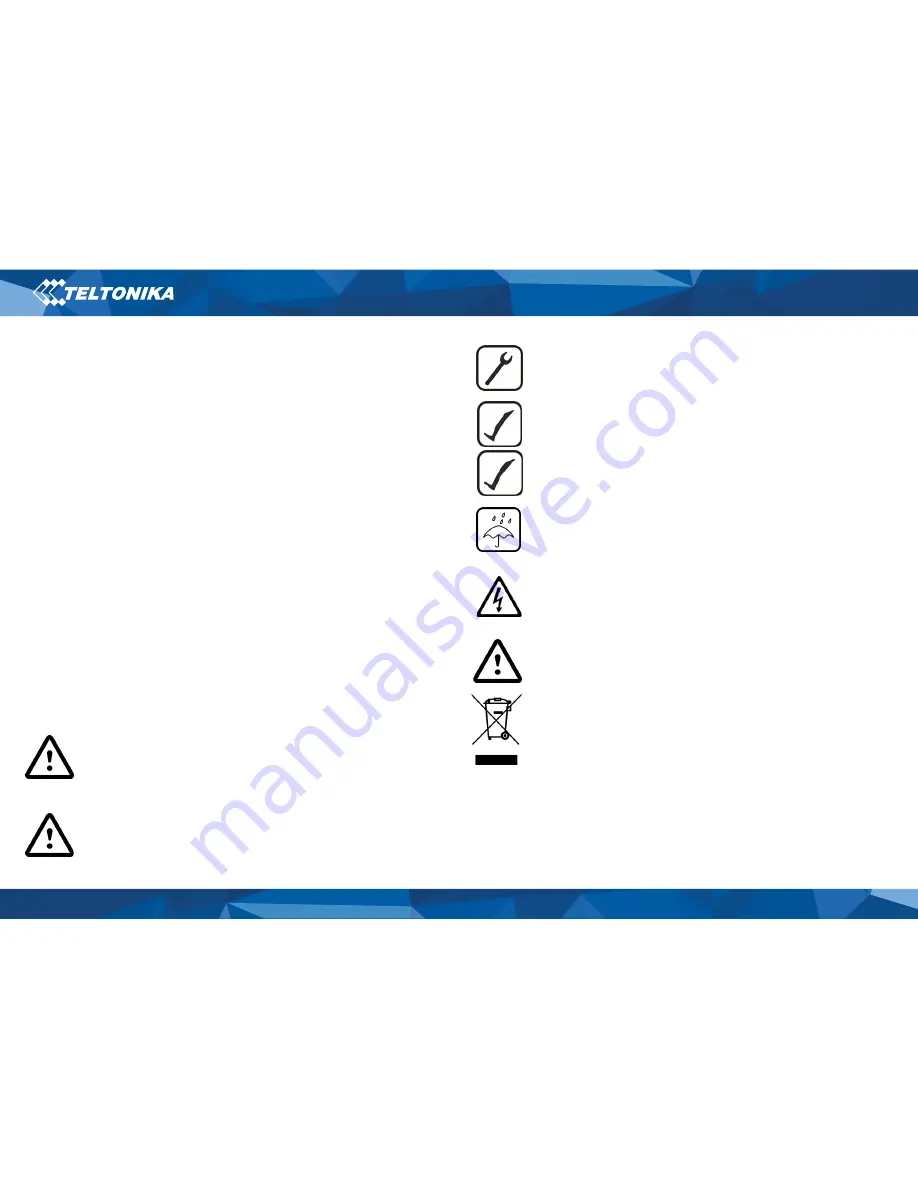
Do not disassemble the device. If the device is 
damaged, the power supply cables are not 

isolated

 or the isolation is damaged, DO NOT 

touch the device before unplugging the power 
supply. 


All wireless data transferring devices produce 
interference that may affect other devices which 
are placed nearby.


The device must be connected only by qualified 
personnel. 


The device must be firmly fastened in a 
predefined location. 


The programming must be performed using a PC 
with autonomic power supply. 


The device is susceptible to water and humidity if 
the device housing is not properly closed. 


Installation and/or handling during a lightning 
storm is prohibited.


Risk of explosion if battery is replaced by an 
incorrect type. Dispose of used batteries 
according to the instructions.


Battery should not be disposed of with general 
household waste. Bring damaged or worn-out 
batteries to your local recycling center or dispose 
them to battery recycle bin found in stores.


Summary of Contents for FMT100

Page 1: ...Quick Manual v1 1 Special and small waterproof tracker FMT100...

Page 2: ...nect the battery 5 PC Connection Windows 6 How to install USB drivers Windows 6 Configuration Windows 6 Quick SMS configuration 8 Mounting recommendations 9 LED indications 10 Characteristics 10 Basic...

Page 3: ...3 FMT100 Wiki Know your device Figure 1 FMT100 device view...

Page 4: ...4 FMT100 Wiki Pinout Table 1 Pinout Pinnumber Pinname Description 1 VCC 10 30 V DC Red Power supply 10 30 V DC 2 GND Black Ground Figure 2 FMT100 pinout...

Page 5: ...sure that Micro SIM card cut off corner is pointing forward to slot 4 Connect the battery as shown to device Position the battery in place where it does not obstruct other components 5 After configura...

Page 6: ...installation window 4 In the following window click Install button Setup will continue installing the driver and eventually the confirmation window will appear Click Finish to complete the setup Conf...

Page 7: ...y 1 Load from device loads configuration from device 2 Save to device saves configuration to device 3 Load from file loads configuration from file 4 Save to file saves configuration to file 5 Update f...

Page 8: ...detected by accelerometer Ignition will be detected by vehicle power voltage between 13 2 30 V Device makes a record On Moving if one of these events happen 300 seconds passes Vehicle turns 10 degree...

Page 9: ...S antenna and LEDs indicators are facing up Figure 13 Example of device mounting Connecting power wire Device power wire is designed to be directly connected to the positive terminal fastener of the v...

Page 10: ...mode Blinking every two seconds Sleep mode Blinking fast for a short time Modem activity Off Device is not working or Device is in boot mode Characteristics Basic characteristics Table 5 Basic charact...

Page 11: ...densing Ingress Protection Rating IP65 Battery charge temperature 0 C to 45 C Battery discharge temperature 20 C to 60 C Battery storage temperature 20 C to 45 C for 1 month 20 C to 35 C for 6 months...

Page 12: ...e device is damaged the power supply cables are not isolated or the isolation is damaged DO NOT touch the device before unplugging the power supply All wireless data transferring devices produce inter...

Page 13: ...ecessary to read the User s Manual before your start using the device Full User s Manual version can be found in our Wiki This sign on the package means that all used electronic and electric equipment...

Page 14: ...product Replaced with an equivalent repaired product fulfilling the same functionality TELTONIKA can also repair products that are out of warranty at an agreed cost Warranty Disclaimer TELTONIKA PRODU...

Reviews: