12
Upload the program to collar or pod
1. Keep the collar connected to your laptop or pc via the USB cable.
2. From the collar menu click upload. A blue screen briefly appears on
your screen indicating that the file is being uploaded. This only takes
about 1 second.
3. From the collar pull down menu click download. This sends the
programming back from the collar onto your screen so that you can
ensure that the program uploaded is as you intended. What you see on
the screen now is the file in your collar.
Set Time
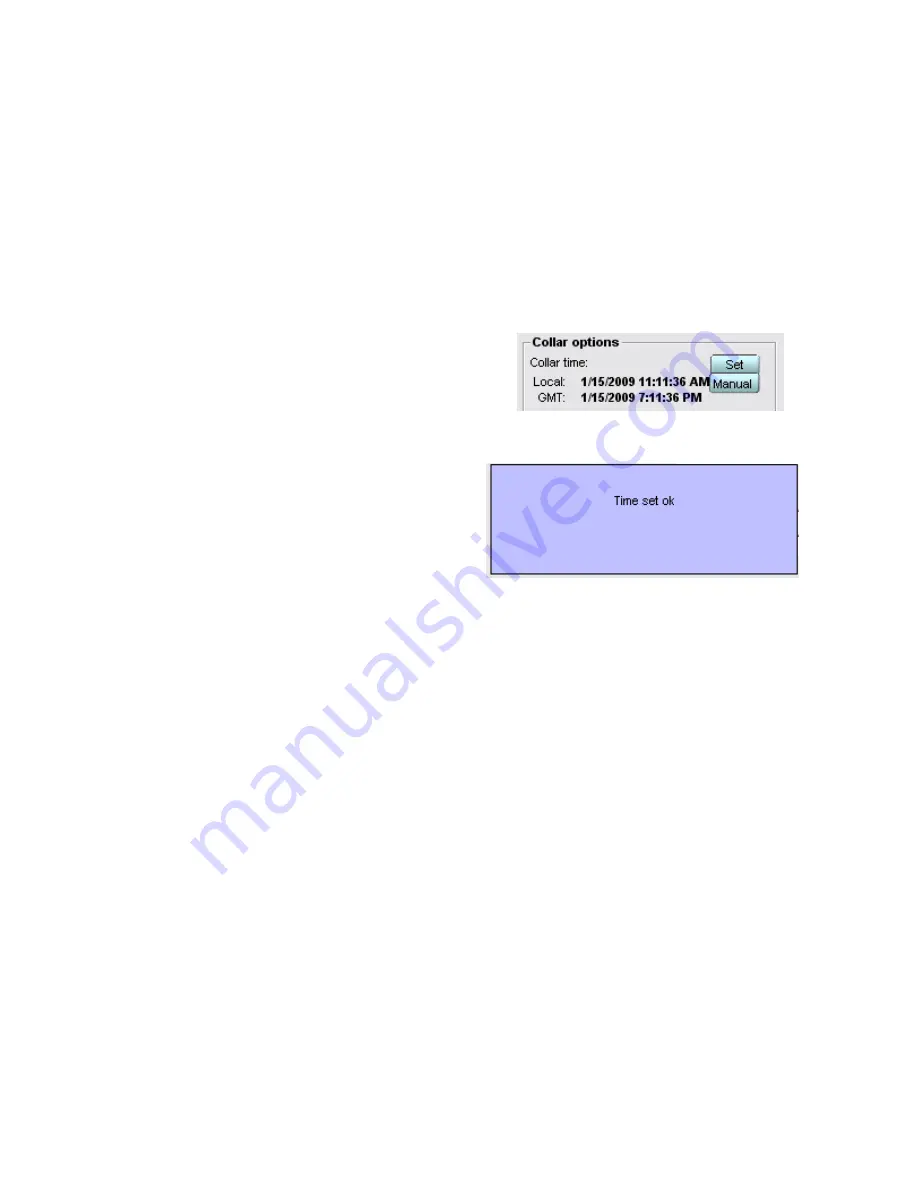
1. Navigate to the settings page. In the
collar options section click set. This
sets the time in your GPS data
logger. If your collar or pod has its
magnet in place the time will not saved and will not be there when you
remove the magnet to turn your collar or pod on. Therefore it is
important to always do this step
after removing the magnet from
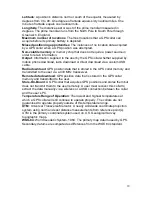
the GPS data logger. After you
set the time you will see the
message “Time set ok.”
2. Unplug the USB cable from your
collar.
3. Test your collar to be sure it is taking GPS fixes….do this for as many
days as you can. It will work but it is better to test it now.
4. Insert the blue rubber USB plug. Extra plugs have been provided.
5. Before deployment place a copious amount of RTV silicone over the
USB plug. This will keep water out of the USB port and GPS data
logger.
Regarding GPS battery life and VHF battery life
Please note the VHF beacon will operate independently of this GPS
schedule that you have created. The software has no bearing over the VHF
transmitter in your collar and will allow you to program the GPS for longer
than the battery life of the VHF. Be aware of the VHF battery life so that you
don’t program the GPS for a period of time longer than the VHF battery life.


