background image

Operation

9

Operation

available teletext languages.

Red/Green/Yellow/Blue buttons: Press 

these 4 color buttons to access directly to 

corresponding color page displayed at the 

lower parts of teletext screen.

OSD operation

1. Press MENU button to enter the setting 

menu displayed on the screen.

2. Press LEFT/RIGHT cursor buttons on the 

RC or VOL+/- buttons on the panel to select 
setting page.

3. Press DOWN cursor button or ENTER 

button on the RC or CH+ button on the panel 
to go to the parameter list.

4. Press UP/DOWN cursor buttons on the 

RC or CH+/- buttons on the panel to select a 
parameter to adjust.

5. Press cursor buttons on the RC or VOL+/- 

or CH+/- buttons on the panel to adjust the 
selected parameter.

6. Press MENU button to return to the 

previous menu page. Press EXIT button on the 
RC to quit the menu.

  Some menu items may be in grey color, 

in this case they are not adjustable. Pictures 
of OSD menu are for reference only; they may 
differ from the real screens.

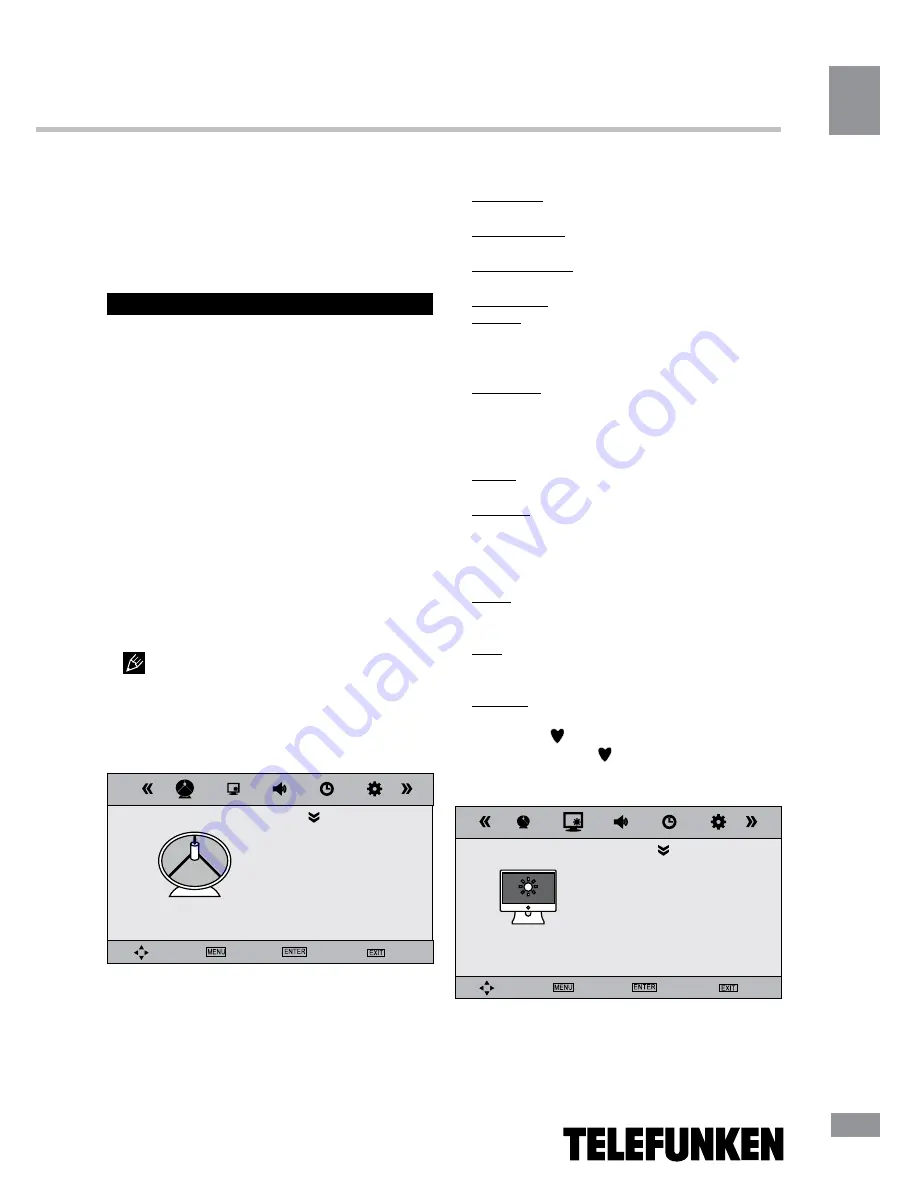
Channel setting 

(only for TV source)

CHANNEL

Auto scan
TV Manual tuning
Programme edit

Move

Menu

Select

Exit

•  

Auto scan: 

press RIGHT button to start 

automatic search of available channels. To 

stop the process press MENU button.

•  

TV manual tuning

: Press ENTER button to 

enter into manual tuning menu:

Storage to: select channel number to store 

in.

Color System: select corresponding color 

system.

Sound System: select corresponding sound 

system.

Current Ch: select channel number.

Search: press LEFT/RIGHT buttons; the 

unit will search for next available channel 

downward or upward and save it under the 

current number.

Fine-tune: perform fine adjustment of the 

current frequency.

•  

Programme Edit

: this item allows 

you to sort TV programs according to your 

preferences. Enter into program edit menu:

Delete: Select the channel you want to delete. 

Press red button to delete the channel.

Rename: Highlight the needed channel. Press 

green button; then press UP/DOWN buttons to 

select a symbol. Press LEFT/RIGHT buttons to 

select the next symbol. Press green button to 

confirm.

Swap: Highlight the needed channel. Press 

yellow button; select the position to put the 

channel into. Press yellow button to confirm.

Skip: Highlight the needed channel. Press 

blue button; now this channel will be skipped 

when you select previous/next channels.

Favorite: Select the channel you want to edit. 

If this channel is your favorite channel, you can 

add the mark   to the channel as your favorite 
channel by pressing   button.

Picture setting

PICTURE

Picture mode
Contrast
Brightness
Color
Sharpness
Tint

Move

Menu

Select

Exit

•  

Picture Mode

: User/Standard/Dynamic/

Mild.

Summary of Contents for TF-LED19S2

Page 1: ...LED TV c TF LED19S2 Instruction manual...

Page 2: ...Teletext operations OSD operation Channel setting Picture setting Sound setting Timer setting Option setting USB operation General operatoins of file playback General information Troubleshooting Cause...

Page 3: ...ntenna during a storm Do not fix the power cord with a metal nail Unplug the power cord from the AC outlet also unplug the signal cables from the input ports when the unit is unused for long periods o...

Page 4: ...ation of the picture by electromagnetic radiation in electromagnetic environment Fasten the wheel of the product or shelf with wheels when installing this product If it moves or is tipped over it may...

Page 5: ...s a computer screen connect the PC to the PC jack of the unit by the relevant cable If the video source has a HDMI output jack you can connect the signal to the unit by HDMI cable not included Compone...

Page 6: ...button 6 Power indicator 7 IR sensor 8 USB port 9 Headphone jack 10 RF antenna jack 11 Component video input 12 Power input 13 Composite video input 14 Right audio input RCA 15 Left audio input RCA 16...

Page 7: ...2 EXIT button 23 USB button 24 Yellow Blue buttons 25 SUBPAGE button 26 E W button 27 PC button 28 HDMI button Changing the battery 1 Remove the battery compartment cover on the back of the RC 2 Inser...

Page 8: ...utton on the RC to access the VGA mode directly Press repeatedly S MODE button to select sound mode Standard Music Movie Sports User Press repeatedly P MODE button to select sound mode User Standard D...

Page 9: ...manual tuning Press ENTER button to enter into manual tuning menu Storage to select channel number to store in Color System select corresponding color system Sound System select corresponding sound sy...

Page 10: ...ance Auto volume Surroud sound Move Menu Select Exit Sound mode Standard Music Movie Sports User Treble adjust treble frequency Bass adjust bass frequency Balance adjust balance between left and right...

Page 11: ...tion exceeding this value as well as defective USB drives may cause mechanical or thermal changes of elements of this unit as well as failure of internal elements of the USB port Such damages are not...

Page 12: ...ound No audio signal or the signal cord is improperly not connected Connect the audio signal cord properly Set the sound system properly The RC does not work Batteries are improperly installed or exha...

Page 13: ...of the LED TV output voltage of the adaptor 12 V Power consumption of the LED TV 26 4 W Unit dimensions with stand 439 x 165 x 310 mm Net Gross weight 2 5 kg 3 5 kg The LCD panel is a high technology...

Page 14: ...16 14 USB 14 15 15 15 17 17 17 18 18 18 18 19 19 19 19 20 20 21 21 22 22 23 23 24 24 24 24 26 26 26 27 28...

Page 15: ...17 15...

Page 16: ...18 16 220 LCD 10 18 2...

Page 17: ...19 17 4 4 100...

Page 18: ...20 18 75 RCA VGA VGA PC HDMI HDMI HDMI VCR DVD RCA 75...

Page 19: ...21 19 1 POWER 2 CH 3 VOL 4 MENU 5 SOURCE 6 7 8 USB 9 10 11 12 13 14 RC 15 RCA 16 HDMI 17 18 19 20 21 PC VGA...

Page 20: ...26 27 28 1 POWER 2 3 SIZE ZOOM 4 SLEEP 5 LIST REPEAT 6 VOL VOL 7 8 MENU 9 ENTER 10 AUDIO 11 SOURCE REVEAL 12 13 HOLD STILL 14 TEXT 15 P MODE 16 S MODE 17 INFO INDEX 18 RECALL 19 CANCEL 20 21 CH CH 22...

Page 21: ...ER VOL VOL SLEEP 10 240 SLEEP AUDIO TV Nicam Stereo Mono Dual I Dual II SOURCE TV AV AV YPbPr VGA HDMI USB HDMI HDMI USB USB PC VGA S MODE P MODE TV CH CH 0 9 0 199 STILL RECALL INFO ZOOM 16 9 4 3 1 2...

Page 22: ...24 22 INDEX SIZE REVEAL SUBPAGE 0001 SUBPAGE CANCEL E W 1 MENU 2 VOL 3 ENTER CH 4 CH 5 VOL CH 6 MENU EXIT MENU ENTER...

Page 23: ...25 23 NTSC 16 9 4 3 1 2...

Page 24: ...6 24 Surround 10 240 c USB USB USB USB ENTER USB USB ENTER ASF AVI MKV MPG DAT M2TS MP4 TS VOB WMV9 DIVX H263 MPEG 4 MPEGII MPEGI XVID AAC WMA MP3 DD AC3 576x720 USB USB 2 0 320 USB 5 500 FAT FAT32 US...

Page 25: ...27 25 USB 1 1 2 0 USB 500 USB USB USB USB BIN ENTER ENTER ENTER INFO ENTER REPEAT EXIT...

Page 26: ...28 26 VGA...

Page 27: ...29 27 1 1 2 1 3 2 4 1 5 4 6 1 7 1 8 1 9 1 10 1 11 1...

Page 28: ...30 28 TF LED19S2_IM_01 18 5 48 5 1366 x 768 16 9 PAL SECAM B G DK I NICAM 2 x 2 RCA USB VGA HDMI 200 1000 USB II 100 240 50 60 0 7 12 26 4 439 x 165 x 310 2 5 3 5 licensed by TeLefunKen Licenses Gmbh...

Page 29: ...31...

Reviews: