background image

19

6.9  Using multimedia

Note:

 A memory card is required to use the multimedia functions. Micro SD cards 

up to 32 GB are supported.

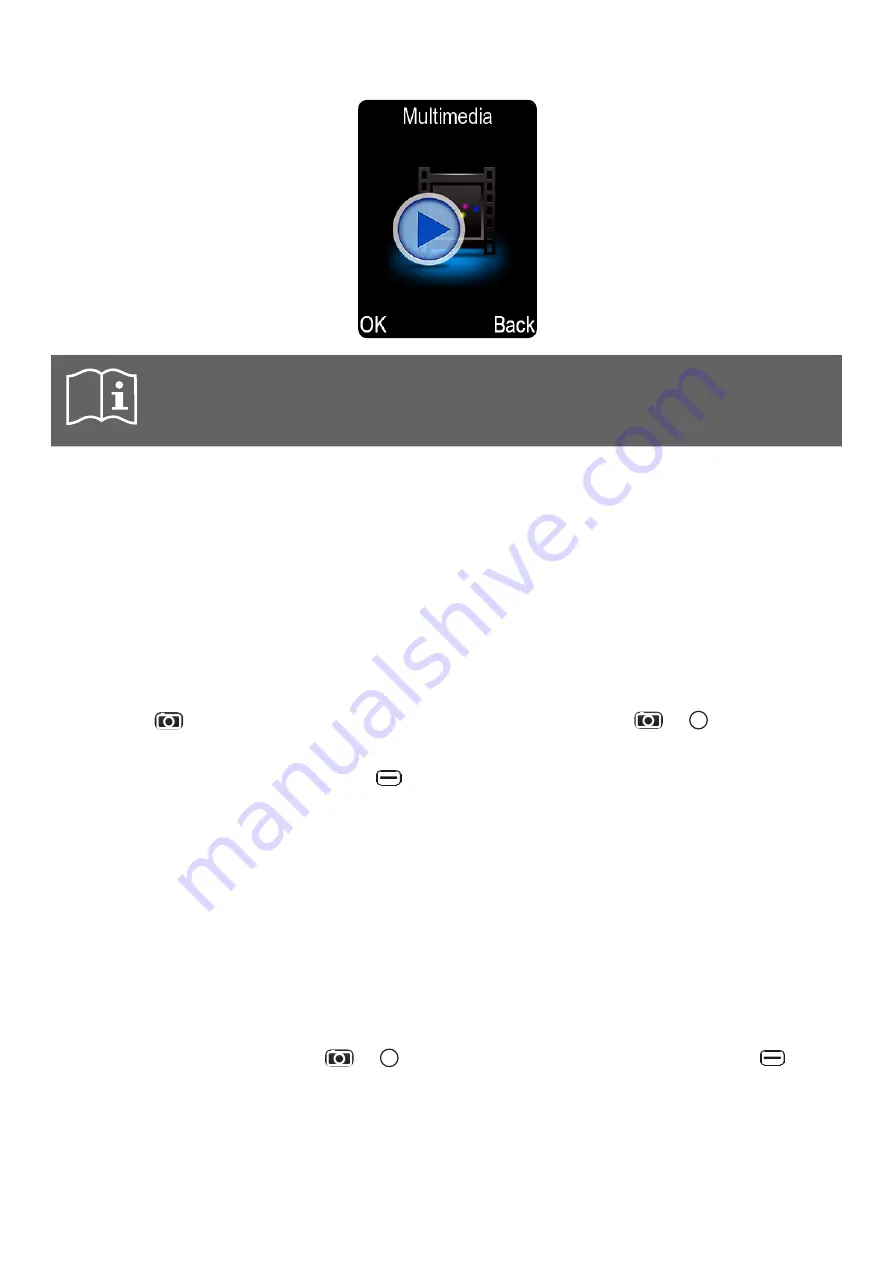
Multimedia

 section acts as an access hub to below phone tools:


ƒ

Camera


 See  section 

Using camera

.


ƒ

Video recorder


 See  section 

Using video recorder

.


ƒ

Image viewer


 See  section 

Using Image viewer

.


ƒ

Audio player


 See  section 

Using audio player

.


ƒ

Video player


 See  section 

Using video player

.


ƒ

Sound recorder


 See  section 

Using sound recorder

.

Using camera

This phone is equipped with a 1.2 MP built-in camera. It can be accessed from main screen by 

pressing the 

 key. Once in 

Camera

 menu, to take a picture press the 

 or   key. You can 

also go to 

Multimedia

 and select 

Camera 

to access the camera.


h

When in Camera mode, press the left 

 key to browse available 

Options

:


ƒ

Image viewer


 Display and edit all pictures saved on phone and memory card.


ƒ

Video mode


 Access the video recording mode.


ƒ

Effect


 Adjust this setting by selecting from the different choices.


ƒ

Contrast


 Adjust the contrast with the 

M1

 and 

M2

 keys.


ƒ

Brightness


 Adjust the brightness with the 

M1

 and 

M2

 keys.


ƒ

White balance


 Adjust the white balance settings of your camera.


ƒ

Settings


 Change various camera settings: flash, image size, quality, 

banding, shutter sound, auto save, storage location, and 

continuous shot.

Using video recorder

When in video recorder, press the 

 or   key to start recording a video. Press the left 

 key to 

browse available 

Options

:


ƒ

Video player


 Access and manage the recorded video list.


ƒ

Camera mode


 Access the photo taking mode.


ƒ

Effect


 Adjust this setting by selecting from the different choices.


ƒ

Contrast


 Adjust the contrast with the 

M1

 and 

M2

 keys.

Summary of Contents for S440

Page 1: ...MOBILE PHONE S440 INSTRUCTION MANUAL ...

Page 2: ... recorder and more Our phone set meets the GSM GPRS standard and has achieved certification from the relevant organizations worldwide We reserve the right to modify the content of this instruction manual without prior notice TABLE OF CONTENTS 1 SCOPE OF DELIVERY 3 2 CONTROL ELEMENTS 4 3 GETTING STARTED 6 4 NAVIGATING MAIN MENU 8 5 SOS MODE FUNCTION 10 6 BASIC FUNCTIONS 11 7 USING ADDITIONAL TOOLS ...

Page 3: ...Carefully check the below listed package contents If anything is missing contact your retailer immediately 1 S440 Mobile Phone 2 Hands free Kit 3 Rechargeable Li ion Battery 4 Travel charger 5 USB cable 6 Charging cradle 7 Quick start guide 8 EU Declaration of Conformity ...

Page 4: ...mation menus key On a main screen f Press and hold to switch between currently set Vibration and Silent sound profile In text editing mode f Press to change text input method Abc ABC abc 123 and select writing language Left key f OK key f Main menu key fAnswer a call Call key f Dial a number f Answer a call f Show call history Voicemail key f Press and hold to access voicemail Photo key f Access c...

Page 5: ...5 2 CONTROL ELEMENTS 3 5mm earphone jack Camera Flash Torch Camera Charging indicator Micro USB charging port Speaker SOS button Microphone Charging cradle ports ...

Page 6: ...ontacts of the SIM card are facing downwards and cut corner is orientated towards the upper left corner 3 2 Installing memory card WARNING SIM cards and Micro SD cards are small objects keep them out of reach of children Risk of choking due to ingestion of small parts 1 To install a Micro SD card not provided open the back cover and remove the battery 2 Slide the card holder beside the SIM slot to...

Page 7: ...attery life is reduced When not using the phone for long periods remove the battery 1 Connect the provided charger to a suitable power outlet 2 Plug the other end with micro USB plug to phone s charging port The charging indicator starts to flash 3 Once the battery is fully charged the charging indicator stops flashing 4 Once phone has been fully charged disconnect the charger from phone s chargin...

Page 8: ... main menu press the left or key In general to confirm a choice OK or see a list of options in a menu you can also use these keys To go back or cancel an option use the right key Use the key to go back to the main screen To scroll through the menus use the and keys To move left or right use the M1 and M2 keys 4 2 Shortcuts Tip The shortcuts are preassigned however they can be changed To change def...

Page 9: ...l Roaming Different rates apply check with your service provider New SMS Message New MMS Message Message Inbox is Full Silent Mode Meeting Mode Icon Description Vibration Mode New Voicemail Bluetooth Enabled Alarm is set Low battery Earphones connected headset mode SOS activated ...

Page 10: ... answered and confirmed within 20 seconds the phone will call the next number and so on In the SOS message settings menu you can customize an SOS message that is automatically send to the contacts on your SOS number list in emergency situations In the SOS settings menu you can toggle the SOS function on off with the left or key If the SOS function is enabled you can toggle the SOS message SOS ring...

Page 11: ...d on off via SOS settings SOS LED Alert When activated the SOS LED Alert will turn on when the SOS function is triggered This can be toggled on off via SOS settings 6 BASIC FUNCTIONS 6 1 Making a call There are 3 key ways to make a call 1 From the main screen enter the number directly on the keypad 2 Press the right key to access Contacts Phone book or go to the Main Menu and select Contacts phone...

Page 12: ... call history Messages Check read write and send messages while keeping the phone call connected 6 3 Using voicemail 1 To edit your voicemail number go to Menu Message Voice mail 2 Input the voicemail number with your keypad Use the right key to delete digits and use the left key to confirm the number 3 Press and hold the key from the main screen to call your voicemail number 6 4 Using sound profi...

Page 13: ...alls Rejected calls menu press the key to see available options Details Display the number date time call time and type of call Call Call the selected number Write message Send SMS MMS message to the selected number Add contacts Save the number to a new or existing contact From Missed calls Dialled calls Received calls Rejected calls list press the left key and select Add to Contacts Add to new co...

Page 14: ...s from SIM card to phone Import Export Import or export contacts to or from another folder Add to remove from blacklist Add or remove the selected contact from the blacklist Others Access to set Speed dial number Assign selected contact to a direct memory key M1 M2 or to numbers 2 to 9 and allows for checking memory status Quick search 1 In the Contacts menu press any numeric key between 0 9 to ac...

Page 15: ...left key select Delete using the key then press the left key again to confirm To cancel the deletion press the right key To delete multiple contacts 1 Enter the Contacts menu 2 Press the left key select Delete multiple using the key Press the left or key to confirm 3 Enter searching word using the keypad then use keys to select the contact you want to delete When the contact you wish to delete is ...

Page 16: ... Call logs Rejected calls 6 7 Sending text messages SMS 1 To send a message go to Menu Messages Write message New SMS 2 Type the message and press the left key to open the Options menu 3 Select Send and either enter the phone number using the keypad or go to Options Add from contacts Use the keys to select contacts When the desired contact is selected press the left key and select Mark or simply p...

Page 17: ...acter and press the left or key to confirm How to select input method abc Abc ABC Press key and select 4 available input methods press and keys to select the input mode and press the left or key to confirm You can also press the 1 4 numeric keys to switch the input mode 1 Abc 2 ABC 3 abc 4 123 h h To select txt language press the 5 numeric key or press key to select Writing language and press the ...

Page 18: ...ubject content When finished press the left or key 3 Press key to select TEXT input box press the left or key to edit the text content When finished press the left or key 4 Press key to select Photo attachment box press the left key to access the photo list use or key to select a photo file then press the left key 5 Press key to select Music attachment box press the left key to access the audio li...

Page 19: ...n in Camera mode press the left key to browse available Options Image viewer Display and edit all pictures saved on phone and memory card Video mode Access the video recording mode Effect Adjust this setting by selecting from the different choices Contrast Adjust the contrast with the M1 and M2 keys Brightness Adjust the brightness with the M1 and M2 keys White balance Adjust the white balance set...

Page 20: ...e the current recorded video through MMS or Bluetooth Play Start the playback of the current recorded video Video player Access and manage the recorded video list such as set video wallpaper Image viewer The Image viewer allows you to view photos in JPG format Use the M1 M2 and keys to select photos and the left key to browse available Options View Review photos using the M1 M2 keys Delete Delete ...

Page 21: ...ved play list select To saved playlist press the left or key select the desired playlist then press the left or key again To add to a new playlist select To new playlist press the left or key type in a name for the new playlist with your keypad then press the left or key again Set as ringtone Set the selected audio file as ringtone of incoming call or alarm To modify the Ringtone need to put phone...

Page 22: ...P 2 Use the keys to increase or decrease the volume h h While in Video player menu press the left key and select Open to access the video list Use and keys select and press the left key the video player starts to play f Press to go to previous video f Press and hold to rewind fPress to play pause f Press to go to next video f Press and hold to fast forward f Press to stop f Press to access options...

Page 23: ...memory card and select File format to set the file format as AMR or WAV h h After stopping a recording press the left key to browse available Options Start recording Start recording audio Audition Play the recorded audio Record again Re record the current recording Delete Delete the current recorded audio Send Share the current recorded audio via MMS or Bluetooth Record file list List of all recor...

Page 24: ...radio station you are listening 40 channel numbers can be assigned Manual search Directly input its frequency to search a radio station Open speaker Access the loudspeaker Background play Select turn on or turn off this feature 6 11 Connecting to PC MAC Connect the USB cable to a computer port first and then connect the micro USB to the phone charging port Once connected a menu prompts the user to...

Page 25: ...selected day To do that you need to use M1 M2 keys to move in the calendar to select a day first the selected day is highlighted in green All schedules Access all schedules displayed on scroll down list Clear today s tasks Clear all tasks of current day Clear all Delete all schedules of all days Go to date Go to a wanted date in the calendar To move the cursor press M1 M2 key To insert date month ...

Page 26: ... input the time using the M1 and M2 keys to change the number to edit Ringtone Select alarm ringtone from local ringtones stored audio files or a real time FM radio program You can also record a ringtone by using Recording ringtone Snooze time Select the alarm snooze interval Repeat mode Three options are available Once Alarm rings only once Daily Alarm rings every day at set time Custom Manually ...

Page 27: ...out by other devices Select Close other devices can not detect this phone but this phone can still search and pair with other devices Paired device To search and pair with new device The paired devices are listed up and down Transferring files To set shared folder permissions and shared folders In Shared folder permissions menu select Full control or Read only In Shared folder menu select all fold...

Page 28: ...lected file folder to another folder Search Search for a folder by name Sort Sort your folders by name time size or type Mark Mark or unmark the selected folder or all folders Memory status To check phone memory capacity or memory card capacity or format phone memory or memory card or rename memory card h h When opening a file folder and selecting a file the same menu options are available Refer t...

Page 29: ...ollow the network setting Others h h Answer mode You can choose your desired answer mode s from among Cover answer to answer a call by opening the lid Any key to answer by pressing any phone key and Auto answer with BT Bluetooth headset h h Call time minute reminder Notifies you when nearly a minute of the current call has passed Can be off 50s 55s 60s or a custom value below 60 h h Auto redial Au...

Page 30: ... numeric keys to input the entries h h Repeat mode Repeat this setting once daily or only during certain days Power management Displays the current battery power Display Wallpaper settings Change display wallpaper from below sources h h Static wallpaper pre loaded wallpaper in the phone h h More pictures Photos taken by the phone camera Idle display settings Select the features to be displayed on ...

Page 31: ...ll interception Message interception and press the left or key Profiles Options Settings Rename Rename the currently selected Profile Ring settings Set ringtone of incoming calls and messages Adjust volume Set ringtone volume of incoming call message and power on off Also you can adjust call volume and speech dial volume Dial voice volume Ring type Five options are available Ringtone vibrate silen...

Page 32: ...boards Do not connect the phone with any incompatible equipment Do not attempt to disassemble the mobile phone or battery Do not store the phone with flammable or explosive products Do not charge the mobile phone without the battery 9 2 Network services and costs This mobile phone is approved for use on the GSM 850 900 1800 1900 MHz networks To use the device you should subscribe to the services o...

Page 33: ...s Do not remove install or charge batteries in such areas Sparks in a potentially explosive atmosphere can cause an explosion or fire resulting in bodily harm or death To avoid possible interference with detonators switch off your phone when you are near electric blasting caps a blasting area or in areas where Turn off electronic devices is posted Always obey signs and instructions 9 8 Precautions...

Page 34: ...onsult a doctor 9 12 Power adaptor When charging this phone with a power adaptor only use the provided power adaptor or a power adaptor with identical specifications Danger of electric shock Do not attempt to repair this power adaptor yourself In case of malfunction repairs are to be conducted by qualified personnel only This power adaptor can only be used in dry indoor locations This power adapto...

Page 35: ...rying case belt clip or other device holder is used to carry the device on the body it must not contain any metal and must provide at least the separation distance indicated above between device and the body Bluetooth is a trademark of Bluetooth SIG Inc TELEFUNKEN and the TELEFUNKEN logos are trademarks of TELEFUNKEN Licenses GmbH 12 DISPOSAL INSTRUCTIONS Recycling of Electrical and Electronic Equ...

Page 36: ... applicability of this warranty please refer to our website at www befuzze com or contact our after sales service After sales Service Information In the event of a technical problem please contact our after sales service helpdesk befuzze com Manufacturer Information BEFUZZE SA Route de Lully 5C 1131 Tolochenaz Switzerland Email info befuzze com ...

Page 37: ...37 ...

Reviews: