Frontline Technical Support: Phone +1-434-984-4500 or email [email protected]
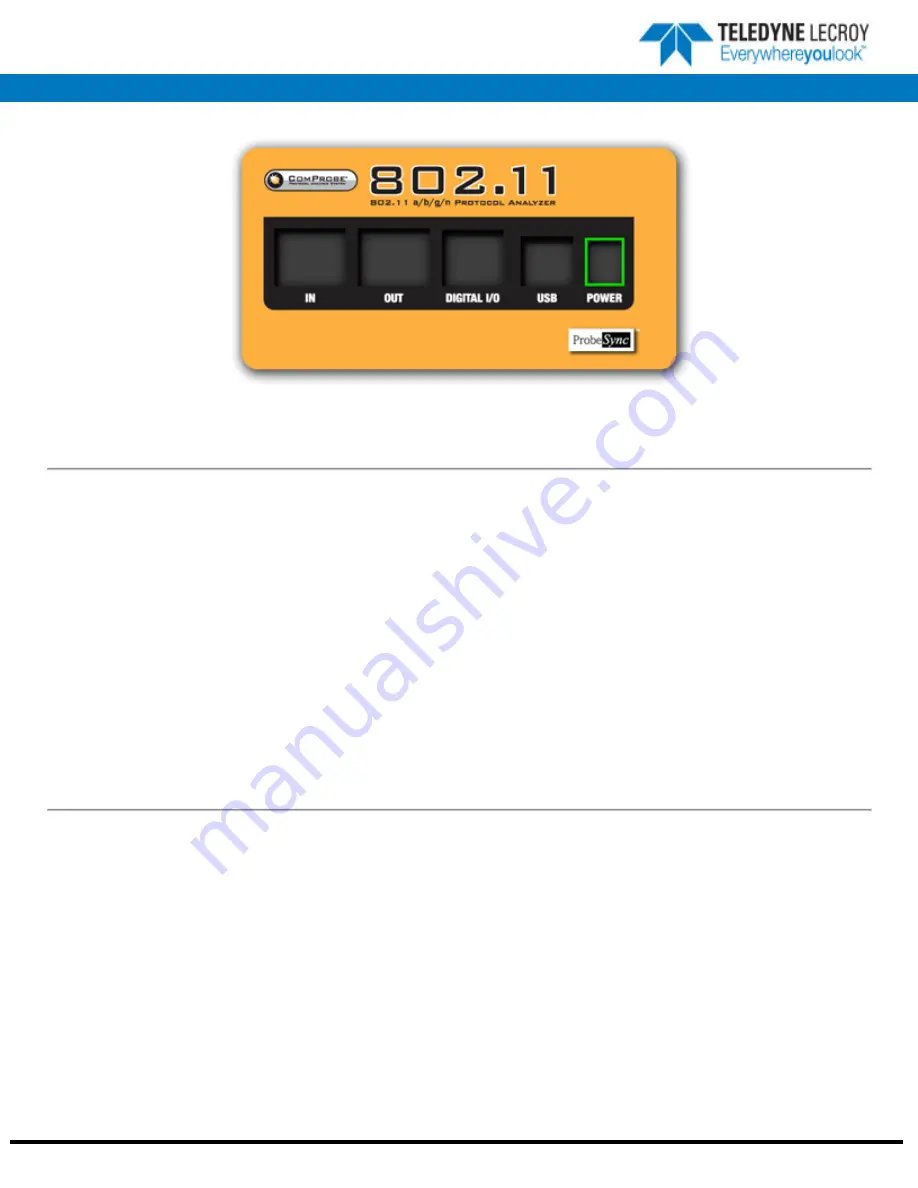
ComProbe 802.11 Back Panel
5. Applying Power
The Sodera hardware is powered by three methods: the Frontline supplied AC-to-DC adapter, an external DC power source that can
include power from an automobile auxiliary power source and an optional internal battery.
To apply power to Sodera use one of the three methods:
1. Connect the provided AC-to-DC power adapter to the
+12VDC
connector on the rear panel and then connect the adapter into
an AC source.
2. Connect a DC power source sup12 VDC directly to the
+12VDC
connector on the rear panel.
3. Install the battery.
To start Sodera , depress the Power button on the front panel for at least 1/2 second and then release . This action will provide a clean
start for Sodera hardware. The battery charge state indicator LEDs will repeatedly flash in sequence while the unit powers up.
The front panel
Power
indicator LED will be green.
Should the front panel
Power
indicator begin blinking red, the Sodera hardware is approaching thermal overload temperature
between 50 °C and 60 °C (122 °F and 140 °F) and should be shut down. When the hardware reaches thermal overload it will
automatically shut down and the
Power
indicator will be a constant red.
6. Sodera Data Capture Method
When the Frontline Sodera is connected to the Host PC running Frontline Protocol Analysis System software the
Select Data Capture
Method...
window will display the Sodera options.


