RECEIVERS: R00004-05, R00004-10,
TRANSMITTERS: T00009-22, T00011-24
LANGUAGE: English (original)
IM-TG2-CE001-A01-EN
Installation instructions
Page 1: ...RECEIVERS R00004 05 R00004 10 TRANSMITTERS T00009 22 T00011 24 LANGUAGE English original IM TG2 CE001 A01 EN Installation instructions...
Page 2: ...de 19 Show registered PIN codes 20 Start the transmitter in operating mode 20 Start the transmitter in operating mode with a PIN code 21 Navigate in menu mode 22 Login logout 22 Quick logout 22 Logout...
Page 3: ...of the radio remote control unit on the machine are not intended to be passed on to the end user Only such information may be passed on to the end user that is needed to operate the machine correctly...
Page 4: ...uctions n Make sure that the user has reached the certified age of your country to operate the equipment n Make sure that the user is not under the influence of drugs alcohol and medicines n Allow onl...
Page 5: ...d If incompatible versions are detected an error message will be indicated on both units LEDs Normally the incompatibility check will be performed automatically when the software has been changed or w...
Page 6: ...recommend that the system is provided with a wired emergency stop where necessary Base board 1 LED representing stop relays 1 2 red 8 Antenna connector 2 Stop relays 1 2 9 Function LEDs 1 4 1 red 2 y...
Page 7: ...nsistor output 43 GND Current consumption Input power Min Max 12V AC 0 06A 0 4A 24V AC 0 03A 0 2A 48V AC 0 02A 0 09A 115V AC 0 008A 0 04A 230V AC 0 006A 0 03A 12V DC 0 06A 0 3A 24V DC 0 03A 0 3A Minim...
Page 8: ...emperature 20 55 C 4 130 F potential free means that you have to supply voltage to get voltage out of a relay e g via the includedconnection comb Function LEDs indication in operating mode FUNCTION LE...
Page 9: ...that the system is provided with a wired emergency stop where necessary Base board 1 LED representing stop relays 1 2 red 8 Antenna connector 2 Stop relays 1 2 9 Function LEDs 1 4 1 red 2 yellow 3 gr...
Page 10: ...21 Programming connector 18 LEDs representing stop relays 1 2 and func tion relays 1 7 on the base board 22 Power LED yellow Terminal block for digital inputs 81 GND 87 Digital input 5 82 GND 88 Digi...
Page 11: ...16A Number of function relays 17 potential free 8A Digital inputs 10 Transistor output 1 Duplex communication Duplex or simplex communication possible Max number of transmitters 15 Operating frequenc...
Page 12: ...SHES The receiver is frequency scan ning X Automatic frequency control processing X Automatic frequency control finetuned 6 X Receiving correct sync word 7 X Receiving correct radio packet Base board...
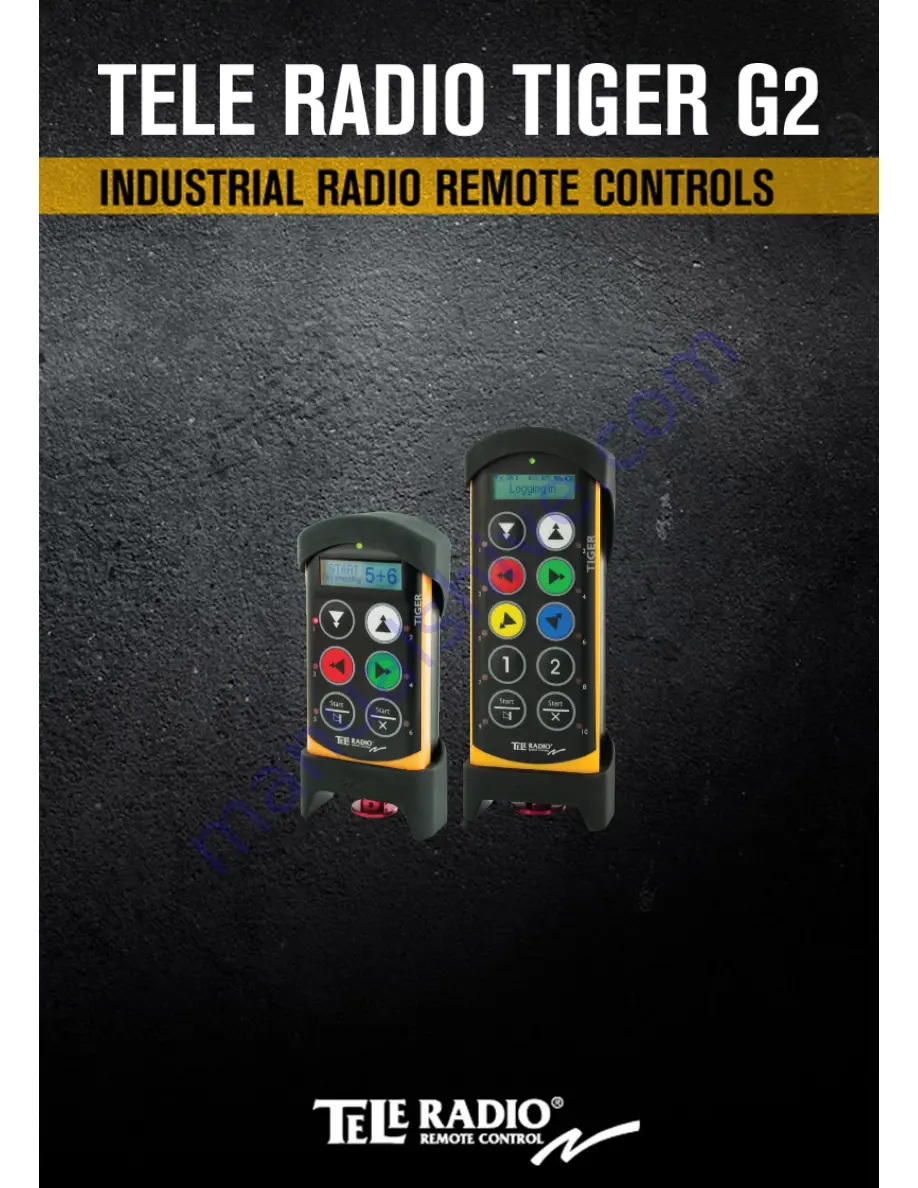
Page 13: ...n 8 Button 4 Only on T00011 24 TECHNICAL DATA T00009 22 T00011 24 No of buttons 6 x 2 step buttons 10 x 2 step buttons On off switch Yes No Max no of receiv ers 4 8 Size 160 x 76 x 37 mm 6 3 x 3 x 1 4...
Page 14: ...ns 1 on 0 off The on off switch breaks the power supply from the battery When in position 0 off the transmitter can not be started unless you connect the charger plug TRANSMITTER BACKSIDE 1 Rubber cov...
Page 15: ...1 24 R00004 10 Product label and placement on the transmitter T00011 24 You will find the product label in the back of the transmitter see picture below Product label and placement on the receiver R00...
Page 16: ...de the transmitter L tiquette FCC IC est plac e sur le module radio Le module radio est mont l int rieur du r cep teur FCC IC label placement on the receiver R00004 10 The FCC IC label is placed on th...
Page 17: ...products Tiger unit Radio module T00011 24 TR304 R00004 10 TR283 Installation Installation instructions for TR304 1 Make sure that the transmitter unit is turned off 2 Open the enclosure 3 Assemble T...
Page 18: ...nt into an outlet on a circuit different from that to which the receiver is connected consult the dealer or an experienced radio TV technician for help The radio module in this product is labelled wit...
Page 19: ...when in menu mode 6 Go to Enter PIN 7 Select what position in the list that you want to store the new PIN code in by pressing the left start button 8 Enter the new PIN code 4 digits by pressing the bu...
Page 20: ...at the stop button is pressed 2 Pull out the stop button The top LED lights green when the battery capacity is good red when the battery capacity is poor 3 If PIN codes are used for authorization Go t...
Page 21: ...TTON Press a button to select the receiver s that you want to operate The receiver s that was selected in the last session will be automatically selected which is indicated by the corresponding LED s...
Page 22: ...smitter is already logged in to the receiver it has to be logged out before any other transmitter can be logged in If no transmitter is logged in to a receiver a registered transmitter will automatica...
Page 23: ...ession with another transmitter The radio communication may become disturbed or broken NOTE Before starting to perform these settings make sure that the stop relays are deactivated Register the transm...
Page 24: ...ceiver ERASE Erase a transmitter from the receiver NOTE If a transmitter is lost or becomes seriously damaged it is possible to erase it from the receiver We do not recommend this way Contact your rep...
Page 25: ...rbed or broken NOTE If the transmitter already have receivers registered we recommend that you erase all receivers from the transmitter before starting the replacement The receiver will automatically...
Page 26: ...automatic shutdown 0 255 minutes If you want to turn off automatic shutdown select 0 Confirm by pressing the left start button FREQUENCIES CHANNELS NOTE The receiver will automatically detect and swit...
Page 27: ...mains active until the button is pressed again NOTE Before starting to perform these settings make sure that the stop relays are deactivated NOTE The settings options depend on the selected Operating...
Page 28: ...at Operating mode that is selected in the receiver The relays that have a direction function have automatic interlocking between opposite directions e g up and down The relays that have a button funct...
Page 29: ...same plastic bag n When improperly disposed lithium batteries may short circuit causing them to become hot burst or ignite n Store in a cool location Keep batteries away from direct sunlight high temp...
Page 30: ...ights red and the internal buzzer beeps 3 times 2 Put the charger plug into the socket in the back of the transmitter While charging the top LED flashes red 3 The external battery can also be charged...
Page 31: ...echarging anduse Batteries can be replacedwhen they are no longer capable of holding 80 of their original capacity Users shouldconsider how frequently an oldbattery is rechargedcomparedto when it was...
Page 32: ...e warranty n Faults resulting from normal wear and tear n Parts of a consumable nature n Products that have been subject to unauthorized modifications n Faults resulting from incorrect installation an...
Page 33: ......