Tektronix 7A16A, Instruction Manual
The Tektronix 7A16A Instruction Manual is available for free download from manualshive.com. This comprehensive manual provides detailed information and guidance on effectively using the Tektronix 7A16A product. Explore its features and functionalities through the downloadable manual, empowering you to make the most of this powerful device.
Share
Download


Reviews:
No comments
Related manuals for 7A16A

C320
Brand: NAD Pages: 36

C320
Brand: NAD Pages: 3
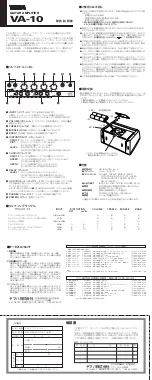
VA-10
Brand: Yamaha Pages: 4

310
Brand: NAD Pages: 2

PW1
Brand: Icom Pages: 13

TFX3
Brand: Laney Pages: 7

Richter Bass RB2
Brand: Laney Pages: 16

LX15
Brand: Laney Pages: 24

EA120
Brand: Laney Pages: 6

PX300.4
Brand: JBL Pages: 27

325LA
Brand: E&I Pages: 16

OMX-LAS2
Brand: Ocean Matrix Pages: 3

SIGNATURE 2.1
Brand: Harman Kardon Pages: 12
Stereo 60 MK III M
Brand: icon Audio Pages: 9

Custom Reverb 36WE Georg Wadenius Signature
Brand: Olsson Pages: 8

ELP 36.4
Brand: B52 Pages: 31

RMA 500.2
Brand: Roswell Pages: 20

BASSCUBE 821
Brand: Cambridge SoundWorks Pages: 16


