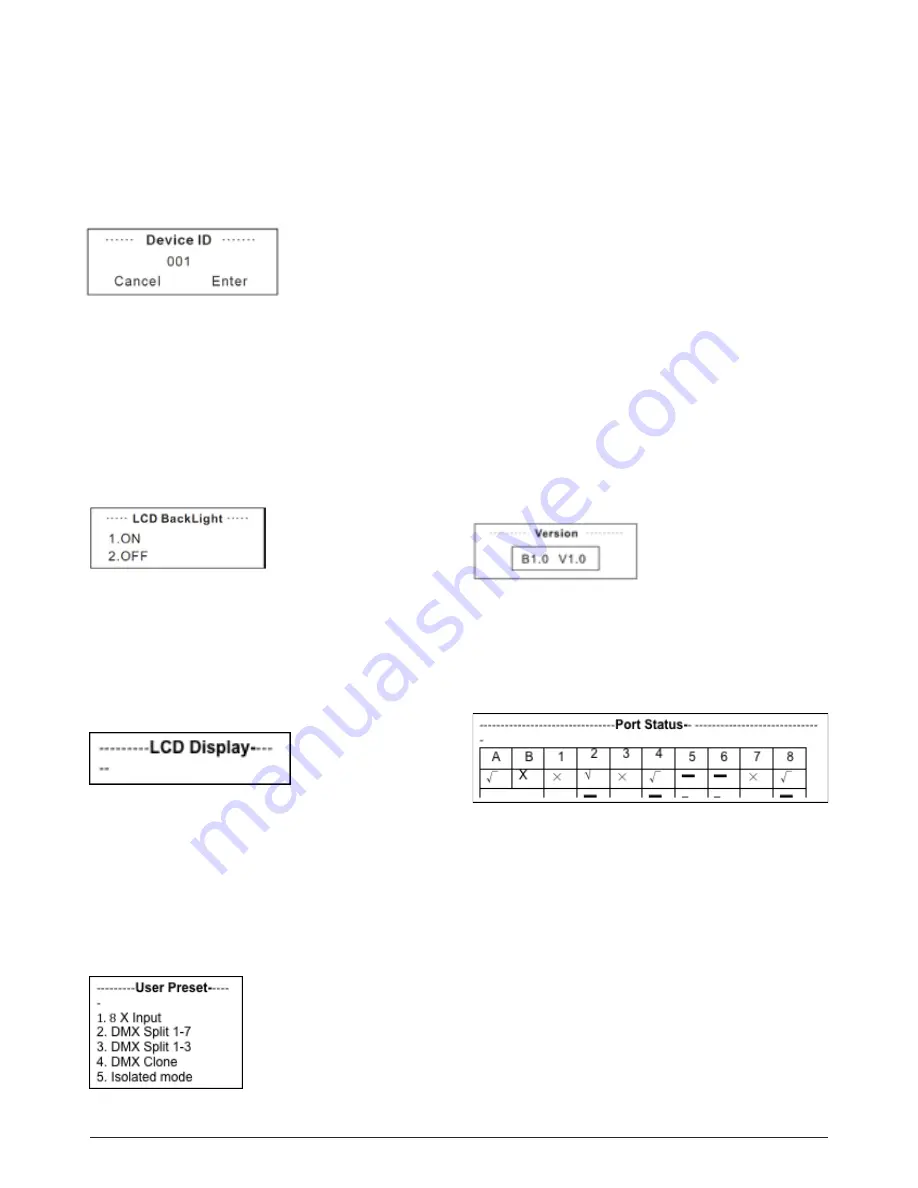
5.6 Set Device ID
Enter into the main menu by press MENU button, then press-
ing UP / DOWN to choose the
Set Device ID option, then press
the ENTER to confirm your selection. Press the ID No. (for ex-
ample: 001) and press the ENTER to enter and press UP and
DOWN to choose the ID No. for the unit from 000 to 255. The
ID is only used to recognize each of the unit easily.
5.7 Set LCD Backlight
Enter into the main menu by press MENU button, then press-
ing UP / DOWN to choose the
Set LCD Backlight option and
then press the ENTER to confirm your selection. You can
choose its status as ON/OFF. “ON” means the
LCD backlight
will turn on all the time. “OFF” means the LCD backlight will
turn off automatically after idle 30 seconds.
5.8 Set Display
Enter into the main menu by press MENU button, then press-
ing UP / DOWN to choose the
Set Display option and then
press the ENTER to confirm your selection. If you choose In-
version, the words will display inversely.
5.9 User Preset
Enter into the main menu by press MENU button, then press-
ing UP / DOWN to choose the
User Preset option and then
press the ENTER to confirm your selection. This setting help
you easily use the application avoid complicated setup pro-
cedure. You can simply choose you desired mode by pressing
UP and DOWN.
1) 8 x Input: Make the 8 DMX port as Input status.
2) DMX Split 1-7: This setting will help you make the unit
as one splitter which with one DMX input to 7 DMX output.
Please note that the LED indicator of the DMX Output port
will light up in green.
3) DMX Split 1-3: This setting will help you make the unit
as one splitter which with one DMX input to 3 DMX output.
Please note that the LED indicator of the DMX Output port
will light up in green.
4) DMX Clone: Direct through mode, the preset is used to
replicate a standard DMX signal from 4 (1-4) Input ports to
4(5-8) output ports.
45 Isolated Mode: Set eight ports as output.
5.10 Set Default
All of the setting including the device name, device ID as well
as device IP will be restored to the original status.
5.11 Version
You can check the version number from this option.
6. Port Status
Under the standby status mode, you can press UP/DOWN to
move onto the
Port Status display page. Here you can see
the status of every port. Please check the below chart for de-
tails.
p. 4
NAVIGATOR NODE
ENGLISH VERSION


