


Appendix Toxic or Hazardous Materials or Elements
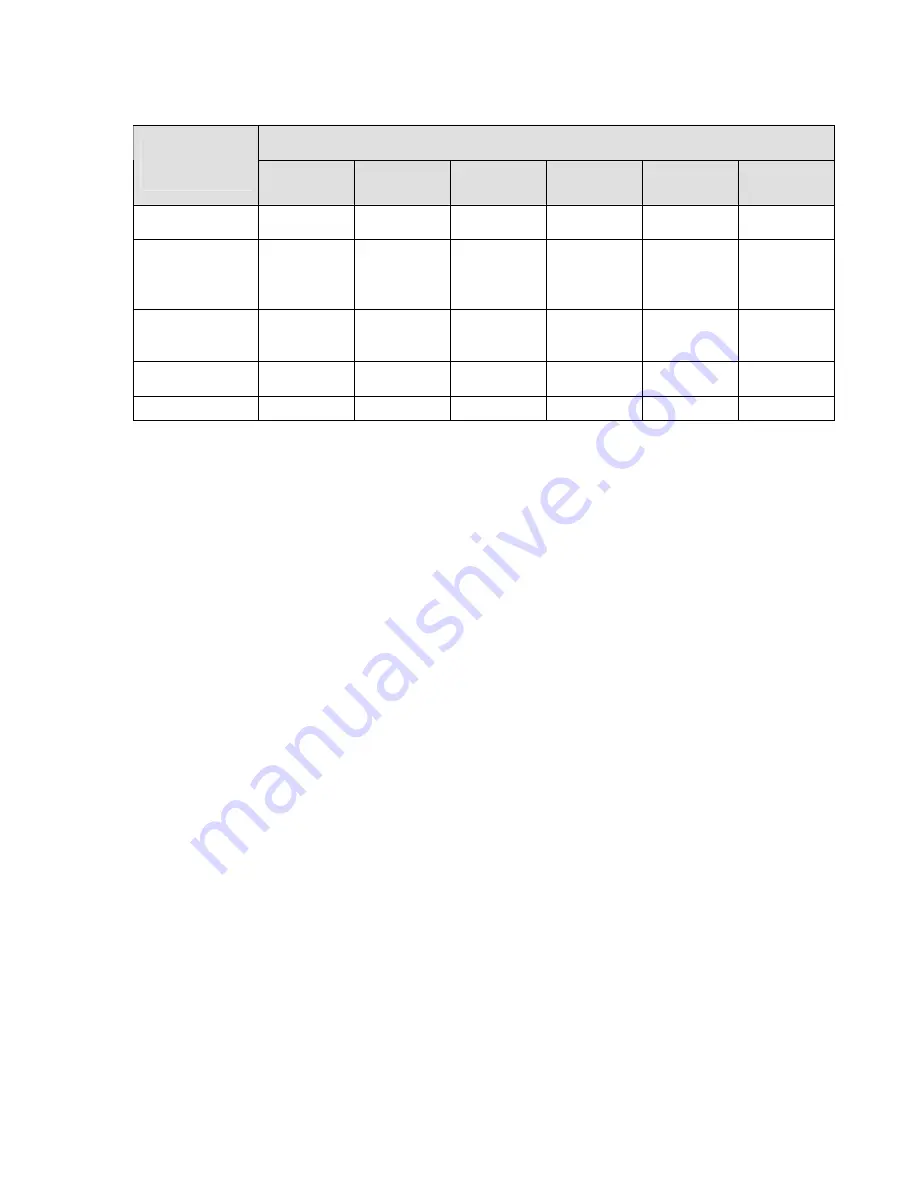
Toxic or Hazardous Materials or Elements
Component
Name
Pb
Hg
Cd
Cr VI
PBB
PBDE
Circuit Board
Component
○
○
○
○
○
○
Device
Construction
Material
○
○
○
○
○
○
Wire and Cable
○
○
○
○
○
○
Packing
Components
○
○
○
○
○
○
Accessories
○
○
○
○
○
○
O: Indicates that the concentration of the hazardous substance in all homogeneous materials in the
parts is below the relevant threshold of the SJ/T11363-2006 standard.
X: Indicates that the concentration of the hazardous substance of at least one of all homogeneous
materials in the parts is above the relevant threshold of the SJ/T11363-2006 standard. During the
environmental-friendly use period (EFUP) period, the toxic or hazardous substance or elements
contained in products will not leak or mutate so that the use of these (substances or elements) will not
result in any severe environmental pollution, any bodily injury or damage to any assets. The consumer
is not authorized to process such kind of substances or elements, please return to the corresponding
local authorities to process according to your local government statutes.
Note
z
This user’s manual is for reference only. Slight difference may be found in user interface.
z
All the designs and software here are subject to change without prior written notice.
z
If there is any uncertainty or controversy, please refer to the final explanation of us.
z
Please visit our website for more information.