S E L E C T I O N
T H E S T R E N G T H E V O L U T I O N
1
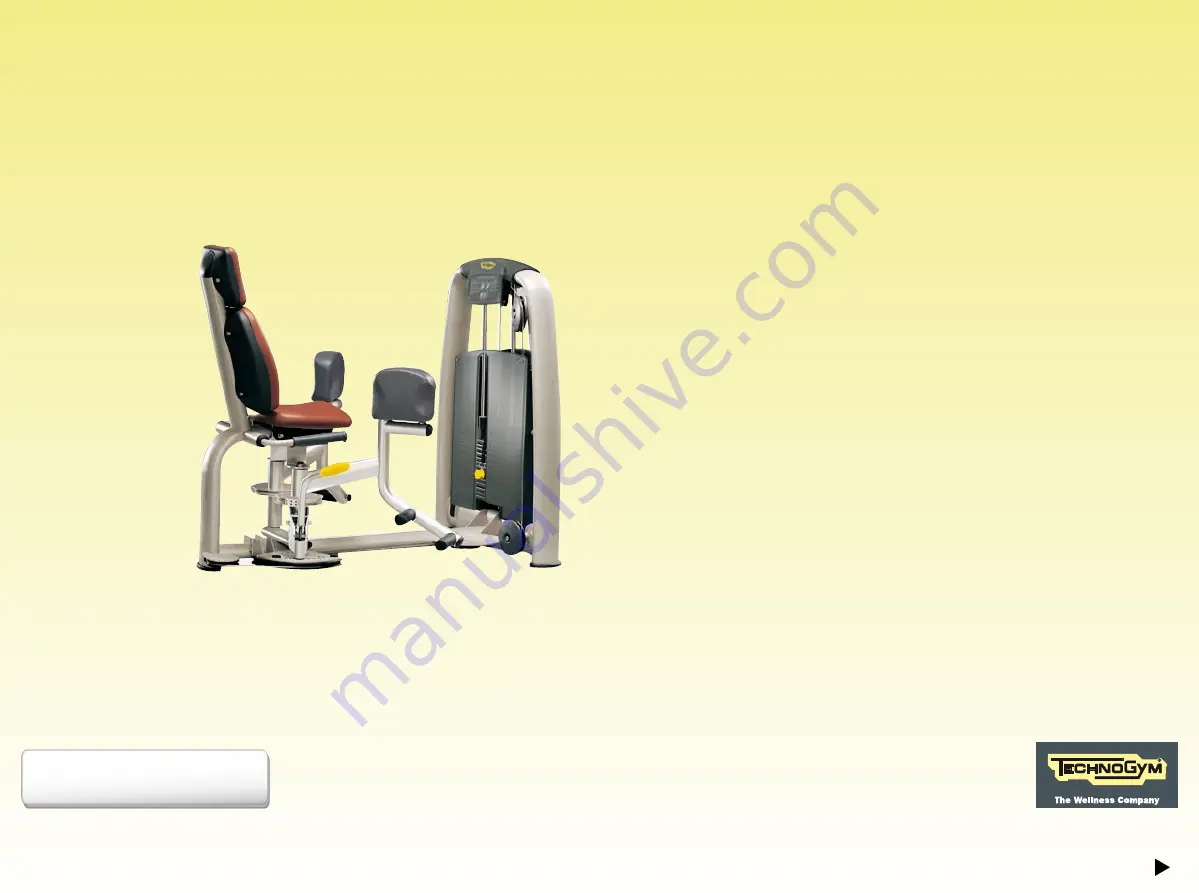
Adductor
User manual
All equipment
Page 1: ...S E L E C T I O N T H E S T R E N G T H E V O L U T I O N 1 Adductor User manual All equipment...
Page 2: ...ices and warnings 6 Place of installation 8 Fitting the number holder 9 Lifting and moving the equipment 10 Routine maintenance 12 Replacing the padded parts 13 Replacing the cable 14 Adjusting cable...
Page 3: ...aximumuser sbodyweight 180kg Maximumtrainingweight seeweightblock C97911100001 a D E A B C F Identification of the manufacturer and equipment The equipment and manufacturer identification plate affixe...
Page 4: ...sted so as to modify the range of motion by using the ROM device D ROM device system for adjusting the Range of Motion and the starting position Adjustments are made by means of the ROM lever E F Weig...
Page 5: ...Adductor 5 1380 mm 54 850 mm 34 1415 mm 56 1195 mm 47 194 kg 428 lb 230 kg 507 lb 70 kg 140 lb 100 kg 200 lb Technical data...
Page 6: ...corners All parts which come into contact with the user s body are suitably protected with rubber coverings or padding Pay particular attention to the parts of the equipment with labels indicating BE...
Page 7: ...ormation about possible risks and hazards We recommend immediately replacing the labels when they become damaged or difficult to read This symbol accompanies safety warnings It is used to draw attenti...
Page 8: ...o make the area a safe and relaxing place to exercise sufficient clearance on all sides of the equipment taking into account its maximum dimensions when in use to ensure safety a flat stable and vibra...
Page 9: ...g facing the equipment attach the number holder on the left on the cover of guide rail A Find the place where the two screws B are to be inserted Attach the number holder using the two screws the pres...
Page 10: ...e equipment on the weight stack side using a pallet truck or fork lift truck and for greater safety place a wedge under the frame to keep the equipment raised Insert the two fixed castors first on one...
Page 11: ...he floor WARNINGS When moving the equipment we recommend pushing it only from the weight stack side and not from any other side When lifting the equipment do not exert pressure against the weight stac...
Page 12: ...using a damp sponge Do not use chemicals or solvents WARNING Be careful not to rub too hard on the drawings and instructions shown on the labels To oil the weight stack guide rails remove the protecti...
Page 13: ...adding shows signs of wear especially in the interests of hygiene we recommend replacing them completely To replace seats and backrests loosen the screws on the opposite side to the padding Kneepads c...
Page 14: ...ctive panel covering the weight stack following the instructions found in the paragraph headed Removing the front weight stack panel unscrew the screws A back off the lock nut B and unscrew the adjust...
Page 15: ...some of the slack in the weight stack cable using adjuster C after loosening lock nut B WARNING To pull the cable taut after replacement it may be helpful when tightening the screws A to insert a thic...
Page 16: ...t protective weight stack panel is fixed to the frame by eight screws To remove the panel you must unscrew the four screws A unscrew the four screws B while holding the panel with one hand remove the...
Page 17: ...ginal spare parts When contacting the Technogym Technical Support Service please specify the following details equipment model date of purchase serial number precise description of the problem WARNING...
Page 18: ...nged period we recommend storing it in a clean and dry place covered with a cloth to protect it from dust in an environment with a temperature between 10 C and 25 C and a humidity between 20 and 90 Us...
Page 19: ...play with it Do not dump the equipment in the environment or in public areas or private areas accessible to the public The equipment is made from recyclable materials such as steel aluminium and plas...
Page 20: ...e kneepads together Select the workload with the pin B Position your feet on the footrest C so that your knee joints align with the centre of the kneepads D Lift the lever A on your right to select th...
Page 21: ...smooth controlled speed through the movement while staying in control of the weight Do not allow plates to touch during the set At the end of the exercise lift the lever on your right and move the pa...