
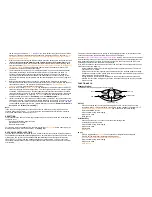
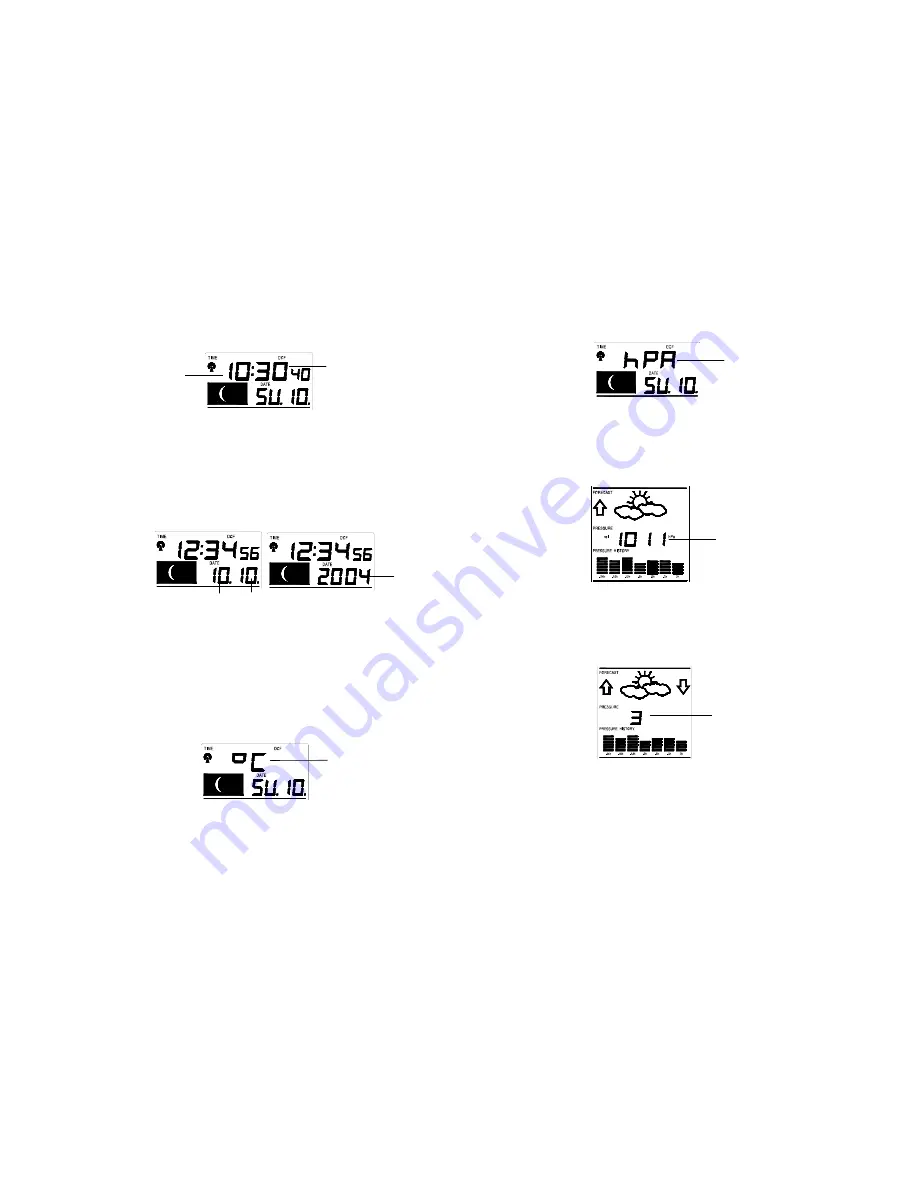
MANUAL TIME SETTING:
In case the Weather Station cannot detect the DCF-signal (for example due to disturbances,
transmitting distance, etc.), the time can be manually set. The clock will then work as a normal
Quartz clock.
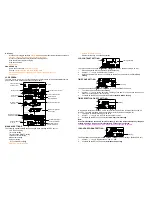
1.
The hour digit will start flashing.
2. Use
the
OUT/+
key to set the hour.
3.
Press again the SET key to set the minutes. The minute digits start flashing.
4. Use
the
OUT/+
key to set the minutes.
5.
Confirm with the SET key and enter the
Calendar setting
.
Note:
The unit will still try and receive the signal every hour
despite it being manually set. When it does
receive the signal, it will change the manually set time into the received time. During reception
attempts the DCF tower icon will flash. If reception has been unsuccessful, then the DCF tower icon
will not appear but reception will still be attempted the following hour.
CALENDAR SETTING:
The date default of the Weather station is 1. 1. in the year
2004
. Once the radio-controlled time
signals are received, the date is automatically updated. However, if the signals are not received, the
date can also be set manually.
1.
The year starts flashing.
2. Use
the
OUT/+
key to set the year (between year
2003-2029
).
3.
Press the SET key again to confirm and to enter the month setting. The month starts flashing.
4. Use
the
OUT/+
key to set the month.
5.
Press the SET key again to confirm and to enter the date setting mode. The date starts
flashing.
6. Use
the
OUT/+
key to set the date.
7.
Confirm all calendar settings with the SET key and enter the
Temperature unit setting
.
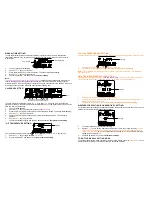
°C/°F TEMPERATURE SETTING:
The temperature display can be selected to show temperature data in °C or °F (Default °C).
1. Use
the
OUT/+
key to toggle between “°C” or “°F”.
2.
Confirm with the SET key and enter the
Air pressure unit setting.
hPa / inHg PRESSURE UNIT SETTING:
The pressure display can be selected to show relative air pressure in hPa or inHg ( default is “hPa”).
1.
Use the OUT/+ key to toggle between “hPa” or “inHg” unit
2.
Confirm with the SET key and enter the
Relative air pressure value setting
.
Note
: Units of weather icon sensitivity and air pressure history are not affected. They are always
expressed in hPa.
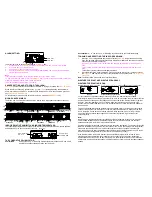
RELATIVE AIR PRESSURE VALUE SETTING
The default relative pressure value is
1013 hPa (29.92 inHg
). This can be manually set to another
value within the range of 960 – 1040 hPa (28.35 – 30.72 inHg) for a better reference.
1.
The current relative pressure value will start flashing
2.
Use the OUT/+ key to increment and IN key to decrement the value. Keep holding the key
allows the value to advance faster.
3.
Confirm with the SET key and enter the
Weather forecast icon sensitivity setting
.
WEATHER FORECASTING ICON SENSITIVITY SETTING:
For locations with rapid changes of weather conditions, the weather icons sensitivity can be set to a
different level for faster display of weather conditions.
1.
The current sensitivity value will start flashing.
2. Use
the
OUT/+
key to set the weather sensitivity level. There are 3 levels of setting:
2, 3 and
4. The value corresponds to the change of air pressure in hPa before the weather icon will
switch to another state.
Level
2
is the most sensitive setting, level
4
is the slowest recording
setting (default setting is "
3
").
3.
Confirm with the SET key and exit the
Manual settings
.
TO EXIT THE MANUAL SETTING MODE
To exit the manual setting mode anytime during the manual setting, press the
SNOOZE/CH
key or
wait for automatic timeout. The mode will return to normal time display.
Hour flashing
Minutes flashing
Year
Date and month (24hr time format)
Month and date (12hr time format)
Flashing
Flashing
Flashing
Flashing