


Technisat
DigitRadio 80
14
Setting Equaliser
This feature enables you to set a sound equalization profile. The equalization setting will change the
tone of the sound from your radio.
1. Press
MENU
button, and then turn
NAVIGATE
knob to select
Equaliser
, and then press
ENTER
button
to confirm.
2. Turn
NAVIGATE
knob to select Bass or Treble, and then press
ENTER
button to confirm.
3. Turn
NAVIGATE
knob to change the value of Bass or Treble among ‘-3’ to ‘+3’, and then press
ENTER
button to confirm.
Setting Time
1. Press
MENU
button, and then turn
NAVIGATE
knob to select
Time
, press
ENTER
button to
confirm.
2. Turn
NAVIGATE
knob to select options, and then press
ENTER
button to confirm the setting.
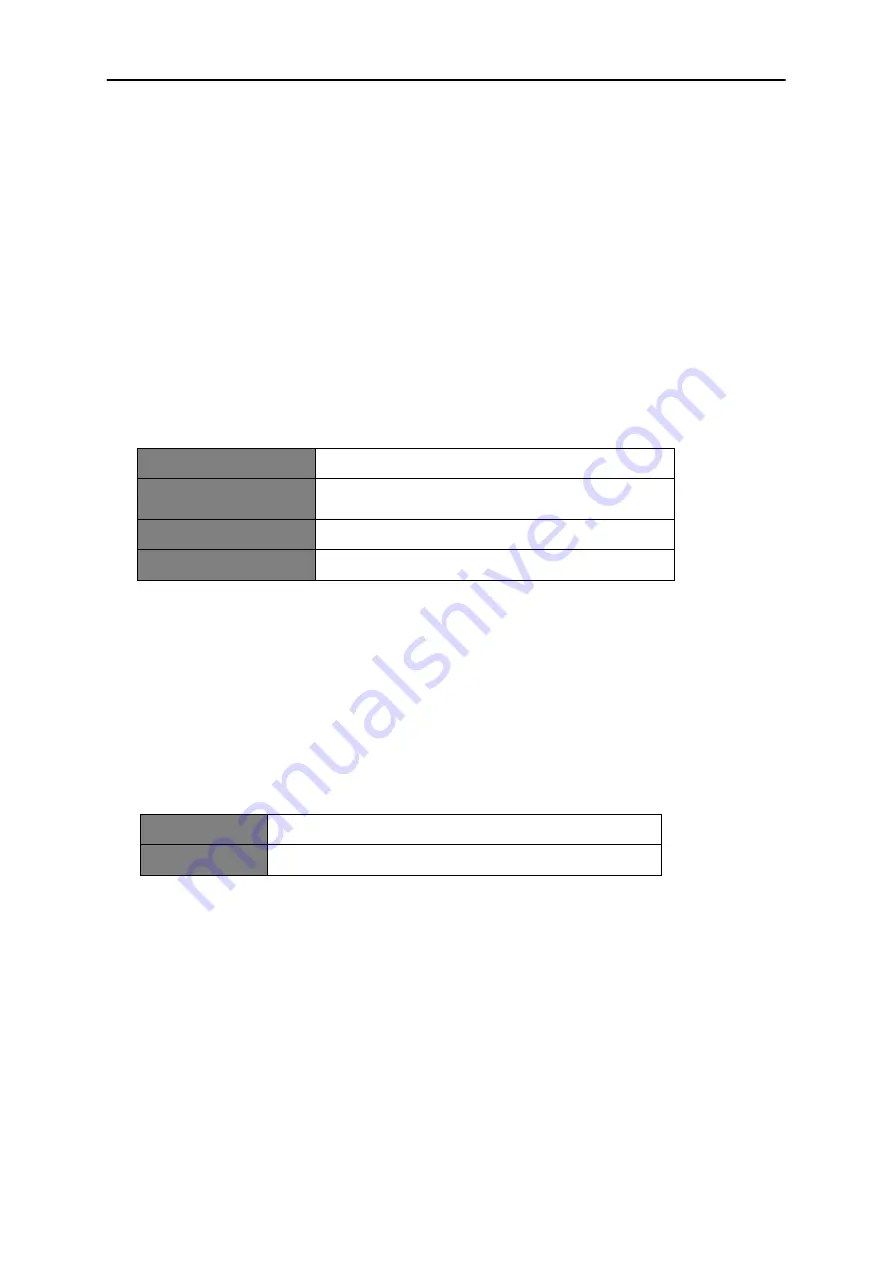
Set Time/date:
Manually set-up both Time and Date
Auto update:
‘Update from Any’, ‘Update from DAB’, ‘Update
from FM’ or ‘No update’
Set 12/24 hour format:
‘Set 24 hour’ or ‘Set 12 hour’
Set date format:
‘DD-MM-YYYY’ or ‘MM-DD-YYYY'
3. Then setting time according to your personal preference.
Setting Backlight
1. Press
MENU
button, and then turn
NAVIGATE
knob to select
Backlight
, press
ENTER
button to
confirm.
2. Turn
NAVIGATE
knob to select ‘
Power on
' or '
Standby
', and then press
ENTER
button to
confirm.
3. Turn
NAVIGATE
knob to select backlight level, and then press
ENTER
button to confirm the
setting.
Power on
Level 1, Level 2, Level 3, Level 4 or Level 5
Standby
Off, Level 1, Level 2, Level 3, Level 4 or Level 5
Setting Language
This feature enables you to change menu language. The default menu language is German.
1. Press
MENU
button, and then turn
NAVIGATE
knob to select
Language
, press
ENTER
button
to confirm.
2. Turn
NAVIGATE
knob to select your language, and then press
ENTER
button to confirm.
Summary of Contents for DigitRadio 80
Page 1: ......


