English
- 11 -
Switching the TV On/Off
To Switch the TV On
• Connect the power cord to the 220-240V AC, 50 Hz.
Then the standby LED lights up.
• To switch on the TV from standby mode either:
• Press the “
” button,
P+
/
P-
or a numeric button
on the remote control.
• Press the STANDBY button,
-P/CH
or
P/CH+
button
on the TV. The TV will then switch on.
Note
: If you switch on your TV via PROGRAMME
UP/DOWN buttons on the remote control or on the
TV set, the programme that you were watching last
will be reselected.
By either method the TV will switch on.
To Switch the TV Off
• Press the “
” button on the remote control or press
the STANDBY switch on the TV, so the TV will switch
to standby mode.
•
To power down the TV completely, unplug the
power cord from the mains socket.
Note: When the TV is switched to standby mode,
standby LED can blink to indicate that features such
as Standby Search, Over Air Download or Timer is
active.
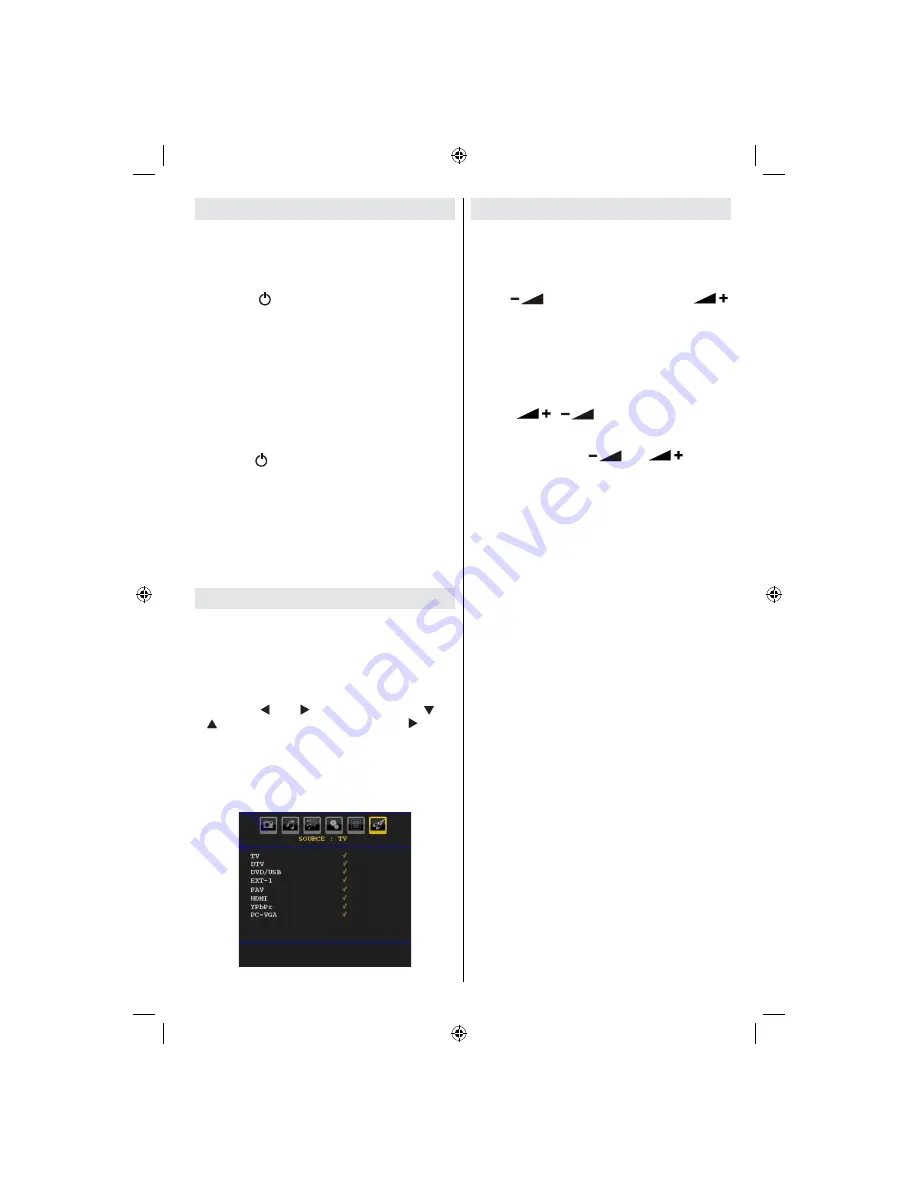
Input Selection
Once you have connected external systems to your
TV, you can switch to different input sources.
• Press
SOURCE
button on your remote control for
directly changing sources.
or,
• Select “
Source
” option from the main menu
by using “ ” or “ ” button. Use then “ ” or
“ ” button to highlight an input and press “ ” button
to select.
Note
: You can mark desired source options by
pressing the
OK
button. Therefore, when
SOURCE
button is pressed, only the marked source options will
be available (except for the TV source).
Basic Operations
You can operate your TV using both the remote
control and onset buttons.
Operation with the Buttons on the TV
Volume Setting
• Press “
” button to decrease volume or “
”
button to increase volume, so a volume level scale (slider)
will be displayed on the screen.
Programme Selection
• Press “
P/CH +
” button to select the next programme or
“
P/CH -
” button to select the previous programme.
Viewing Main Menu
• Press “
”
/
“
” buttons at the same time
to view main menu. In the Main menu select sub-
menu using “
P/CH -
” or “
P/CH +
” buttons and enter
the sub-menu using “
” or “
” buttons.
To learn the usage of the menus, refer to the menu
system sections.
AV Mode
• Press the “
TV/AV
” button in the control panel on the
TV to switch between AV modes.
Operation with the Remote Control
• The remote control of your TV is designed to control
all the functions of the model you selected. The
functions will be described in accordance with the
menu system of your TV.
• Functions of the menu system are described in the
following sections.
Volume Setting
• Press
V+
button to increase the volume. Press
V-
button to decrease the volume. A volume level scale
(slider) will be displayed on the screen.
Programme Selection (Previous or Next
Programme)
• Press “
P -
” button to select the previous
programme.
• Press “
P +
” button to select the next programme.
Programme Selection (Direct Access)
• Press numeric buttons on the remote control to select
programmes between 0 and 9. The TV will switch
to the selected programme. To select programmes
between 10 och 299 (for Digital TV) eller 10-199 (för
analog), press the numeric buttons consecutively.
The limit of the delay time is 3 seconds.
• Press directly the programme number to reselect
single digit programmes.
[GB]_MB25_(01-TV)_COST_1900UK_PEUIDTV_22855W_NICKEL5_10065841.indd 11
[GB]_MB25_(01-TV)_COST_1900UK_PEUIDTV_22855W_NICKEL5_10065841.indd 11
02.11.2009 15:00:09
02.11.2009 15:00:09
Summary of Contents for LCD22-921
Page 51: ...50157421 ...