background image

4

IMPORTANT SAFETY INSTRUCTIONS

Please read these instructions. All the safety and operating instructions should be read before the 
appliance is operated.

Warnings

• 

To reduce the risk of fi re, electric shock or 
damage to the television, do not expose it to 
dust, rain or moisture, or place any objects fi lled 
with liquids on or near the television.

• 

Do not place the television in a confi ned space. 
Ensure that nothing can obstruct the ventilation 
openings at the rear of the television.

• 

Dispose of this television and any components 
including batteries in an environmentally friendly 
manner. If in doubt, please contact your local 
authority for details of recycling.

Safety

• 

For your safety, this appliance is fi tted with a 
fused moulded 3 pin mains plug. Should the 
fuse need to be replaced, ensure that any 
replacement is of the same amperage and 
approved with the BSI mark. 

• 

Never try and replace the mains plug unless 
you have adequate qualifi cations and are 
legally authorised to do so. In the event that a 
replacement Mains cable is required, contact the 
manufacturer for a suitable replacement.

• 

Never use the television if it is damaged in 
any way.

• 

Always place the television on a fl at level surface 
avoiding anywhere which may be subject to 
strong vibration. 

• 

Ensure the television is not placed on top of the 
power cable as the weight of the television may 
damage the cable and cause a safety hazard.

• 

Never place mobile phones, speakers or any 
other device which may cause magnetic or radio 
interference, near the television. If interference 
is apparent, move the device causing the 
interference away from the television.

• 

To disconnect the apparatus from the mains, 
please use the mains plug located on the 
underside/rear of the TV. The mains plug shall 
remain readily operable.

• 

When installing on a wall, ensure the TV is at 
least 5cm from the wall for ventilation.

• 

Ensure that the power switch on the unit and the 
mains plug are always easily accessible.

WARNING: Excessive noise when using earphones 
and headphones can cause loss of hearing.

Maintenance

• 

To clean this unit, wipe with a soft, dry cloth. If 
the surfaces are extremely dirty, use a soft cloth 
dipped in a soap and water solution or a weak 
detergent solution.

• 

Never use alcohol, paint thinner or benzene to 
clean this unit.

• 

Before using a chemically treated cloth, read the 
instructions that came with the cloth carefully.

CAUTION:

 If water or other liquid enters the 

television through the display panel surface, a 
malfunction may occur.

Packaging

• 

The safest way to transport your item is in 
the original box/packaging - please save your 
packaging for this.

• 

You will need original box/packaging in the 
event of warranty/service repair or support. 
We are unable to carry out warranty/service if 
you are unable to package the item correctly. 

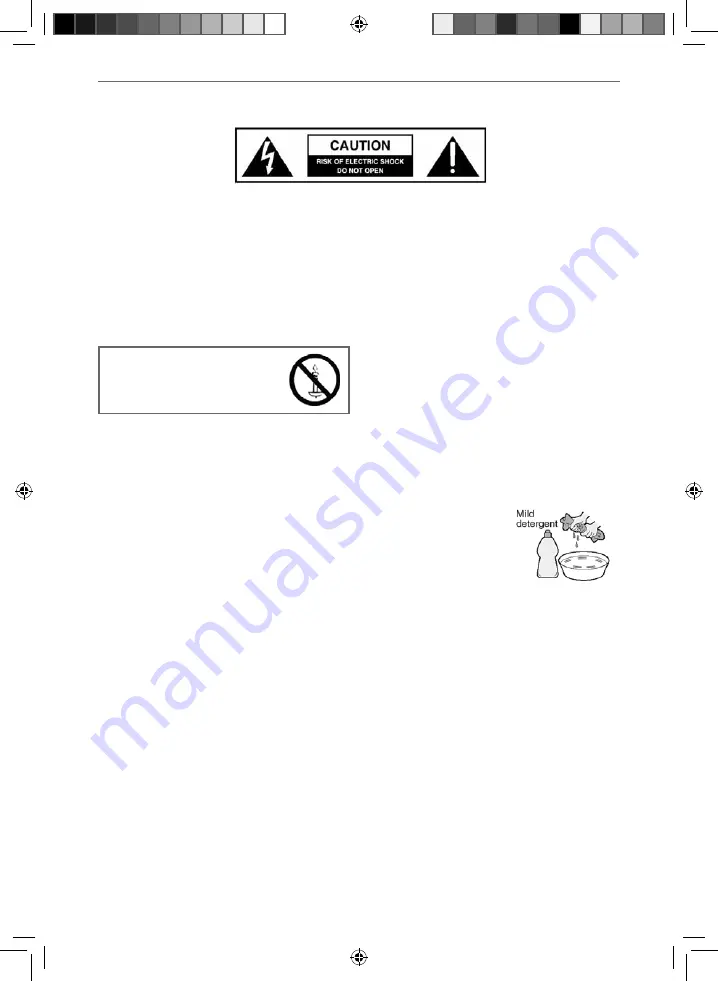
To prevent spread of fi re, 
keep candles or other open 
fl ames away from this 
product at all times

User Guide -Technika - 32F21B-FHD - 32F21B-FHD-DVD - TEC-MAN-0085.indd   Sec1:4

User Guide -Technika - 32F21B-FHD - 32F21B-FHD-DVD - TEC-MAN-0085.indd   Sec1:4

12/19/2014   3:15:51 PM

12/19/2014   3:15:51 PM

Summary of Contents for 32F21B-FHD

Page 1: ...32F21B FHD 32F21B FHD DVD 32F21W FHD DVD Full HD LED TV with Freeview USB Media Player User Guide Model No...

Page 2: ...ny other device which may cause magnetic or radio interference near the television If interference is apparent move the device causing the interference away from the television To disconnect the appar...

Page 3: ...cing displays especially if they are bright and stationary Moving or low contrast graphics are less likely to cause ageing of the screen Time Displays Teletext Do not view a stationary page for a long...

Page 4: ...ng 10 Remote Control 11 TV Buttons and Input Source Menu 12 Connections 13 15 TV Menu Operation 17 24 Channel Menu 17 Picture Menu 18 19 Sound Menu 20 21 Time Menu 22 System Hotel Lock Menu 23 Setup M...

Page 5: ...aging as you will need this in the event of warranty service repair or support We are unable to carry out warranty service if you are unable to package it correctly The safest way to package your item...

Page 6: ...d neck from the rear of the TV set When securing the self tapping screw s into the base of the stand on rst installation the screw s will be naturally tight as they create a thread in the plastic of t...

Page 7: ...are available from supermarket websites and other websites and are an easy inexpensive and effective way of ensuring your TV stays safely upright Straps are designed to be attached to the rear of the...

Page 8: ...the sleep options AUDIO To change the audio language if available SUBTITLE To switch the dialogue at the bottom of the screen on off TEXT To enter exit Teletext Analogue TV TEXT HOLD Teletext mode Hol...

Page 9: ...t in DVD players 8 9 Example of Source menu depending on the TV model 3 1 1 2 2 3 3 4 4 5 5 6 6 7 7 Component YPbPr Choosing Mode Input Source To switch between the different input connections For fur...

Page 10: ...DMI 1 HDMI input HDMI 2 HDMI input VGA PC VGA PC input VGA PC Audio In 3 5mm PC audio input RF IN RF TV Aerial Input HDMI 3 HDMI input USB USB port CI CARD IN Common Interface module A I K M B J L C D...

Page 11: ...or it will need to be connected via the VGA input it can not be used as a PC laptop monitor via the HDMI input The HDMI Input is provided to view digital content with compatible external devices CONNE...

Page 12: ...C AUDIO IN AUDIO OUT Mini YPbPr Y PB PR L R L R Connecting to an external audio device Ampli ers Surround Sound Sound Bars etc When connecting via the TV s 3 5mm Earphone output this will disable the...

Page 13: ...es Analogue Manual Tuning Allows you to manually tune your analogue device Freeview Manual Tuning Allows you to manually tune your digital signal Channel Edit Allows you to delete move skip and add fa...

Page 14: ...olour from black and white Tint Lets you increase or decrease the level of tint within the picture only available in VGA PC source mode Sharpness Increase or decrease the sharpness of the picture Nois...

Page 15: ...d in to ll the screen Will display the picture from the broadcaster without any change 14 9 4 3 Displays the 14 9 picture in the correct proportion As a result side bars are shown on the screen Displa...

Page 16: ...ie Provides live and full sound for movies Sports Emphasises sound for sports Personal Selects your personal sound settings Tip Treble and bass levels can only be adjusted when the sound mode Personal...

Page 17: ...happening during the selected programme for a person who is visually impaired Audio Delay Enables the user to adjust setting to sync picture and audio To access this menu press MENU button on the remo...

Page 18: ...10min 20min 30min 60min 90min 120min 180min 240min Auto standby Set Auto standby between 3 hours 4 hours and 5 hours to turn off this function you must exit Home Mode in the Picture Menu OSD Timer Let...

Page 19: ...the default channel on the Digital source The default channel is the channel the TV starts on when rst switched on Source Lock Allows you to lock the source menu Channel Lock Allows you to lock certa...

Page 20: ...the operation of the television available to download This menu lets you install the new software rmware onto the television Further details of how to do this will be issued with the rmware Contact th...

Page 21: ...uivalent to a normal television 1 2 Set this to listen with a smaller difference between the maximum and minimum volume 1 4 Set this to listen with a smaller difference between the maximum and minimum...

Page 22: ...following 7 Day TV Guide will appear 2 Navigate through the menu using You can now Record a programme by pressing RED USB device must be connected Set a reminder by pressing GREEN View a previous day...

Page 23: ...ortable hard drive larger than 32GB please refer to the FAQ section at the rear of this user guide Tip When you switch the TV to standby or change channel the Time Shift memory is wiped To restart tim...

Page 24: ...nt types of content that you have saved on your USB Memory Stick On switching to USB source the below menu screen will appear The content will be divided into Photo Music Movie and Text based on le ty...

Page 25: ...de that channel 6 is the best option for you 3 Press the corresponding number on the remote control to select the desired analogue channel chosen as per point 2 above 4 On the TV remote control press...

Page 26: ...menu section of the manual of how to do this VCR DVD Recorder I have connected the TV to my VCR or DVD Recorder via SCART but it is not recording In addition to connecting via SCART you should connect...

Page 27: ...ard drives Please refer to the web site for more information USB Record TV models only I cannot change the channel access the menu or use the red button During Time Shift you cannot change the channel...

Page 28: ...VD 32F21W FHD DVD Models with inbuilt DVD player Energy effiency class A Visible screen size diagonal 81 cm 32 inches On mode model average power consumption 31 W Annual energy consumption 1 45 kWh St...

Page 29: ...320Kbps Channel Mono Stereo wma WMA m4a aac AAC Sample Rate 16K 48KHz Bit rate 32K 442Kbps Channel Mono Stereo Photo jpg jpeg Progressive JPEG Max Resolution 1024x768 Baseline JPEG Max Resolution 8192...

Page 30: ...User Guide Technika 32F21B FHD 32F21B FHD DVD TEC MAN 0085 indd Sec1 36 User Guide Technika 32F21B FHD 32F21B FHD DVD TEC MAN 0085 indd Sec1 36 12 19 2014 3 16 21 PM 12 19 2014 3 16 21 PM...

Reviews: