Playback
The saved files are viewable in the APP by start the APP and click on the
file system folder.
For saving the files in the PC programm you have to set a file directory
path for captured files by click on the first option “File” and set a path.
PC Software
PC camera mode
– Connect the Microscope with the attached data
Micro-USB cable and to the PC. Wait for detecting the device. Put the
attached disc to your CD-drive. Or download the software from our page:
and use the search function on the bottom of
the page.
Start the software
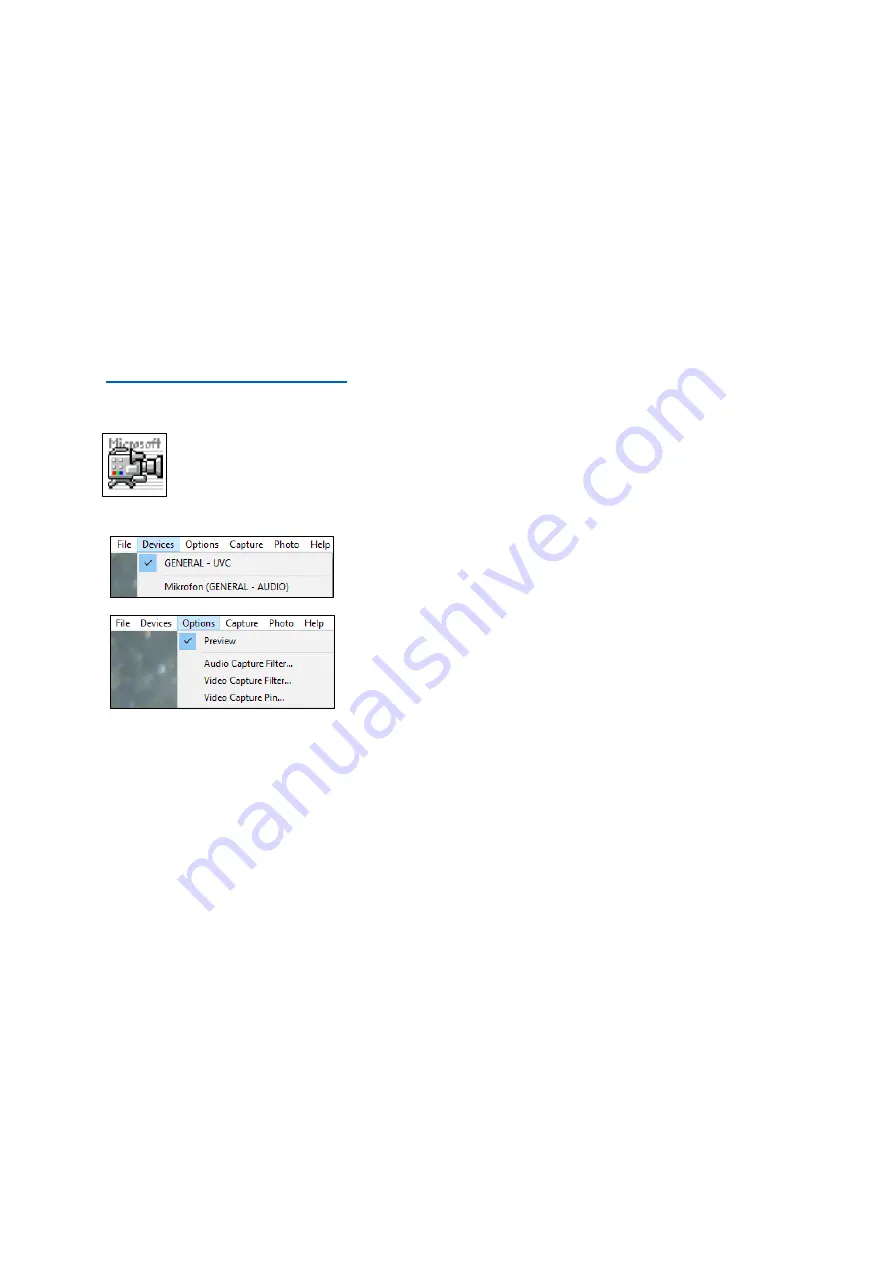
“Amcap” with the disc which is attached to the
package. Note: Be sure the device is detected from the PC first.
The device automatically enters the PC camera mode after connect it
with the PC. Open the software
“Amcap” on
the computer and select
the option “Devices”.
The device name is GENERAL-UVC (Picture
1). Finally select under Options -
“Preview” to
display the live image of the WiFi Microscope
(Picture 2). In PC mode, on/off key and
supplement light potentiometer are valid and
other keys are not available.
To make videos enter the option “Capture” and press “Start Capture”.
To make pictures enter the option “Photo” and press “Start Photo” or use
the shortcut F3 on your keyboard.
Care and maintenance
Clean the device only with a dry or slightly damp, lint-free cloth.
Do not use abrasive cleaners to clean the device.
This device is a high-precision optical instrument, so in order to avoid
damage, please
●
Do not
use the device in ultra-high or ultra-low temperature
●
Do not
keep it or use it in moist environment for long
●
Do not
use it in rainfalls or in water
●
Do not
deliver or use it in strongly shocking environment
Picture 2
Picture 1


