TEAMWELDER MMA 160 Operating Instructions Manual Download Page 8

Safety instructions 

General 


299-010100-TWD01 

02.09.2015


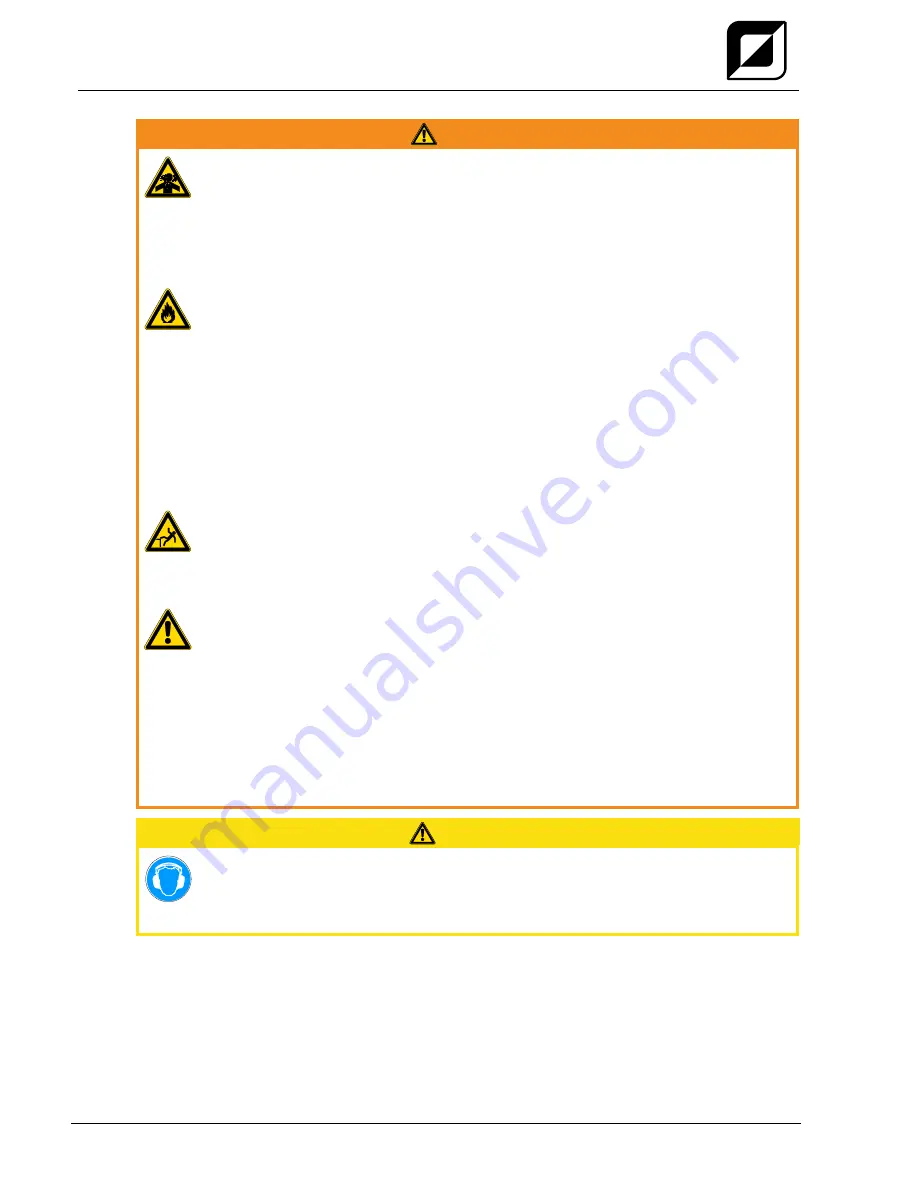
   WARNING


Smoke and gases! 
Smoke and gases can lead to breathing difficulties and poisoning. In addition, solvent 
vapour (chlorinated hydrocarbon) may be converted into poisonous phosgene due to 
the ultraviolet radiation of the arc! 

•  Ensure that there is sufficient fresh air! 
•  Keep solvent vapour away from the arc beam field!  
•  Wear suitable breathing apparatus if appropriate! 


Fire hazard! 
Flames may arise as a result of the high temperatures, stray sparks, glowing-hot parts 
and hot slag produced during the welding process. 
Stray welding currents can also result in flames forming! 

•  Check for fire hazards in the working area! 
•  Do not carry any easily flammable objects such as matches or lighters. 
•  Keep appropriate fire extinguishing equipment to hand in the working area! 
•  Thoroughly remove any residue of flammable substances from the workpiece before 

starting welding. 

•  Only continue work on welded workpieces once they have cooled down. 

Do not allow to come into contact with flammable material! 

•  Connect welding leads correctly! 


Risk of accidents if these safety instructions are not observed! 
Non-observance of these safety instructions is potentially fatal! 

•  Carefully read the safety information in this manual! 
•  Observe the accident prevention regulations in your country. 
•  Inform persons in the working area that they must observe the regulations! 


Danger when coupling multiple power sources

!


Coupling multiple power sources in parallel or in series


has to be carried out by 

qualified personnel and in accordance with the manufacturer's guidelines. Before 
bringing the power sources


into service for arc welding


operations, a test has to verify


that they cannot exceed the maximum


allowed open


circuit voltage. 

•  Connection of the machine


may


be carried out by qualified personnel only! 

•  When decommissioning individual power


sources, all mains and welding current leads


have 

to be safely disconnected from the welding system as a whole. (Danger due to inverse 
voltages

!

•  Do not couple welding machines with pole reversing switch (PWS series) or machines for 

AC welding, as a minor error in operation can cause the welding voltages to be combined. 


   CAUTION


Noise exposure! 
Noise exceeding 70 dBA can cause permanent hearing damage! 

•  Wear suitable ear protection!


•  Persons located within the working area must wear suitable ear protection!


Summary of Contents for MMA 160

Page 1: ...Operating instructions EN Welding machine MMA 160 299 010100 TWD01 02 09 2015...

Page 2: ...explicitly excluded This liability disclaimer is regarded as having been accepted by the user when the system is commissioned The manufacturer can neither monitor the compliance with these instructio...

Page 3: ...1 General 18 5 2 Transport and installation 19 5 2 1 Adjusting the length of the carrying strap 19 5 3 Machine cooling 20 5 4 Workpiece lead general 20 5 5 Mains connection 21 5 5 1 Mains configuratio...

Page 4: ...ons 4 299 010100 TWD01 02 09 2015 6 3 1 Manufacturer s declaration to the end user 30 6 4 Meeting the requirements of RoHS 30 7 Rectifying faults 31 7 1 Machine faults error messages 31 8 Technical da...

Page 5: ...e hazard is also highlighted using a symbol in the page margin CAUTION Working or operating procedures which must be closely observed to prevent possible minor personal injury The safety information i...

Page 6: ...sers must observe Correct Wrong Press Do not press Press and keep pressed Turn Switch Switch off machine Switch on machine ENTER enter the menu NAVIGATION Navigating in the menu EXIT Exit the menu 4 s...

Page 7: ...hocks and burns on contact Even low voltages can cause you to get a shock and lead to accidents Do not touch any live parts in or on the machine Connection cables and leads must be free of faults Swit...

Page 8: ...accidents if these safety instructions are not observed Non observance of these safety instructions is potentially fatal Carefully read the safety information in this manual Observe the accident preve...

Page 9: ...currents Stray welding currents can destroy protective earth conductors damage equipment and electronic devices and cause overheating of components leading to fire Make sure all welding leads are sec...

Page 10: ...ard The user is responsible for any interference caused by welding In order to evaluate any possible problems with electromagnetic compatibility in the surrounding area the user must consider the foll...

Page 11: ...itable for transport by hand only The machine may not be lifted by crane or suspended CAUTION Risk of tipping There is a risk of the machine tipping over and injuring persons or being damaged itself d...

Page 12: ...ties of dust acid corrosive gases or substances may damage the equipment Avoid high volumes of smoke vapour oil vapour and grinding dust Avoid ambient air containing salt sea air Non permissible ambie...

Page 13: ...line with proper usage and by trained or expert staff Do not modify or convert the equipment improperly 3 1 Applications 3 1 1 MMA welding Manual arc welding or for short MMA welding It is characteris...

Page 14: ...Welding in environments with increased electrical hazards In compliance with IEC DIN EN 60974 VDE 0544 the machines can be used in environments with an increased electrical hazard 3 2 4 Service docum...

Page 15: ...of the carrying strap chapter 2 Machine control See 4 3 Machine control Operating elements chapter 3 Connection socket welding current TIG Connection for workpiece lead MMA Electrode holder or workpie...

Page 16: ...00 TWD01 02 09 2015 4 2 Rear view Figure 4 2 Item Symbol Description 0 1 Carrying strap See 5 2 1 Adjusting the length of the carrying strap chapter 2 Main switch machine on off 3 Mains connection cab...

Page 17: ...process changeover switch MMA welding TIG welding 2 Welding current rotary dial Infinite adjustment of the welding current from 10A to maximum current 3 Functional error signal light See 7 Rectifying...

Page 18: ...he welding current connection If the welding current connections are not locked connections and leads heat up and can cause burns if touched Check the welding current connections every day and lock by...

Page 19: ...be lifted by crane or suspended CAUTION Installation site The machine must not be operated in the open air and must only be set up and operated on a suitable stable and level base The operator must en...

Page 20: ...ot allow metal parts dust or other objects to get into the machine 5 4 Workpiece lead general CAUTION Risk of burns due to incorrect connection of the workpiece lead Paint rust and dirt on the connect...

Page 21: ...g the generator always ensure it is earthed as stated in the operating instructions The resulting network has to be suitable for operating devices according to protection class 1 5 5 1 Mains configura...

Page 22: ...er and workpiece lead Polarity depends on the instructions from the electrode manufacturer given on the electrode packaging Figure 5 3 Item Symbol Description 0 1 Workpiece 2 Connection socket for wel...

Page 23: ...nd Hotstart time The hotstart device uses an increased ignition current to improve arc ignition There are presets for the optimum hotstart current and hotstart time parameters on the machine After str...

Page 24: ...shielding gas cylinder valve Observe the instructions from the gas manufacturer and any relevant regulations concerning the use of compressed air Avoid heating the shielding gas cylinder CAUTION Fault...

Page 25: ...n the pressure regulator screw connection on the gas bottle valve to be gas tight Screw the shielding gas connection of the welding torch to the pressure reducer on the shielding gas cylinder Slowly o...

Page 26: ...piece 2 Connection socket for welding current Workpiece lead connection 3 Output side of the pressure regulator 4 Welding torch 5 Connection socket welding current Welding current lead connection for...

Page 27: ...y place the torch gas nozzle and tungsten electrode tip onto the workpiece liftarc current flowing regardless of the main current set b Incline the torch towards the torch gas nozzle until there is a...

Page 28: ...above the air inlet using both clips 1 Fold down the dirt filter 2 Fasten the dirt filter to the underside of the machine 3 using fixing screws The dirt filter can be used in places with unusually hig...

Page 29: ...arts please quote the machine type serial number and item number of the machine as well as the type designation and item number of the spare part 6 1 General When used in the specified environmental c...

Page 30: ...January 27th 2003 used electric and electronic equipment may no longer be placed in unsorted municipal waste It must be collected separately The symbol depicting a waste container on wheels indicates...

Page 31: ...hine errors and inform service staff as necessary Figure 7 1 When the machine is switched on the following operating conditions are displayed Signal light condition Possible cause Remedy On Normal ope...

Page 32: ...10 min 60 DC 6 min welding 4 min pause Open circuit voltage 105 V Mains voltage 1 x 230 V Mains voltage tolerance 40 to 15 Frequency 50 60 Hz Mains fuse safety fuse slow blow 16 A Mains connection le...

Page 33: ...Accessories Internet 299 010100 TWD01 02 09 2015 33 9 Accessories 9 1 Internet For the accessories available for your product go to www teamwelder com Figure 9 1...

Reviews: