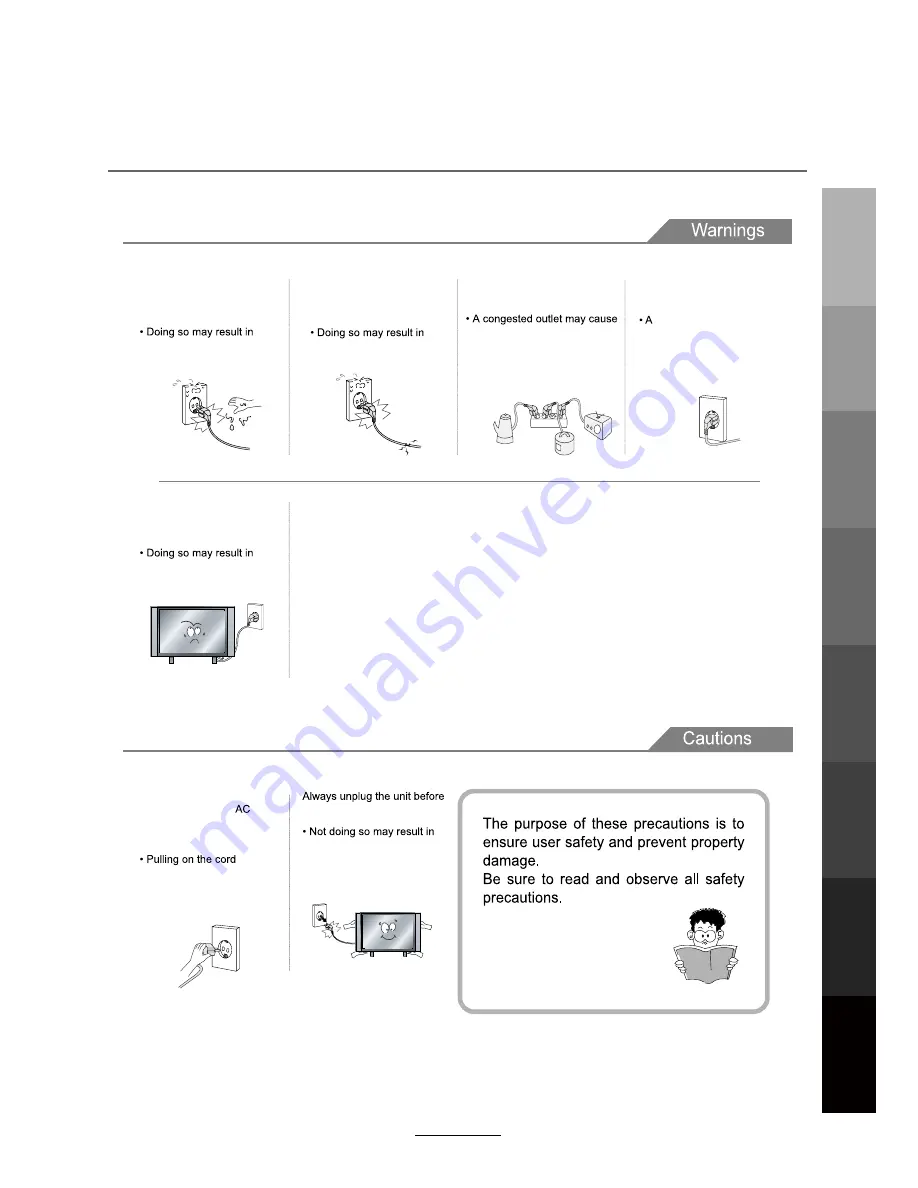
background image

Power Supply

It is the responsibility of 
the user to make sure all 
precautions and warnings 
are heeded and followed.

DO NOT touch the power
plug with wet hands.

DO NOT bend the power cord 
excessively or place heavy 
objects on it. 

DO NOT use a damaged
power cord or plug or a
loose outlet.

DO NOT  plug  several devices 
into the same outlet.

Insert the power plug fully into 
the outlet.

fire or electric shock.

the outlet to overheat and start 
a fire.

 loose or improperly

inserted power plug
may result in fire.

electric shock.

fire or electric shock.

When disconnecting the
power cord from an
outlet, always grasp it by
the plug.

can damage the internal wire 
and may result in a fire.

cleaning.

fire or electric shock.

Safety Precautions

Basic Operation

OSD

Menu

Multimedia

 Operation

Recording

Operation

User Guidance

  Information

Maintenance

 and Service

 1

DVD

Operation

Summary of Contents for LEV3294HD

Page 1: ...USER MANUAL WARRANTY INFORMATION INSIDE PLEASE READ www teac com au IMPORTANT LEV3294HD LED TV Trademark of TEAC Corporation JAPAN...

Page 2: ...your own records Owner s Name Owner s Address Postcode Model Name No Serial No Dealer s Name Dealer s Address Postcode Authorised Service Centres in Major Australian Cities NSW 151 Arthur Street Homeb...

Page 3: ...ill be available for collection by or return to the purchaser at a fee upon request TEAC in home service can be made available at a fee upon request Carry in Service 6 A 12 month replacement warranty...

Page 4: ...mation Fixing the Stand 7 6 Remote Control 10 11 Basic Operation Basic Operation 12 13 OSD Menu 1 PICTURE Menu 14 2 SOUND Menu 15 4 Feature Menu 18 19 5 Setup Menu 20 Recording Operation Recording Ope...

Page 5: ...outlet Insert the power plug fully into the outlet fire or electric shock the outlet to overheat and start a fire loose or improperly inserted power plug may result in fire electric shock fire or ele...

Page 6: ...ble surface such as a sloped table or any stand with a contact area smaller than the bottom surface of the unit stand can prevent accidents from happening Ignoring this precaution may result in the un...

Page 7: ...act the service center fire or electric shock When removing the batteries from the remote control make sure children do not swallow them Keep the batteries out of the reach of infants and children bat...

Page 8: ...the power cord excessively P revent the cord from being walked on or pinched by weights placed on it 5 4 Safety Precautions Basic Operation OSD Menu Multimedia Operation Recording Operation User Guid...

Page 9: ...hich may result in fire or hazards the unit should not be exposed to rain or liquids b Do not place objects containing liquids such as vases on the unit If drinks or liquids have been spilled on the u...

Page 10: ...as shown below and attach the neck with the supplied screws 5xST4X12F 2xST4X16F Basic Operation OSD Menu Multimedia Operation Recording Operation User Guidance Information Maintenance and Service DVD...

Page 11: ...g them to screws fixed on the centre of the TV back panel 1 After detaching the stand fasten 4 mounting screws thread size M4X10mm NOT SUPPLIED Please contact your 2 Fasten the wall mounting bracket N...

Page 12: ...JECT Load eject DVD disc 2 x AAA Batteries Contact Card Quick Start Guide 8 Accessories included may look different from the illustrations shown LED Indicator Remote Control Sensor keep clear of obsta...

Page 13: ...PC IN Connect to the audio output terminal on the PC VGA For PC video input Connect to the VGA RGB plug on the PC COAX Digital output to AV receiver Headphone out Connect to your headphones or other a...

Page 14: ...ough the different sound settings CH Channel Program Volume Not available in DVD Input mode CURSOR KEYS OK Allows you to navigate through the on screen menus and adjust the system settings to your pre...

Page 15: ...s to subpage again to cancel INDEX Go to index Colour buttons Short cuts follow the coloured links on screen Buttons for TELETEXT operating Teletext is an information system broadcasted by certain cha...

Page 16: ...The On Screen Display OSD should appear Selecting an input source The unit incorporates multiple input sources which can be selected via the INPUT button on the television panel or remote control The...

Page 17: ...u Use the direction buttons to make a selection from the main menu PICTURE SOUND FEATURE CHANNEL SETUP Press the button to enter the submenu system Once in the submenu use buttons to select an item Pr...

Page 18: ...ool Warm Noise Reduction Backlight Adjust the backlight If the broadcast signal received is weak you can select the Noise Reduction option to reduce the video noise level Off Low Middle High Tint Cont...

Page 19: ...tones Balance Adjust the audio output between left and right speakers Auto Volume Level AVL Turn this function on to auto adjust volume levels from different input sources SPDIF Select the SPDIF mode...

Page 20: ...re a 4 digit password default 0000 for viewing access SKIP Press the YELLOW button to toggle channels to be skipped when flipping through channels using the CH buttons These channels will still be lis...

Page 21: ...OK button to enter the search menu and set the frequency with Color Sound System Select the Color Sound system for the program the buttons with the buttons Note 1 ALL Auto search channels for DTV ATV...

Page 22: ...p it in a safe place Lock Enable Turn on off the Lock function Parental Guidance Lock Enable Adjust Parental Guidance settings or turn it off No Block NOTE When it is turned on the Parental Guidance a...

Page 23: ...the television automatically switches off after a set amount of time Options range from 10 minutes to 240 minutes Auto Power Off The TV will switch itself off automatically if it has not been issued...

Page 24: ...system information and customer support information 5 SETUP menu Description PC Setup Change the PC Settings in PC mode Auto Adjust Adjust the parameter of the screen automatically H V Position Adjust...

Page 25: ...source menu select Media source with the buttons and press the OK button to enter the Multimedia menu as shown below Press the PLAY button to start playback of all selected files See more on playback...

Page 26: ...the playlist Press the MENU button to hide it again Stop and exit music playback Play the previous or next file directly Input the time in HH MM SS to start playing directly from the specified time po...

Page 27: ...stopped AB Input HH MM SS to start playback from the specified time point in the movie track Display information about the current file Display the movie setup menu to adjust options for the Program...

Page 28: ...cording and playback ensure that it is formatted in the FAT32 file system and that there is sufficient storage space available for recording programs USB device information Format Format Press the RED...

Page 29: ...set a program reminder When the reminder triggers at the Record Press the RED button to quick set a scheduled recording according to the program shown on the EPG To manually edit the timer record bef...

Page 30: ...SB Multimedia input mode Recording Press on the remote control to start Time Shift in DTV mode Press the STOP button to exit Time Shift and return to watching live TV You will be prompted to confirm P...

Page 31: ...s to how the disc was authored and what features are included Some discs have an autoplay function Some offer different modes such as Menu Play Sequence Play and other modes as illustrated below Menu...

Page 32: ...ations Selecting Tracks Compatible with DVD SVCD VCD CD HD CD WMA Digital Audio disc JPEG discs 1 When playing a DVD disc press the numeric buttons on the menu or title page to select tracks During DV...

Page 33: ...the button five times it would resume normal play 2 During DVD playback normal play resumes when Fast Forward reaches the beginning of the next title chapter During SVCD or VCD play with PBC on when F...

Page 34: ...titles Chapter Chapter being played Total number of chapter Time Title elapsed time Disc Type Title Title being played Total number of titles Chapter Chapter being played Total number of chapter Time...

Page 35: ...DVD SVCD VCD CD HD CD WMA Digital Audio disc JPEG discs This function varies in its purpose for different disc types Press the AUDIO button to display the current Soundtrack being played Audio Select...

Page 36: ...eflective surface Hold the disc at the edges with your fingers and gently place the disc into the slot The player will automatically draw the disc into the player To eject the disc press the EJECT but...

Page 37: ...age burn and screen damage The Last Memory function can memorize where disc playback was stopped and resume from there when the same disc is inserted again This function can memorize up to 4 discs and...

Page 38: ...D Operation Maintenance and Service 34 the Speaker Setup option then press OK Select to downmix multichannel audio soundtracks to LT RT channel output Select to downmix multichannel audio soundtracks...

Page 39: ...multichannel audio soundtracks to stereo output Volume DVD Operation Maintenance and Service Choose a preferred language track to be played if it is available on the disc If it is not available the de...

Page 40: ...preferred subtitle language to be used if it is available on the disc If it is not available the default language will be used Choose a preferred menu language to be used if it is available on the dis...

Page 41: ...DVD Operation DVD Operation Maintenance and Service disc rating 37...

Page 42: ...DVD Operation DVD Operation Maintenance and Service Reset the DVD settings to the original factory settings by choosing RESET and pressing the OK button 38...

Page 43: ...appears but there is no sound 1 Check if the MUTE function has been activated 2 Increase the sound level by pressing volume adjustment button 3 Check if sound terminal of external input is connected...

Page 44: ...dard Supported Multimedia Player formats Dimensions Weight Wall mounting dimensions Wall mounting screw size Operating temperature range Power Consumption 1 1 1 1 1 3 The HDMI support 1 3 the HDCP sup...

Page 45: ...phones and cameras for recording purposes 2 Unit will only support hard disk drives with additional power supply maximum disk partition size of 400GB and a maximum capacity of 1 5TB For optimum perfor...

Page 46: ......

Page 47: ......

Page 48: ...TEAC CUSTOMER SUPPORT HOTLINE TCS 1300 553 315 Between Monday to Friday AEST 8 30AM to 6PM...

Reviews: