auto tuning (A
TV and DTV signals).
(For more details see"Customising the CHANNEL
settings", page
16
of User Manual.)
“DTV”, “A
TV”, "AV", "PC", "YPbPr", "DVD", "HDMI", "Media".
CH
+/-
+/-
+/-
+
-
10
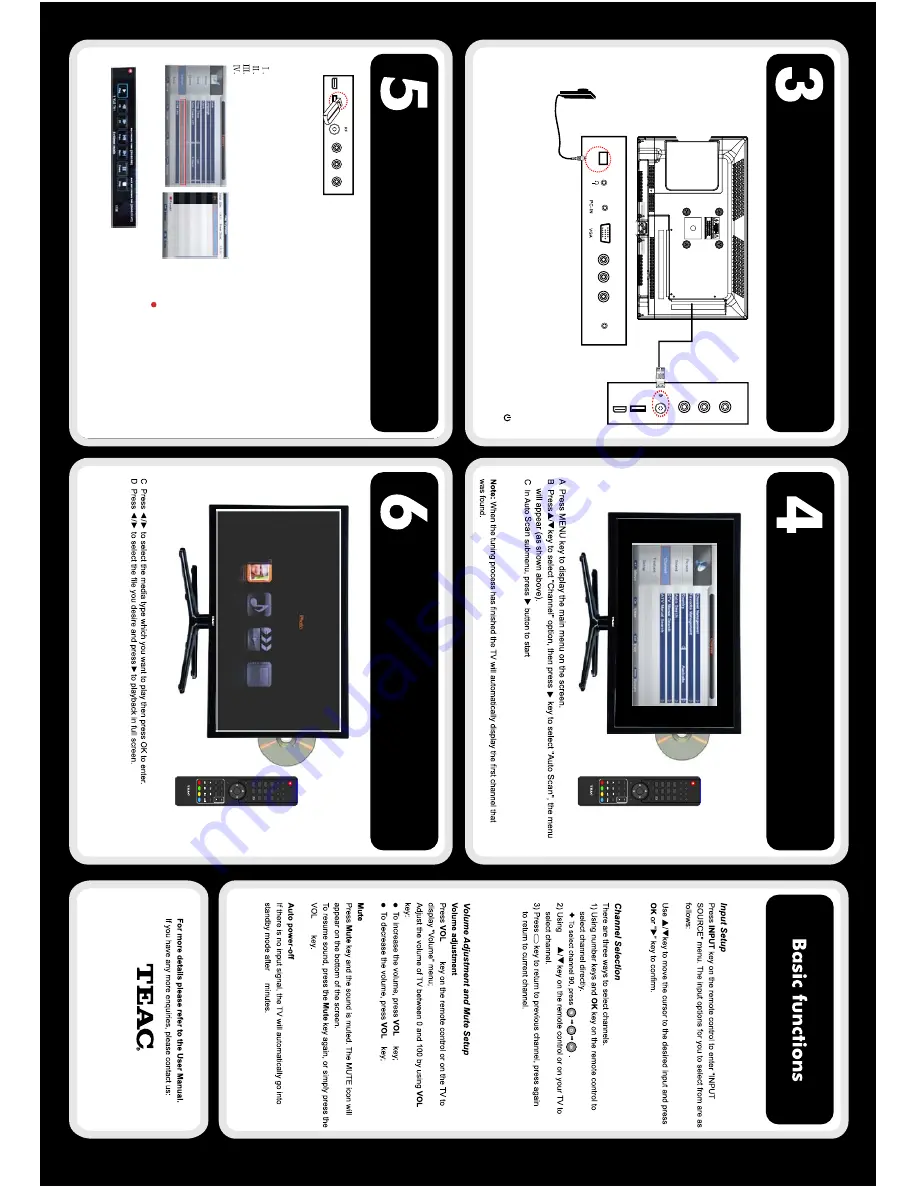
1. Connect a USB/Hard Disk Drive (HDD) at the side panel as shown by the picture
as below.
2.
After USB/HDD is connected, you will need to format it before doing any recording.
3. Follow instructions below to enter DVR menu to format USB / HDD:
Press menu button on the remote control.
Select Feature tab and press ente
r
.
Scroll down and select DVR File System.
Select format and press RED button to format the selected USB device.
4. Once formatting is done, select your desired channel and press button to record.
The progress bar will be displayed.
Recording
n
a
c
S
ot
u
A
V
T
n
o
h
ct
i
w
S
USB Media Playback
5. Press stop button to stop recording.
6. Press REC list button on your remote to view your recording.
A
Connect a USB/Hard Disk Drive (HDD) at the side panel of the unit.
B Press USB button on the remote control.
(For more details, refer to "Multimedia Operation", page
21-23
of User Manual.)
(For more details, refer to “Recording Operation” , page
24-26
of User Manual)
123
456
789
0
OK
CH.F
A
V
AUDIO
M
UTE
DTV/USB
INPUT
PICTURE
S
OUND
ASPECT
SLEEP
EXIT
DIS
P
LA
Y
CH
CH
VOL
VOL
HOLD
D.MENU
D
.T
ITL
E
VOL
TV/TXT
CA
N
C
EL
REVEAL
R
E
PE
A
T
D.
SET
U
P
SUBTITLE
A-B
G
O
T
O
SIZE
S
U
B
P
AGE
INDEX
DE
L
E
T
E
RE
C.LIST
S
C
H.LIST
S
C
REEN
MENU
EPG
01
18020315
123
456
789
0
OK
CH.F
A
V
AUDIO
M
UTE
DTV/USB
INPUT
PICTURE
S
OUND
ASPECT
SLEEP
EXIT
DIS
P
LA
Y
CH
CH
VOL
VOL
HOLD
D.MENU
D
.T
ITL
E
VOL
TV/TXT
CA
N
C
EL
REVEAL
R
E
PE
A
T
D.
SET
U
P
SUBTITLE
A-B
G
O
T
O
SIZE
S
U
B
P
AGE
INDEX
DE
L
E
T
E
RE
C.LIST
S
C
H.LIST
S
C
REEN
MENU
EPG
01
18020315
WARNING
: Formatting an external drive would erase all memory in the system. Please make sure
that no important documents are stored in the external drive before formatting. TEAC is not
responsible for any loss of data.
TEAC CUSTOMER SUPPORT HOTLINE (TCS)
1300 553
315
Between Monday to Friday – AEST 8:30AM to
6
PM
NOTE:
For best performance with external HDDs, use a HDD
with an external power supply. Use only USB for recording.
Back
V
iew
USB
Y Pb Pr
HDMI
Y Pb Pr
USB
HDMI
A
Connect your antenna to the RF port. Connect the power adaptor to the
T
V
.
B
Plug your TV (and any other connected devices) into the main power outlet.
The TV should now be in Standby mode with the LED indicator lighted up in red. Press the
POWER
button on the TV's right panel or on the remote control to turn it on. The LED will switch to green as the
TV turns on.
C
COAX
L-i
n
R-in
Headphone
VIDEO
POWER
Power adaptor
Mains cable


