


20
Audio
Press
button to select Audio or All,and press
button to select
Music.
Play List
Press
button to select Play List and press OK button to display all available
Audios.
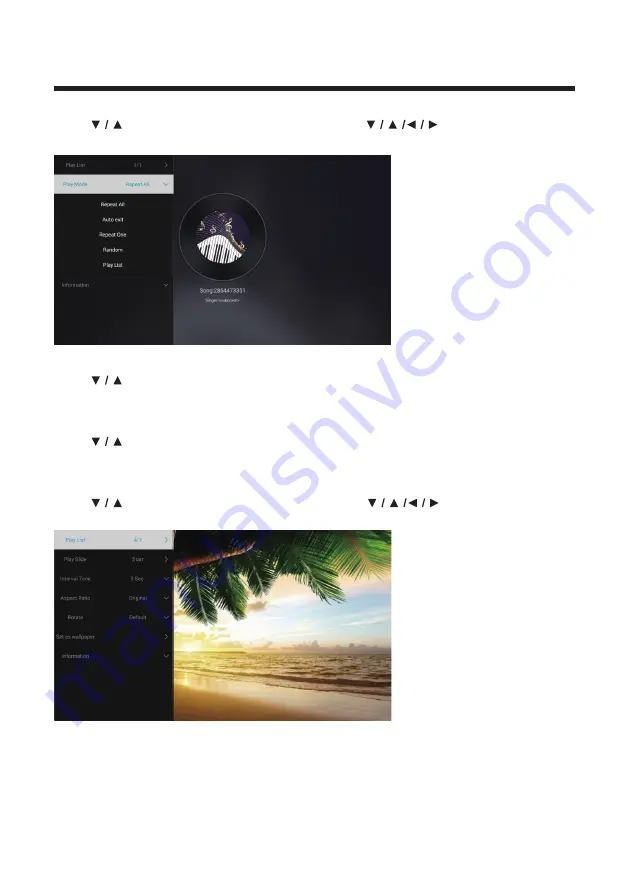
Play Mode
Press
button to select Play Mode and press OK button to select.
(Options: Repeat All/Auto exit/Repeat One/Random/Play List)
Image
Press
button to select Image or All,and press
button to select
Pictures.
Play List
Play Slide
Interval Time
Aspect ratio
Rotate
Set as wallpaper
Playable picture list display.
You can choose to start the slide show.
Select slide show interval. (Optional:3/5/8/12Sec.)
Set the aspect ratio. (Optional: Auto/Full screen/Zoom Out/
Original/Zoom1/Zoom2)
Set the rotate. (Optional: Default/Rotate Right/Rotate left)
Set the current play picture as wallpaper.


