background image

2

Important Safety Instructions

• Read these instructions – All the safety and operating instructions should be read 

before this product is operated. 

• Keep these instructions – The safety and operating instructions should be retained 

for future reference. 

• Heed all warnings – All warnings on the appliance and in the operating instructions 

should be adhered to. 

• Follow all instructions – All operating and use instructions should be followed. 
• Do not use this apparatus near water – The appliance should not be used near water 

or moisture – for example, in a wet basement or near a swimming pool, and the like.

• Clean only with dry cloth.
• Do not block any ventilation openings. Install in accordance with the manufacture’s 

instructions.

• Do not install near any heat sources such as radiators, heat registers, stoves, or other 

apparatus (including amplifiers) that produce heat. 

• Do not defeat the safety purpose of the polarized or grounding plug. A polarized 

plug has two blades with one wider than the other. A grounding plug has two blades 
and a third grounding prong. The wide blade or the third prong is provided for your 
safety. If the provided plug does not fit into your outlet, consult an electrician for 
replacement of the obsolete outlet.

• Protect the power cord from being walked on or pinched particularly at the plugs, 

convenience receptacles, and at the point where they exit from the apparatus.

• Only use attachments/accessories specified by the manufacturer.
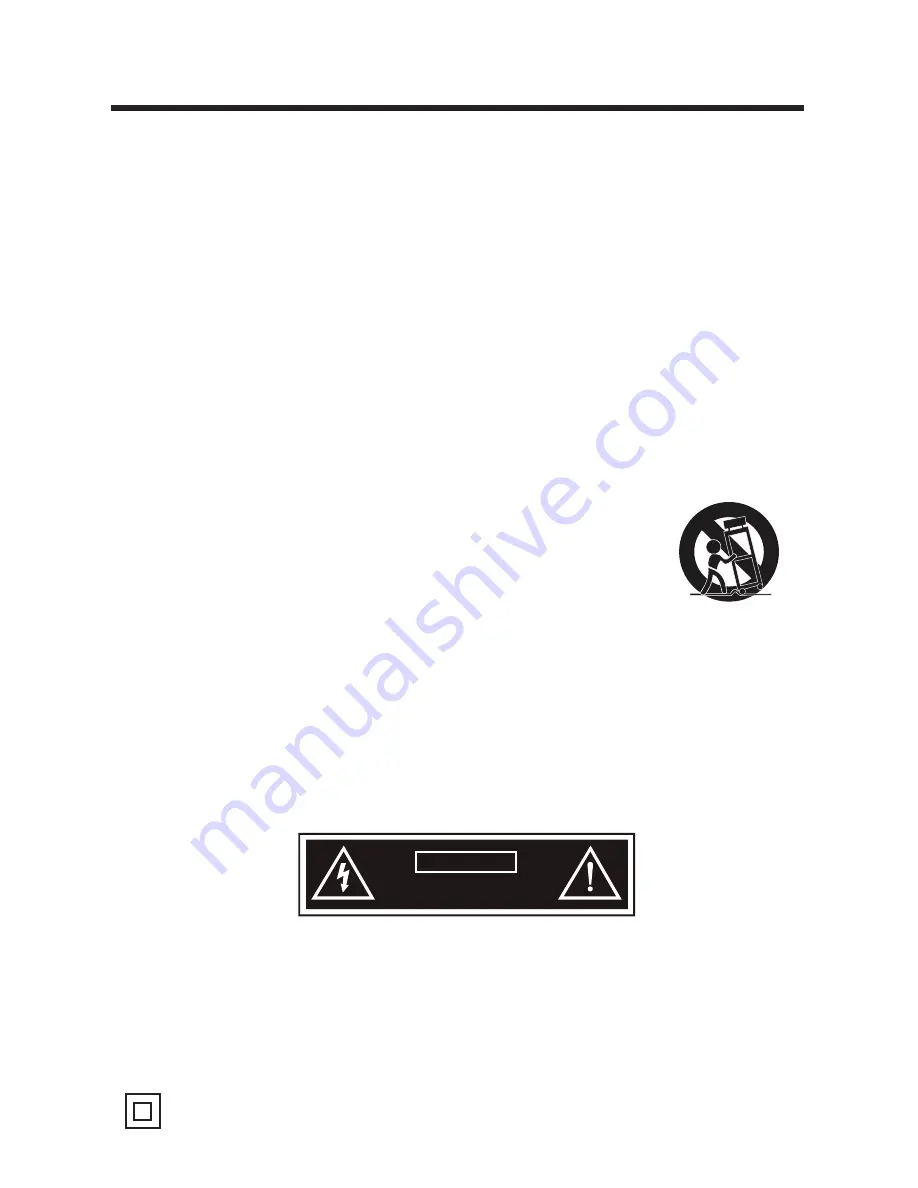
• Use only with the cart, stand, tripod, bracket, or table specified 

by the manufacturer, or sold with the apparatus. When a cart or 
rack is used, use caution when moving the cart/apparatus 
combination to avoid injury from tip-over.


• Unplug the apparatus during lightning storms or when unused for 

long periods of time.

• Refer all servicing to qualified personnel. Servicing is required when the apparatus 

has been damaged in any way, such as power supply cord or plug is damaged, liquid 
has been spilled or objects have fallen into the apparatus has been exposed to rain 
or moisture, does not operate normally, or has been dropped.

• Please keep the unit in a well-ventilated environment. 
• WARNING: To reduce the risk of fire or electric shock, do not expose this apparatus 

to rain or moisture. The apparatus shall not be exposed to dripping or splashing and 
that objects filled with liquids, such as vases, shall not be placed on apparatus. 

• WARNING: The wall socket plug is used as disconnect device, the disconnect device 

shall remain readily operable.

• WARNING: The batteries shall not be exposed to excessive heat such as sunshine, 

fire or the like.

• This lightning flash with arrowhead symbol within an equilateral triangle is intended 

to alert the user to the presence of non-insulated “dangerous voltage” within the 

CAUT IO N

RISK OF ELECTRICAL SHOCK

DO NOT OPEN

product’s enclosure that may be of sufficient magnitude to constitute a risk of 
electric shock.

• To reduce the risk of electric shock, do not remove cover (or back) as there are no 

user-serviceable parts inside. Refer servicing to qualified personnel.

• The exclamation point within an equilateral triangle is intended to alert the user to 

the presence of important operating and maintenance instructions in the literature 
accompanying the appliance.

•          This equipment is a Class II or double insulated electrical appliance. It does not 

require a grounded connection.

Summary of Contents for LE40A4E1FHD

Page 1: ...USER MANUAL WARRANTY INFORMATION INSIDE PLEASE READ www teac com au IMPORTANT LE40A4E1FHD LED TV Trademark of TEAC Corporation JAPAN...

Page 2: ......

Page 3: ...below and keep this information for your own records Owner s Name Owner s Address Postcode Model Name No Serial No Dealer s Name Dealer s Address Postcode Thank you for selecting a TEAC product If you...

Page 4: ...TEAC will ensure to the best of its abilities that all required parts are made available for any required service repair 8 TEAC Australia Pty Ltd and its Authorised Service Centres will use their bes...

Page 5: ...4 25 Guide 29 MEDIA OPERATION 26 Hotel Mode Unit and Accessories 4 4 Wall Mounting Getting Started 5 Front Back View 5 Button Functions 5 Remote Control 8 Install the Batteries 9 TV OPERATION AND SYS...

Page 6: ...rack is used use caution when moving the cart apparatus combination to avoid injury from tip over Unplug the apparatus during lightning storms or when unused for long periods of time Refer all servic...

Page 7: ...qualified personnel should service this apparatus To avoid battery leakage remove exhausted batteries from the remote control or when not using for a long period Do not break open or throw exhausted b...

Page 8: ...upplied Do not use screws longer than 10 mm damage will occur to the internal components Caution Your new TV is heavy please consult with a professional wall mount installer to perform this installati...

Page 9: ...e 4 VOL To decrease the volume level 5 VOL To increase the volume level 6 CH To select previous channel 7 CH To select next channel 8 Remote Control Sensor 9 Power Indicator In standby mode the indica...

Page 10: ...L 2 5 USB HDMI 6 PC AUDIO Connect it to the audio output terminal of the PC 10 RF Antenna connection 7 8 YPbPr Connect to the YPbPr videooutput terminal of the DVD VGA PC video input 9 10 PC AUDIO HDM...

Page 11: ...ng to External Devices Connecting external devices to your LED TV cable TV company VHF UHF antenna RF Coaxial cable Composite cable Coaxial cable Component cable PC AUDIO HDMI1 VGA Y Pb Pr RF HDMI2 HD...

Page 12: ...rectly 8 FAV Show the list of favourite channels Return to the previous channel tuned 9 Play Pause 10 Stop playback 11 In DTV mode press REC button to start recording press button to stop recording 12...

Page 13: ...n the battery compartment 3 Replace the cover Eject disc 23 Fast rewind playback 24 Fast forward playback 25 26 D SETUP Open DVD mode system settings menu Previous file or chapter 27 Next file or chap...

Page 14: ...TV into standby it does not disconnect the device from the main voltage To completely disconnect the main voltage please remove the power plug from the socket 3 Press the key and following the picture...

Page 15: ...page Quick Setup User can press button to select the Quick Setup And then press OK to enter the next step page Auto Tuning If you set the DTV type to Terrestrial you will find the follow menu for sea...

Page 16: ...utton to display the MAIN OSD MENU Press buttonto select the MENU you want Press ENTER button or button to enter the sub menu Press button to select the option and then press OK button to enter the su...

Page 17: ...adjustment press MENU button to save and return back to the previous menu and press EXIT button to exit the entire menu Picture Mode Press button to select Picture Mode then press OK button to enter...

Page 18: ...the previous menu directly Sharpness Press button to select Sharpness then press OK button to enter and press button to adjust Then press MENU button to return back the previous menu directly Contrast...

Page 19: ...MENU button to save and return back to the previous menu or press EXIT button to exit the entire menu Soundmode Press button to select Soundmode and then press OK button to enter And then press button...

Page 20: ...ode Then press MENU button to return back the previous menu directly AVL Press button to select AVL and then press OK button to enter and press button to select ON or OFF Digital Audio Output Press bu...

Page 21: ...select the sub menu 3 After finishing your adjustment press MENU button to save and return back to the previous menu or press EXIT button to exit the entire menu Channel Edit Press button to select Ch...

Page 22: ...n press OK button to enter When the System Lock is on please input the PIN code to unlock Country Press button to select Country and then press button to select which area you stay Select to open the...

Page 23: ...ect DTV Manual Tuning and then press OK button to start the scan DTV Settings Press button to select DTV Settings and then press OK button to enter the sub menu User can set the local time settings DS...

Page 24: ...MENU button to save and return back to the previous menu and press EXIT button to exit the entire menu Menu Language Press button to select Menu Language then press OK or button to enter the sub menu...

Page 25: ...or OFF Key Lock Press button to select Key Lock then press OK button to enter and press button to select ON or OFF Parental Control Press button to select Parental Control then press OK or button to...

Page 26: ...if new password and confirm new password consistent the successfully updated menu will appear a few second otherwise the menu will display the password mismatch Auto Power Down Press button to select...

Page 27: ...Press button to select Time Shift then press OK to time shift PVR File List Press button to select PVR File List then press OK to the sub menu you will play the record file Press button to select the...

Page 28: ...s button to select the option that you want to adjust in the Setup menu then 31 press OK or button to enter 2 Press button to adjust or press button to select 3 After finishing your adjustment press M...

Page 29: ...Factory Detauit Press button to select Factory Detauit and then press OK to enter the sub menu enter the password if locked and then you can restore factory settings Guide Press EPG button on the remo...

Page 30: ...How to enter and exit the hotelmode menu Enter You can enter the hotel mode menu by the follow steps Press password 9173 under the OSD menu Select use direction key to select the different items con...

Page 31: ...rage device is inserted and the device checking and Initialization is done If you press REC key when there s no USB storage device inserted the prompt window will appear as follow If you press REC key...

Page 32: ...black screen about 2s when the TV is timeshifting it will appear the timeshift menu 2 After timeshift started you can select the items for the founctions PLAY PAUSE STOP AB FF FR PRVE NEXT You can see...

Page 33: ...r 2 Press button to adjust or press button to select 3 After finishing your adjustment press MENU button to save and return back to the previous menu and press EXIT button to exit the entire menu Phot...

Page 34: ...o return back to the previous menu Press button to select the folder that you want to view Press OK button to select the sub folder Press OK button or II button to play Press button or EXIT button to...

Page 35: ...enter Press EXIT button to return back to the previous menu Press button to select the sonny you want to listen and then press OK or II or button to play Press button to return back to the previous m...

Page 36: ...suspect a malfunction and unplug the power plug Do not attempt to repair the device yourself Other Notes Static or other external interfere may cause the player to behave abnormally In this occurs unp...

Page 37: ...ol Distance 8 meters Control Angle 30 Horizontal Power Supply AAA 1 5V x 2 Multimedia Categories File Extension Video Music Photo Text avi MPEG mpeg mpg dat vob MPEG 4 mp4 TS ts trp tp MKV mkv flv VC...

Page 38: ...period please call the TEAC Warranty Service Hotline 1300 553 315 Between Monday to Friday 8 30AM to 5PM AEST Please have your purchase receipt and the product s serial number ready For other enquiri...

Reviews: