Raychem Devices
No: RCPS-200-20
Rev: E1
Date: August 10, 2016
Installation Procedures for D-436-XX and D-200-XX
(Miniseal™) Sealed Crimp Splices
_________________________________________
Unless otherwise specified dimensions are in millimeters. [Inches dimensions are in between brackets]
© 2007-2016 TE Connectivity Corporation. All rights reserved.
If this document is printed it becomes uncontrolled. Check for the latest revision.
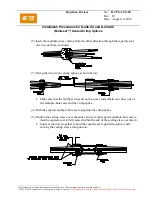
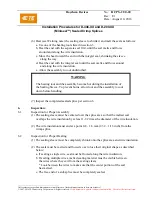
(4) Heat (see Warning note) the sealing sleeve to shrink it and melt the seals as follows:
a. Use one of the heating tools listed in section 3.
b. Heat the multiple-wire end first, until the multiple-wire seal melts and flows around
and along the wire insulation.
c. Move the heat toward the single-wire or open end, shrinking the sleeve along the
way.
d. Heat the second end until the seal melts and flows along the wire insulation or
closes the open end.
e. Allow the assembly to cool undisturbed.
WARNING
The heating tool and the assembly become hot during the installation of
the Sealing Sleeve. To prevent burns, allow tool and the assembly to cool
down before handling.
(5) Inspect the completed sealed splice per section 6.
5.5
Multiple-to-multiple In-line Splices
5.5.1.
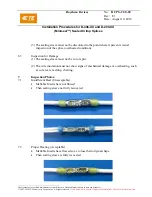
Select proper slice components and prepare the wires as shown. (See 5.0.1, 5.0.2)
5.5.2.
Splicing Procedure
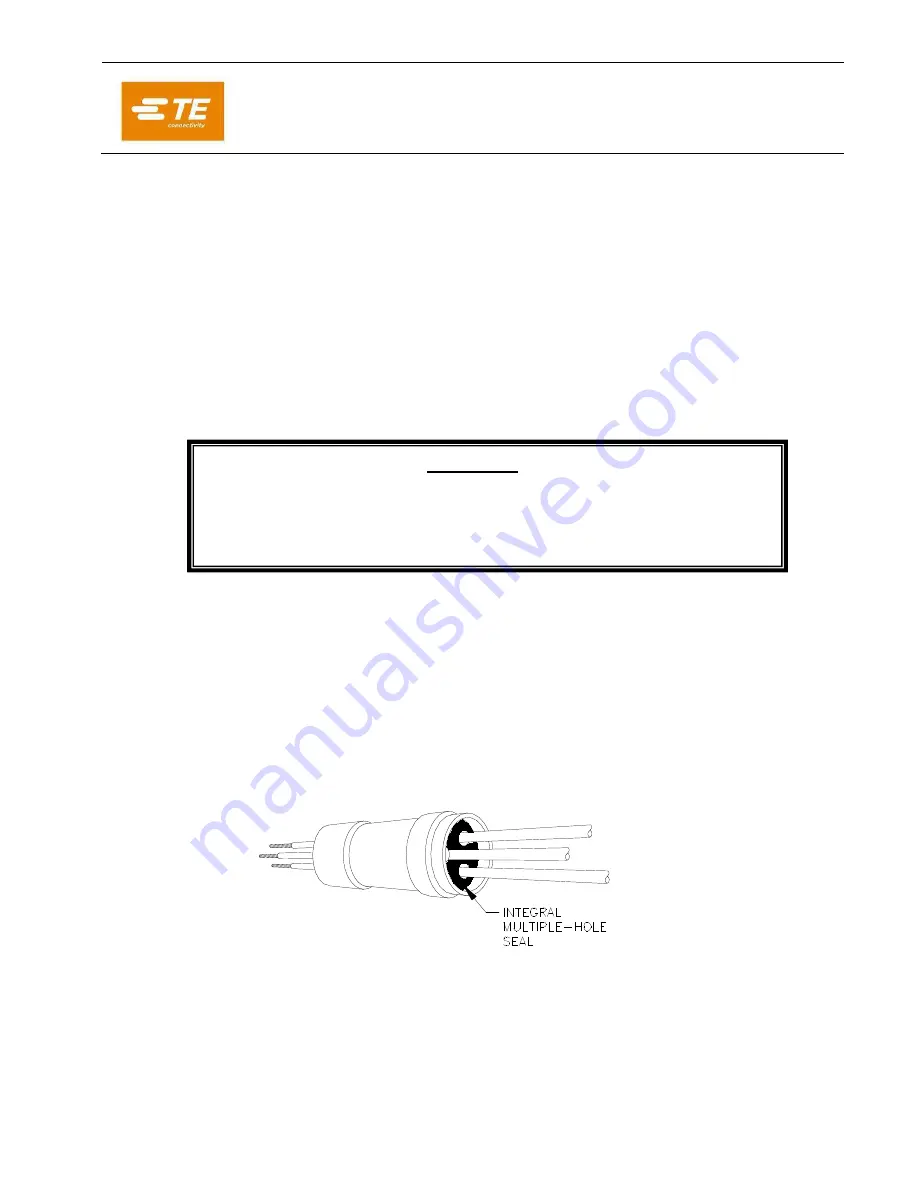
(1) Insert the multiple wires coming from one direction through the integral seal and
sleeve, one wire per hole, as shown.


