TC Electronic UnWrap Home Stereo System Product Manual Download Page 8

EE

NN

GG

LL

II

SS

HH

6 / 

UNWRAP -TDM

Global Plug-In Controls

KEYBOARD COMMANDS

The TDM versions of UNWRAP supports keyboard commands for certain functions.
The following key commands are available for all plug-in parameters:

Key Commands in Mac OS X:

Fine Adjust = Apple key + mouse movement
Reset To Default = mouse click

Key Commands in Windows:

Fine Adjust = Ctrl + mouse movement
Reset To Default = Alt + C mouse click

AUTOMATION

Please be aware that automation of certain parameters, can cause audible artifacts.
In case you need to automate these parameters, you should take care that
changes only take place in parts where no audio is sent to the plug-in.
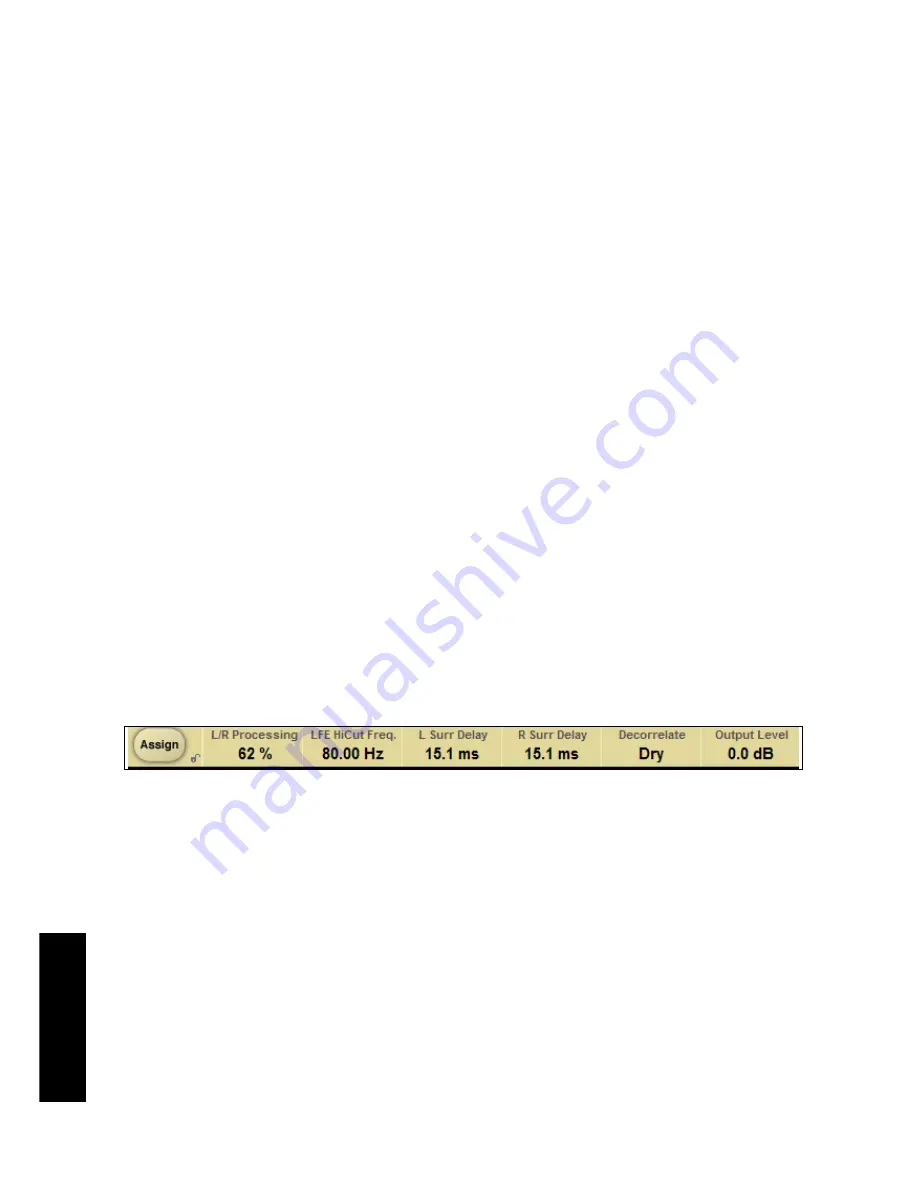
FOCUS FIELDS

You can place your own set of parameters in the 6 focus fields at the bottom
of the plug-in. 

Making use of the focus fields can give you a better workflow, since you will not have
to switch pages all the time to find the parameters that you work with.
You can assign any parameter to the focus fields, and the focus fields are stored with
the session as well as when you save your presets.

To change the assignment:

• Press the Assign button. The Assign button as well as one of the Focus Fields will 

be highlighted.

• Select the Focus Field you wish to link a parameter to, by clicking on that field.
• Click on the parameter you wish to link to the selected Focus Field.
• To get an unassigned (empty) Focus Field, click again on the selected parameter.
• Once you have finished the assignments, click again on the Assign button to leave 

the assign mode.

Summary of Contents for UnWrap Home Stereo System

Page 1: ......

Page 2: ...l find the site to be a huge resource of information Browse through Q A s and discover new aspects of your TC product If you can t find an answer online you have the option of submitting a question to...

Page 3: ...EM REQUIREMENTS 5 GLOBAL PLUG IN CONTROLS FOCUSFIELDS 6 MAIN PAGE 7 CENTER PAGE 8 SURROUND PAGE 10 DELAY PAGE 12 OUTPUT PAGE 13 PRESET MANAGEMENT 15 COMPARE SETTINGS WITH A B MEM FUNCTION 18 PARAMETER...

Page 4: ...suitable condition budget considerations prevents you from re mixing a stereo soundtrack needs replaying using all the cinema channels Finally there could be a more controversial reason with classic...

Page 5: ...oduction UnWrap in use UnWrap measures phase delay and spectral differences between a pair of stereo channels to create a 5 1 result For different program material there will be different optimum sett...

Page 6: ...signal For a typical level set Ref Level at 10 to 18dB With a full scale digital input ref level would be set high typically 0 to 12dB With a quiet or highly dynamic input set it between 15 and 25dB T...

Page 7: ...t they can fit on stereo optical or video These tracks are then decoded back into 4 0 through a Dolby ProLogic receiver If a Dolby ProLogic decoder is not available the mix will play back in stereo TO...

Page 8: ...plug in FOCUS FIELDS You can place your own set of parameters in the 6 focus fields at the bottom of the plug in Making use of the focus fields can give you a better workflow since you will not have t...

Page 9: ...left right channels L R PROCESSING L R Processing Parameter range 0 100 Determines the processing amount for the left and right front signals LFE PROCESSING LFE Hi Cut Frequency Range 10 to 200Hz Set...

Page 10: ...set it between 15 and 25dB EQ The EQ for the center channel features four band parametric EQ with high and low pass filters switchable between Notch Parametric Shelving and Cut filters Basic operation...

Page 11: ...12dB Mid1 Gain 12dB to 12dB Mid2 Gain 12dB to 12dB Hi Gain 12dB to 12dB Range for the Notch filter Lo Gain 100dB to 0dB Mid1 Gain 100dB to 0dB Mid2 Gain 100dB to 0dB Hi Gain 100dB to 0dB Type Press an...

Page 12: ...high typically 0 to 12dB With a quiet or highly dynamic Input set it between 15 and 25dB Decorrelate Style Range A selection of styles The decorrelating styles are highly subjective and best evaluate...

Page 13: ...Cut For Mid 1 and Mid 2 filters select between filter types Parametric and Notch Freq Press Freq and use Faders 1 to 4 to adjust frequency for each of the four bands Range Lo band 20Hz to 5kHz Range...

Page 14: ...to 12dB oct Hi BW 3dB oct to 12dB oct Range for the Cut filter Lo BW Bessel or Butterworth Hi BW Bessel or Butterworth Delay OUTPUT DELAY Range 0 200ms For each of the six outputs it is possible to ad...

Page 15: ...e system latency into account Output OUTPUTS Mute Range Muted Unmuted Sets the mute status on the output for each of the 6 channels Solo When a Solo button is selected the outputs of all the five rema...

Page 16: ...TSC A 52 standard From L R 3 0 dB From C 6 0 dB From LSr RSr 6 0 dB From LFE Off dB It is important to check compatibility between the unprocessed original stereo signal by pressing the Bypass key the...

Page 17: ...he next or previous by clicking on the UP DOWN arrows to the right of the preset name All presets available at the default plug in preset location will be considered so you could in theory reach every...

Page 18: ...ETS folder of the p default pre set location NOTE A folder will not appear in the Preset File Menu unless it has at least one pre set inside CONVERTING UNWRAP PRESETS FROM SYSTEM 6000 In case you are...

Page 19: ...d in the default UNWRAP Preset folder it will show up the next time you click the File button At the top of the pop up list you ll find a section called Convert and the name of your preset file will b...

Page 20: ...he memory location A will get active and the A part of the A B button will light up All parameter changes will be applied to memory location A If you switch to memory location B you get back to your s...

Page 21: ...through the extensive set of pre sets that comes with the UNWRAP without having to change the Dry Level In Level or Out Level all the time To lock a parameter simply click on the small lock in the par...

Page 22: ...ETUP EXAMPLE This is an example of how to setup UnWrap on a stereo track in Pro Tools 1 Go to Setup I O 2 Add a set of 5 1 outputs In the example below we have renamed the outputs to Surround Output E...

Page 23: ...TDM 21 E E N N G G L L I I S S H H 4 Click Add to the following common warning 5 Now select the Surround Output that you created in step 2 5 Select the Surround Output as the output of your track Tha...

Reviews: