3M
egapixel. Low Light.
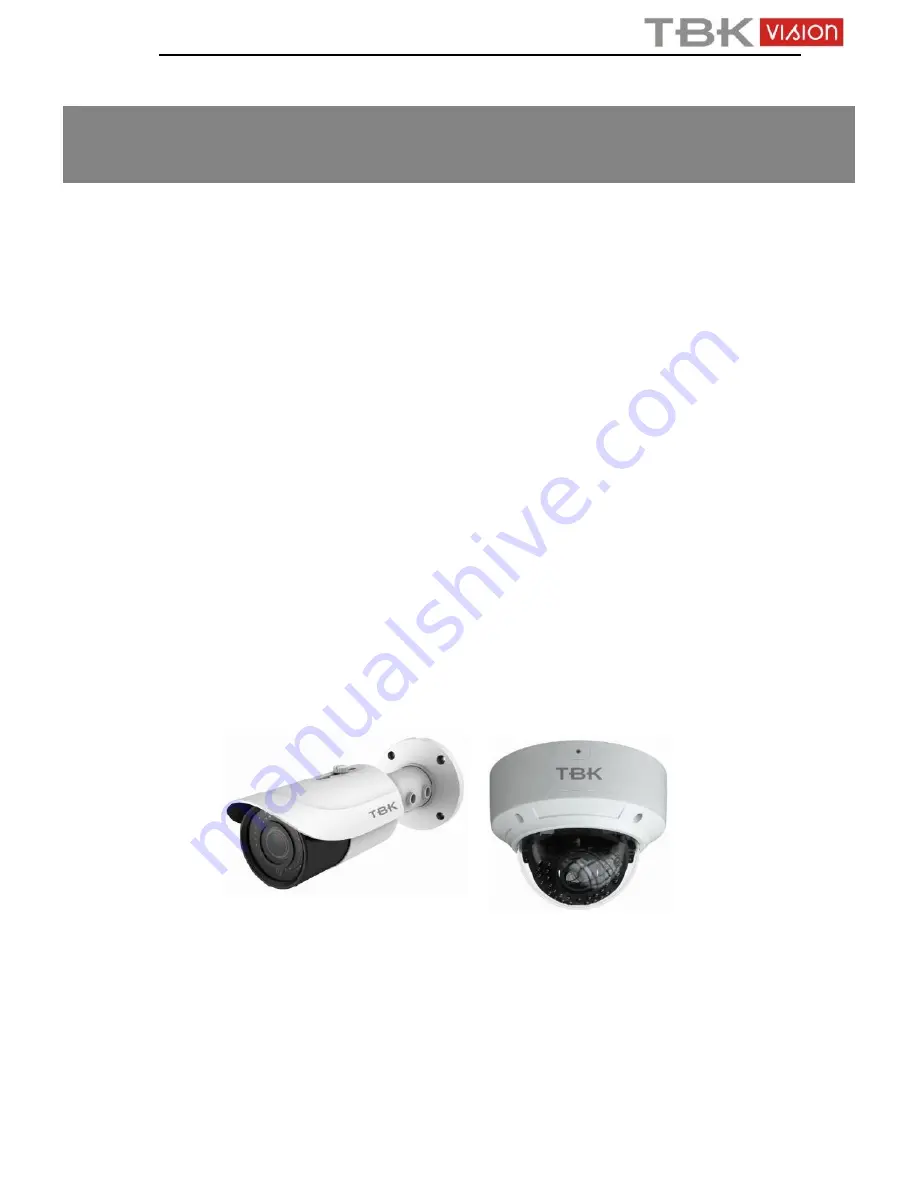
User Manual v5.0
IP Cameras
TBK-VISION PLUS
TBK-BUL7436EIR/TBK-MD7536EIR
Please read this instruction carefully for correct use of the product and preserve it for
reference purposes
Page 1: ...xel Low Light User Manual v5 0 IP Cameras TBK VISION PLUS TBK BUL7436EIR TBK MD7536EIR Please read this instruction carefully for correct use of the product and preserve it for reference purposes IP C...
Page 2: ...be received Do not operate it incase temperature humidity and power supply are beyond the limited stipulations Keep away from heat sources such as radiators heat registers stove etc Do not expose the...
Page 3: ......
Page 4: ...4 2 1 Camera 13 4 2 2 Video Stream 13 4 2 3 OSD Configuration 14 4 2 4 Video Mask 15 4 2 5 ROI Configuration 15 4 3 PTZ Configuration 16 4 3 1 Protocol 16 4 3 2 Preset Configuration 17 4 4 Alarm Confi...
Page 5: ...5 4 6 Advanced Configuration 26 4 6 1 User Configuration 26 4 6 2 Security Configuration 27 4 6 3 Configure Backup Restore 28 4 6 4 Reboot 29 4 6 5 Upgrade 29 5 Video Search 30 Appendix 32 Appendix 1...
Page 6: ...chnology complies with the TCP IP protocol SoC etc to ensure this system more stable and reliable This product is widely used in banks telecommunication systems electricity power departments law syste...
Page 7: ...sure the PC and IP Cam are connected to the LAN and the IP Tool is installed in the PC from the CD Double click the IP Tool icon on the desktop to run this software as shown below Modify the IP addres...
Page 8: ...ble click the IP address and then the system will pop up the IE browser to connect IP CAM IE browser will auto download the Active X control After downloading a login window will pop up as shown below...
Page 9: ...etwork cable Manually set the IP address of the PC and the network segment should be as the same as the default settings of the IP camera Open the network and share center Click Local Area Connection...
Page 10: ...g Active X control the login dialog box will pop up Input the default username and password and then enter to view 2 2 WAN Access through the router or virtual server Make sure the camera is well conn...
Page 11: ...e IE browser and input its WAN IP and http port to access Access through PPPoE dial up Network connection You may access the camera through PPPoE auto dial up The setting steps are as follow Go to Con...
Page 12: ...the IE browser and input the domain name and http port to access Access through static IP Network connection The setting steps are as follow Go to Config Network Config Port menu to set the port numbe...
Page 13: ...Stream Three streams are optional Turn off the live Click this item to close present live preview Enable audio Open the volume Full screen The live preview picture will be full screen display Double c...
Page 14: ...Button Description to rotate the dome upwards to rotate the dome downwards to rotate the dome towards left to rotate the dome towards right to rotate the dome diagonally up left to rotate the dome di...
Page 15: ...the picture number and then click Snap icon as shown below Single Snap Snap multiple pictures Select the picture number from Frame pull down list box such as 2 and check Title and Time to show capture...
Page 16: ...an also check the relative information of the server Setting steps 1 Clicking the Config icon will appear the menu list 2 Clicking the Basic Information will pop up a window as shown below 3 Input the...
Page 17: ...as shown below The first time you used the SD card you should click Format SD card Click Eject card to stop writing data to SD card Then the SD card can be ejected safely 4 2 Video Configuration Camer...
Page 18: ...u may enable the image mirror image flip image rotation function Please make the camera side installation and select 90 or 270 rotation in the image rotation columnif you want to enable the corridor m...
Page 19: ...actual network situation I Frame interval It is recommended to use the default value If the value is over high the read speed of the group of pictures will be slow resulting in the quality loss of th...
Page 20: ...o Config Video Mask menu to display the interface You can set 4 mask areas at most To set up video mask 1 Enable video mask 2 Click Draw button and then drag the mouse to draw the video mask area 3 Cl...
Page 21: ...se to set the ROI area 4 Set the level 5 Click Save button to save the settings Now you will see the selected ROI area is clearer than other areas especially in low bitrate condition 4 3 PTZ Configura...
Page 22: ...utton Click button to zoom in the locale picture click button to zoom out the locale picture Iris button Click button to increase light of the dome click button to decrease the light of the dome Drag...
Page 23: ...on Area to see an interfaceas below 2 Move the Sensitivity scroll bar to setup the motion trace sensitivity 3 Check the Add press the Ctrl button and move mouse to select the motion detection area Sel...
Page 24: ...ation chapter for more details 5 Press the Save button to save the settings 4 4 3 Motion Detection Schedule Go to Alarm configuration Motion Detection schedule interface as shown below Week schedule Y...
Page 25: ...name and alarm type NO and NC 3 Enable alarm and select alarm holding time 4 Set alarm trigger options The setting steps are the same as that of motion detection trigger Please refer to motion detect...
Page 26: ...3 Press the Save button to save the settings 4 4 7 Alarm Server Go to Alarm configuration Alarm Server interface as shown below You may input the alarm server address and port When the alarm happens t...
Page 27: ...dress You may choose one of options as required Use the following IP address display the IP address subnet mask gateway and DNS of the device PPPoE User needs to input the user name and password for d...
Page 28: ...ice ID in the responding boxes 4 Click Save button to save the settings 4 5 4 IP Notify 1 Go to Network Configuration IP Notify to see a tab as shown below 2 If the Enable notifying change of IP is se...
Page 29: ...erver 2 RTSP Port Access Port of the streaming media The default number is 554 3 RTSP Address The RTSP address you need to input in the media player 4 You can also choose to enable anonymous viewer lo...
Page 30: ...iver s e mail address 7 After all parameters setup you can click Test your account settings If email sent successful a Test Successful window will pop up if not users can try other email addresses or...
Page 31: ...ialog box User Configuration Add User Note After binding physical address to the IP CAM you can access the device on this PC in network only If the MAC address is 00 00 00 00 00 00 it means the camera...
Page 32: ...successfully Delete user 1 Select the user which needs to delete in the user configuration list box 2 Clicking Delete button will pop up a confirm dialog box Then click OK to delete the user Note The...
Page 33: ...ess list box and click Add button Then this MAC address will display in the list box the operation step of Allow the following MAC address is the same with Deny the following IP address 5 Select the M...
Page 34: ...ot the device 4 6 5 Upgrade Go toAdvanced Configuration Upgrade interface as shown below 1 Click Browse button to select the save path of the upgrade file 2 Click Upgrade server firmware button to sta...
Page 35: ...images saved in the SD card 1 Set time Select date in the Calendar and choose the start and end time 2 Choose event Motion or Sensor 3 Click Search button to search the picture 4 Double click a filen...
Page 36: ...Save all Click this button to select the save path of the picture files on PC for saving all pictures 5 Fit size The picture will fit on screen by clicking this button 6 Actual size Click this button...
Page 37: ...been revised contact administrator to get the correct port number D Exclude the above reasons Recover default setting byIP Tool Q IP tool cannot search devices why A It may be caused by the anti viru...
Page 38: ...ction Appendix 2 Installation of Water proof Rubber Plug In order to improve the water proof effect the rubber plugs are attached to some network bullet cameras You may mount the rubber plugs to the m...
Page 39: ...C CVBS Audio Alarm Input Output Audio and Alarm Input and Output Transmission performance 10simultaneousconnections Remote access Android and IOS iphone ipad TBK VMS 2020 PC TBK VMS 3000 Web browser S...
Page 40: ...35 TBK Vision Plus Network Camera User Manual Dimensions TBK BUL7436EIR Accesories JUNCTION BOX TBK 361C JUNCTION BOX TBK 362C...
Page 41: ...S Audio Alarm Input Output Audio and Alarm Input and Output Transmission performance 10 simultaneous connections Remoteaccess Android and IOS iphone ipad TBK VMS 2020 PC TBK VMS 3000 Web browser SD ca...
Page 42: ...37 TBK Vision Plus Network Camera User Manual Dimensions TBK BUL7536EIR Accesories JUNCTION BOX TBK 363C WALL BRACKET TBK 371P...