8 – Saving and recalling setting data
5
STORE button
o
Tap this button to store (save) the current settings to the
data slot shown. (See “Storing snapshots” on page 127.)
o
If a locked data slot is shown, this button will appear gray.
6
RECALL button
o
Tap this button to recall the data slot settings of the
snapshot number/name shown. (See “Recalling snapshots”
o
If an empty data slot is shown, this button will appear
gray.
7
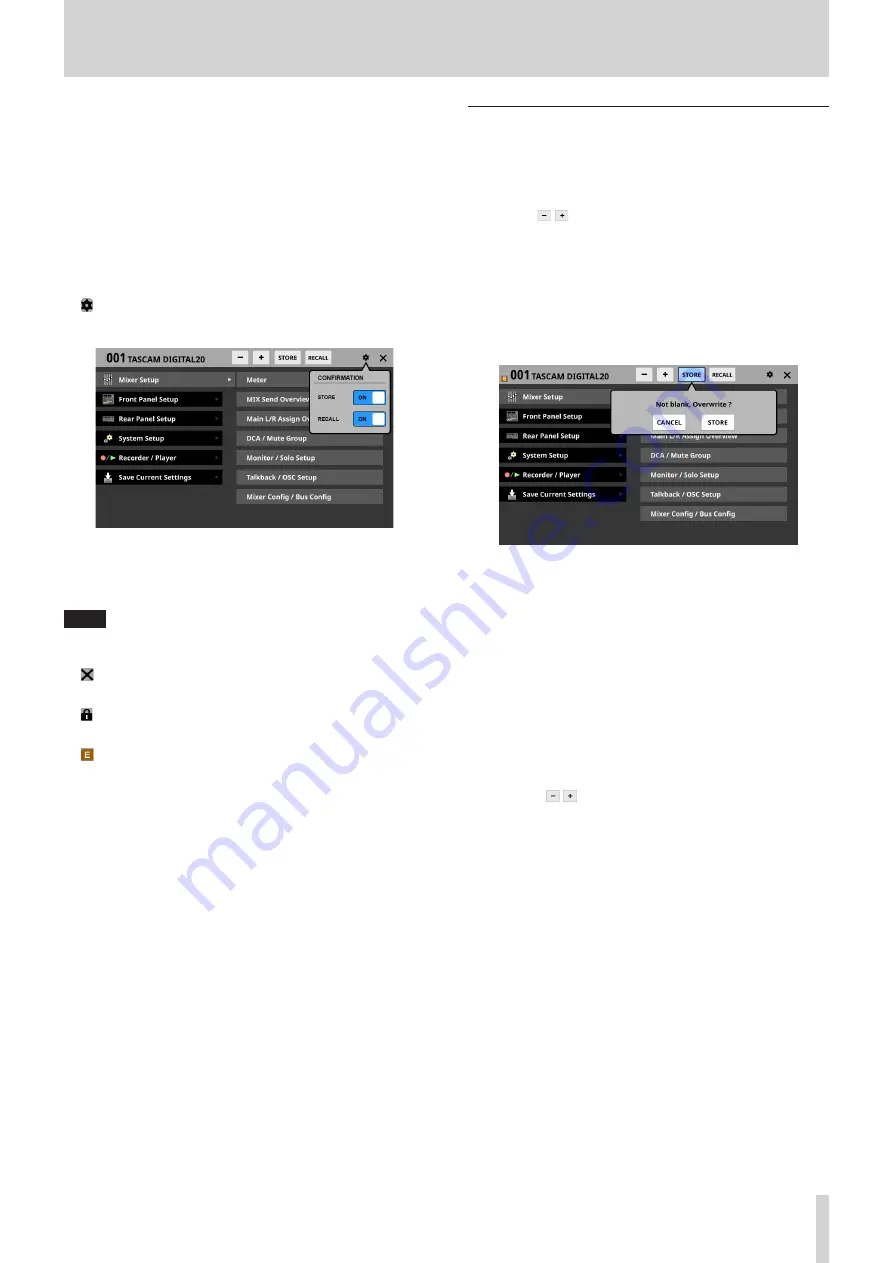
icon
Tap this icon to open the CONFIRMATION settings window.
Tap these switches to set whether or not confirmation
messages are shown when storing and recalling snapshots.
Tap this button again to close the CONFIRMATION setting
window.
NOTE
These settings can also be set on the PREFERENCES Screen.
(See “PREFERENCES screen” on page 30.)
8
icon
Tap this icon to close the Menu Screen.
9
icon
This icon will appear if the snapshot shown is locked.
0
(EDIT) icon
This icon will appear if settings have been changed for the
last stored/recalled (current) snapshot.
Storing snapshots
Follow one of the procedures below to store (save) snapshot
data.
Using STORE at the top of the Menu Screen
1. Tap the / buttons to show the snapshot number (
1
)/
name (
2
) of the save destination data slot.
2. Tap the STORE button (
5
).
i
If the save destination data slot is empty, the settings of
the current snapshot will be stored in it.
i
If the save destination data slot is not empty and the
CONFIRMATION settings window STORE setting is ON, a
save confirmation message will be shown.
i
Tapping the STORE button on the confirmation
message will store the current snapshot settings in the
data slot and close the message.
i
Tapping the CANCEL button on the confirmation
message will close the message without storing.
3. After storing completes, a storing completion message will
appear for about two seconds.
Storing snapshots on the Snapshot List
Screen
1. Do one of the following to show the save destination data
slot in the snapshot list display area.
i
Tap the / buttons
i
Turn LCD knob 8
i
Swipe the list up or down
i
Drag the scrollbar up or down
2. Tap the save destination data slot to select it.
This highlights the data slot.
3. Tap the STORE button (
5
).
i
If the save destination data slot is empty, the settings of
the current snapshot will be stored in it.
i
If the save destination data slot is not empty and the
CONFIRMATION settings window STORE setting is ON, a
save confirmation message will be shown.
i
Tapping the STORE button on the confirmation
message will store the current snapshot settings in the
data slot and close the message.
i
Tapping the CANCEL button on the confirmation
message will close the message without storing.
4. After storing completes, a storing completion message will
appear for about two seconds.
TASCAM Sonicview 16/Sonicview 24
127


