18
19
Main Display Messages
The following are the main display messages that appear on the
LCD display.
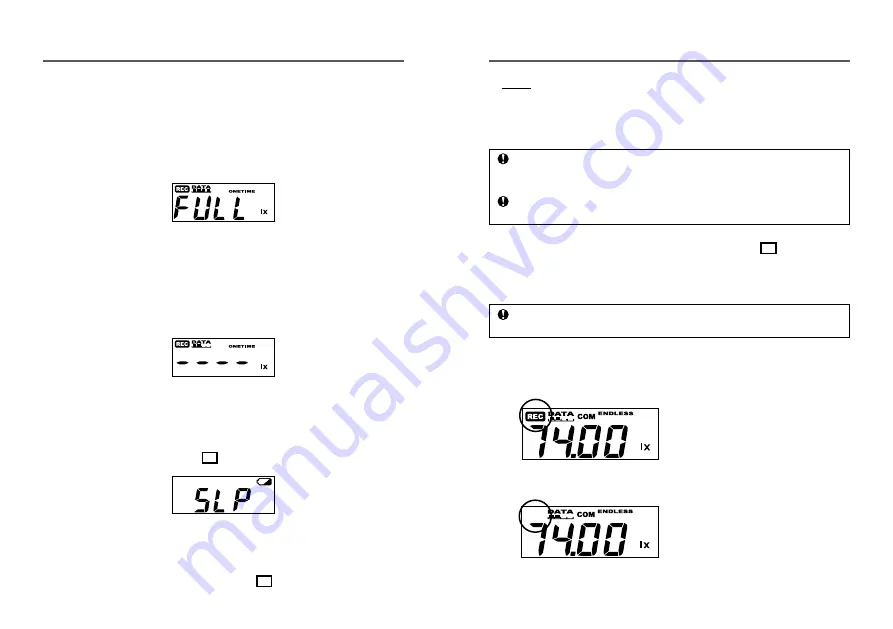
FULL (Storage Capacity FULL)
Upon reaching storage capacity of 8,000 readings, "FULL" will appear on
the LCD display. When this message appears, recording has been
stopped. (Only when recording in ONETIME mode will this be displayed.)
Sensor Error
This will be displayed when a sensor has not been connected, has not
been completely inserted or the wire has been broken. Measurement
and recording will continue so battery power will be consumed.
- Measurement and recording will continue so battery power will be consumed.
- If after re-connecting the sensor, measurements are still not displayed, it is very
possible that the Sensor or the Unit is defective or has been damaged.
SLP (Sleep Mode)
If the battery is not changed and power becomes extremely low, this
message will appear on the LCD display. When this appears, recording
has been stopped in order to save the already recorded data. See
"Changing the Battery" on page 22 and change the battery.
Nothing Appears
If after going into sleep mode above, the battery is further left unchanged
the display will automatically shut off. If that occurs, all recorded data will
be lost. See "Changing the Battery" on page 22 and change the battery.
Operations via Buttons on TR-74Ui
NOTE:
-If no operations can be performed using buttons on the TR-74Ui Unit,
it means the buttons have been deactivated via the software.
POWER Button: Turning ON / OFF the Power
During recording, the power cannot be turned off by pressing the
button on the Unit. Please stop recording first and then turn off the
power.
If there is ample battery power remaining in the Unit, even if the
power has been turned off, the recorded data will be saved.
Upon purchase, first Install the Software, and then turn the power ON.
Please see "Getting the TR-74Ui Ready to Use" on page 24 .
REC/STOP Button: Starting / Stopping Recording
By starting a new recording session, all data currently saved in the
Unit will be erased.
Start Recording
Even if the Unit is waiting for a programmed recording to start via the
software, it is possible to start recording.
Press the REC/STOP button
until the [REC] mark appears
in the display.
Stop Recording
During a recording session,
press the REC/STOP button
until the [REC] mark
disappears from the display
to stop recording.


