29
Setting the Date and Time
Follow the procedure below to make clock settings for the Unit.
11
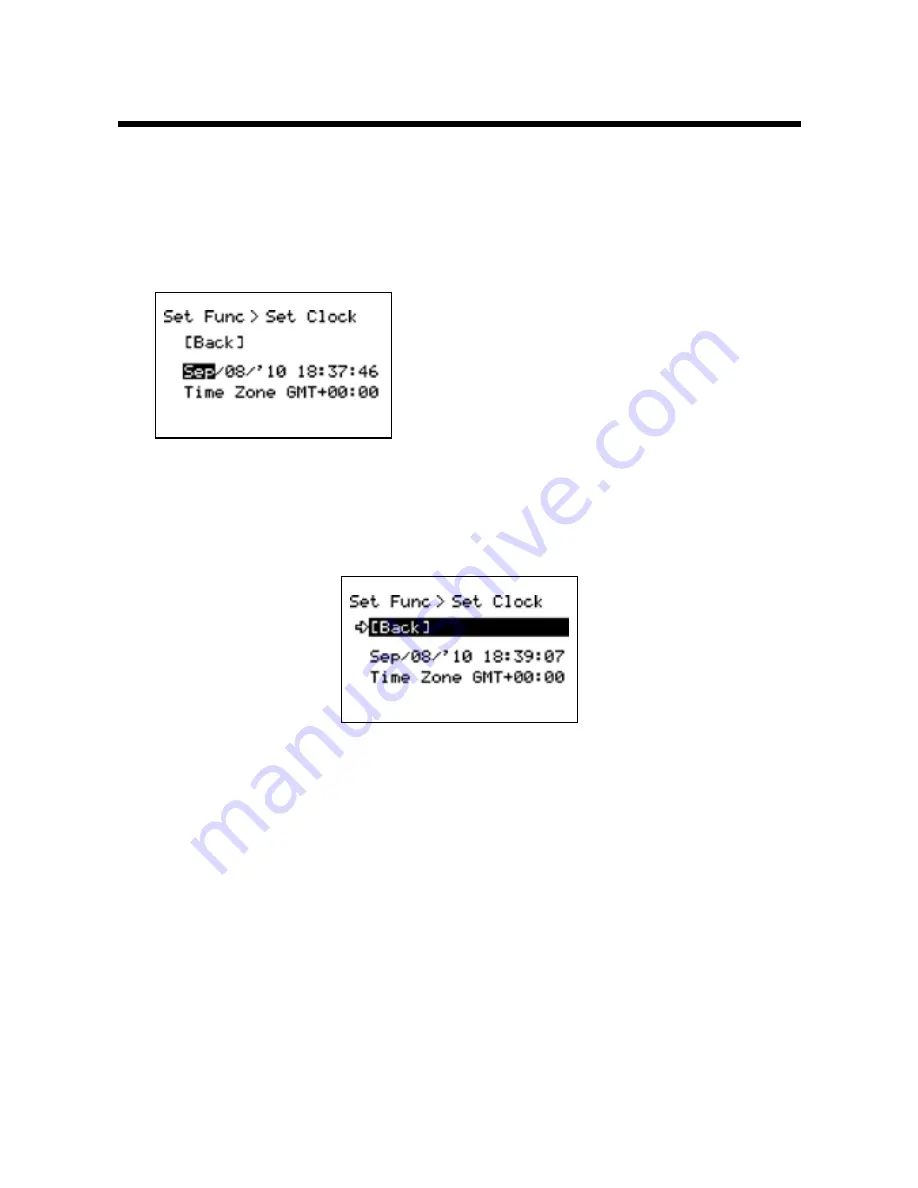
In the Main Menu, go to [Set Functions] and select [Set Clock].
21
Set the desired values.
(1) Moving the Operation Dial up and down
will change the selection item of the
display in the order of month, day, year,
hour, and minute1 By pressing the dial, the
value for that item will flash1
(2) Change the value by moving the dial up
and down1 Press the dial again to set the
selected value and move to the next
settings item1
31
After having completed the clock settings, move the arrow to [Back] and
press the dial to return to the Menu Window.
[Time Zone]
By setting the region in which the Unit will be used the time difference will be
automatically set. Daylight Savings Time settings must be set manually.
- Please make sure that the date and time settings in the Unit is correct, if it is
not, the recording start time and recording time of downloaded data will be
incorrect.
- Clock settings for the Unit can also be made from your computer by using the
software supplied with the Unit. For more details, see the [Help] Menu in the
supplied software or the User’s Manual that accompanies it.


