6 of 10
3.
With the tape drive right side up, slide the tape drive into the autoloader until the bracket
flanges rest against the flanges on the autoloader’s back panel.
4.
Connect the serial cable to the tape drive (see
Figure 3
). The connector is keyed to ensure the
proper orientation.
5.
Connect the SCSI or IDE/ATAPI cable and power cable to the tape drive. The connectors are
keyed to ensure the proper orientation.
6.
Route the cables into the notch in each bracket, and make sure that the cables don’t hang
below the tape drive (see
Figure 2
). Make sure that the serial cable isn’t pinched between the
SCSI or IDE/ATAPI cable and the side of the notch.
7.
Place the tape drive cover plate on the autoloader’s back panel (see
Figure 1
). Make sure that
the cables aren’t pinched by the cover plate. Insert and tighten the two screws.
Installing a VXA-320 (VXA-3) tape drive
To install the new tape drive:
1.
If your new tape drive has a faceplate (see
Figure 10
), you will need to remove the faceplate
before installing the tape drive in the autoloader.
!
Important
The serial connector on the SCSI VXA-2 tape drive differs from the serial
connector on the VXA-320 (VXA-3) tape drive. If your VXA PacketLoader 1U
originally contained a SCSI VXA-2 tape drive and you are installing a VXA-320
(VXA-3) tape drive, you will need a jumper cable to connect the serial cable to
the tape drive. The required jumper cable is included with the VXA-320 tape
drive upgrade kit.
Caution
Before connecting the SCSI or IDE/ATAPI cable in the following step, make
sure that none of the pins on the cable are bent.
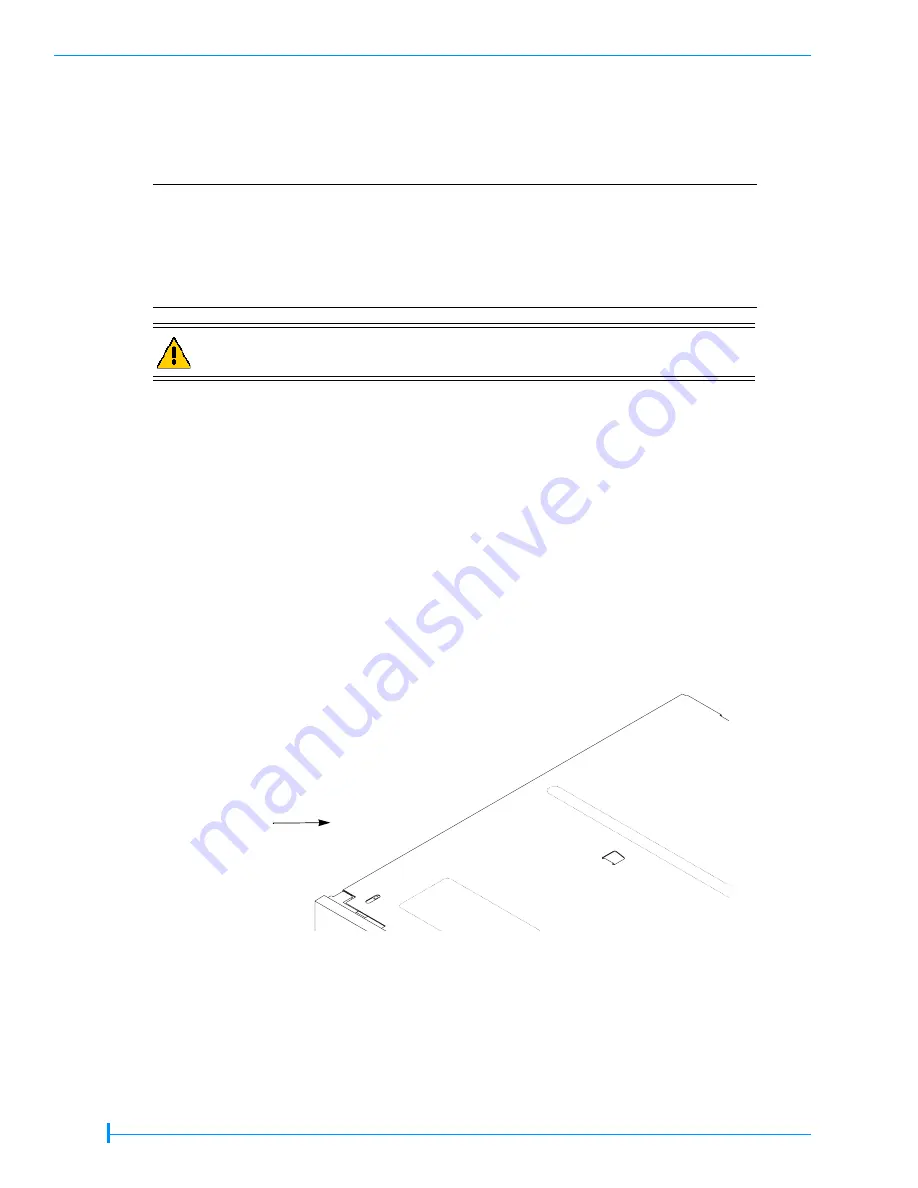
Figure 10
VXA-320 (VXA-3) tape drive with faceplate
Faceplate
(bezel)


