
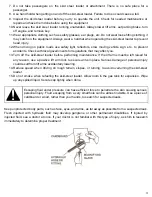

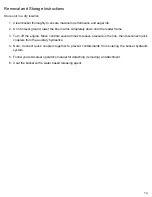

hydraulics to discharge the concrete or material. Disengage the auxiliary hydraulics to stop the flow of
concrete or material.
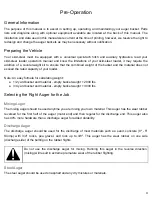
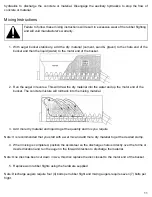
Mixing Instructions
Failure to follow these mixing instructions will result in excessive wear of the rubber flighting
and will void manufacturer's warranty.
1. With auger bucket stationary, add the dry material (cement, sand & gravel) to the chute end of the
bucket and then the liquid (water) to the motor end of the bucket.
2. Run the auger in reverse. This will draw the dry material into the water and up the motor end of the
bucket. The concrete mixture will roll back into the mixing material.
3. Add more dry material and liquid to get the quantity and mix you require.
Note: It is recommended that you start with a wet mix and add more dry material to get the desired slump.
4. When mixing is completed, position the skid-steer so the discharge chute is directly over the forms or
desired location and run the auger in the forward direction to discharge the material.
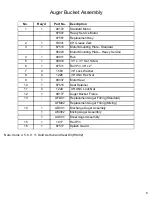
Note: One disc has been cut down in size, this disc replace the disc closest to the motor end of the bucket.
5. Replace worn rubber flights using the hardware supplied.
Note: Discharge augers require four (4) bolts per rubber flight and mixing augers require seven (7) bolts per
flight.
11
Summary of Contents for 3000 Series
Page 1: ...Parts Operators Manual 888 317 5878 www talet ca...
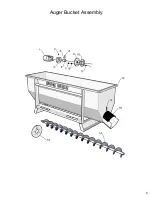
Page 6: ...Auger Bucket Assembly 5...
Page 16: ...Decals 15...


