8
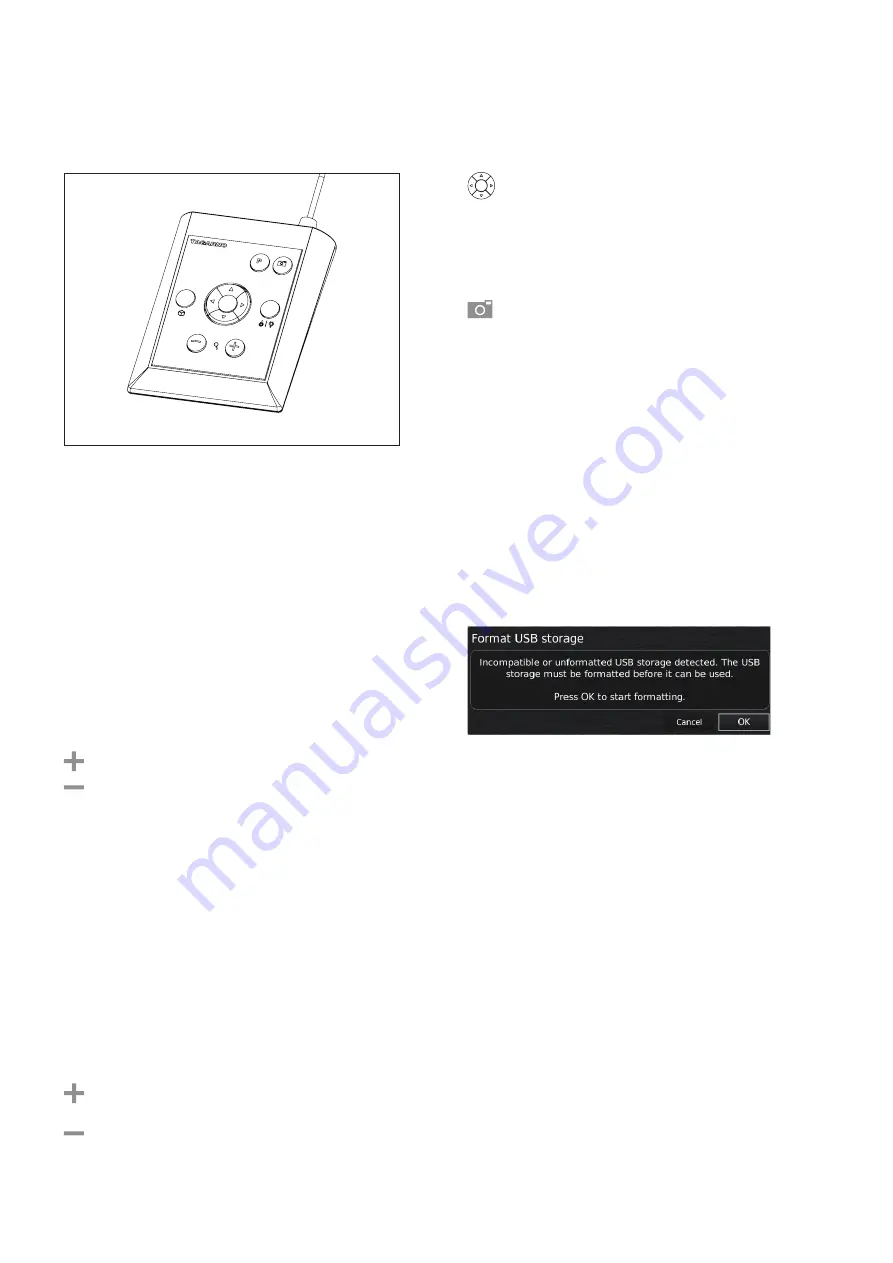
XPLUS FHD Control box for TAGARNO FHD functions.
Do only connect equipment distributed by TAGARNO.
Dimensions
H: 45mm/1.8" | W: 120mm/4.7" | D: 150mm/5.9".
On screen display (OSD)
The on-screen display provides you with the relevant information
when you push a button on the control box or Setup menu.
For instance if you change the level of magnification, the white
balance, iris, etc. In this way you always know which function you are
activating and which parameters you are using.
Setup menu
Access the Setup menu by pressing the round center
button for 1 second. See separate section regarding
the Setup menu.
Snapshot function
To take a picture and transfer it to USB or your microscope
internal storage, press the image capture button until you
hear a beep. Long press on the same button will save an
image with graphics, causing the live image to freeze for a
few seconds. This button also turns Auto Snapshot on/off
when activated via the Setup menu.
When taking a picture, an information window will appear
for a few seconds showing the file name and storage
location.
Zoom
Push this button on the control box to zoom in.
Push this button on the control box to zoom out.
The magnification level will show via On Screen Display.
Auto exposure mode
Auto exposure mode prioritizes the exposure time
which is optimal for the selected video format. In good
lighting conditions the microscope will reduce the iris
instead of the exposure time to improve the depth of view.
Manual focus
Turn autofocus off by pushing both zoom buttons (plus
and minus) on the control box at the same time until you
hear a beep. You can now adjust focus manually with the
help of the zoom buttons.
Push this button on the control box to adjust focus if you
wish to focus on something very close.
Push this button on the control box to adjust focus if you
wish to focus on something that is farther away.
To turn the autofocus on again, simply push both zoom
buttons (plus and minus) at the same time until you hear
a beep. The focus values will show via On Screen Display.
Save image on USB memory stick
The image will be saved on the inserted USB memory stick.
However, if your USB memory stick is not compatible with your
microscope, a pop-up warning will instead ask you to format your
USB memory stick (for more information, see section 5 in Set-up
Menu).
When clicking OK, a second pop-up will ask you to confirm your
selection. All files on the USB memory stick will be deleted once
formatting begins. Formatting time will vary.
Press the image capture button again to take a new photo and
save it directly to your USB memory stick.
Save image on microscope
If a USB memory stick is not attached, the image is saved internally
on the microscope, provided the share file mode is turned on.
Otherwise, an error message will appear and you are not able to
save images.
To access the files on the microscope, follow descriptions regarding
file sharing in section 2 in SETUP MENU.
OPERATION | XPLUS FHD CONTROL BOX (2/3)


