1.
The RLKM-12 is packaged with its slide-rails attached to the unit. Carefully slide the
mounting rails from the unit.
2.
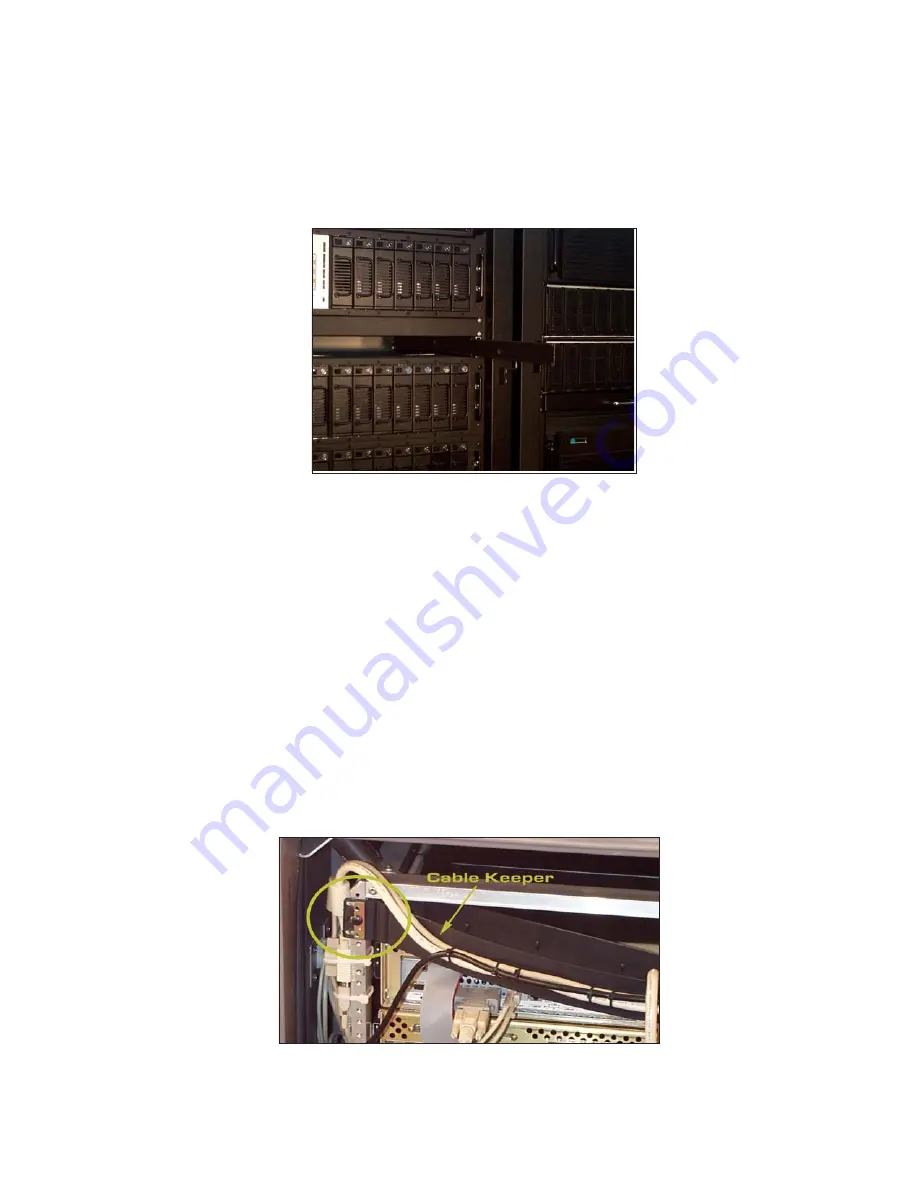
Fully extend mounting rails before mounting them to the rack enclosure, See Figure 2.
3.
Use the supplied hardware to attach the mounting rails to the rack enclosure.
4.
Carefully slide the RLKM-12 onto the extended mounting rails, until the slide rail “clicks”.
5.
All of the cables have been secured to a Cable Keeper at the rear of the RLKM-12.
Thread the cables through the back of the rack enclosure, before sliding the RLKM-12
into the rack enclosure.
6.
Attach the Power Cord, Keyboard, Mouse (Touchpad), and Video cables to their respective
ports.
Note: The keyboard and mouse cables are prominently labeled on their respective connectors.
Make sure that they are connected to the correct port.
7.
Bolt the Cable Keeper’s hinge bracket to the rack enclosure, See Figure 3.
8.
Press the slide safety lock to slide the RLKM-12 into the rack enclosure.
Note: Make sure the LCD has been stowed before sliding the RLKM-12 into the rack enclosure.
Installation of the RLKM-12
Figure 2
Figure 3


