25
Note:
The length constant value last set for each cable type is stored
in the unit’s memory. If you have not adjusted the length
constant value for any or all cable types, the default values,
shown in Table 11 above, will be stored in the unit’s memory.
The length constant can be adjusted at any time.
1. Verify the unit is set to the desired unit of measurement (feet or me-
ters). To change the unit of measurement, quickly press the LENGTH
and QUALITY buttons at the same time.
Note:
The measured cable length and the length constant value
changes to the unit of measurement selected.
2.
Make sure the Coax Clarifier™ is set to the appropriate cable type.
The length constant value is edited for only the specified cable type.
To change the cable type, press the UP and DOWN buttons until the
screen updates with the desired selection (RG59, RG6, or no specified
cable type).
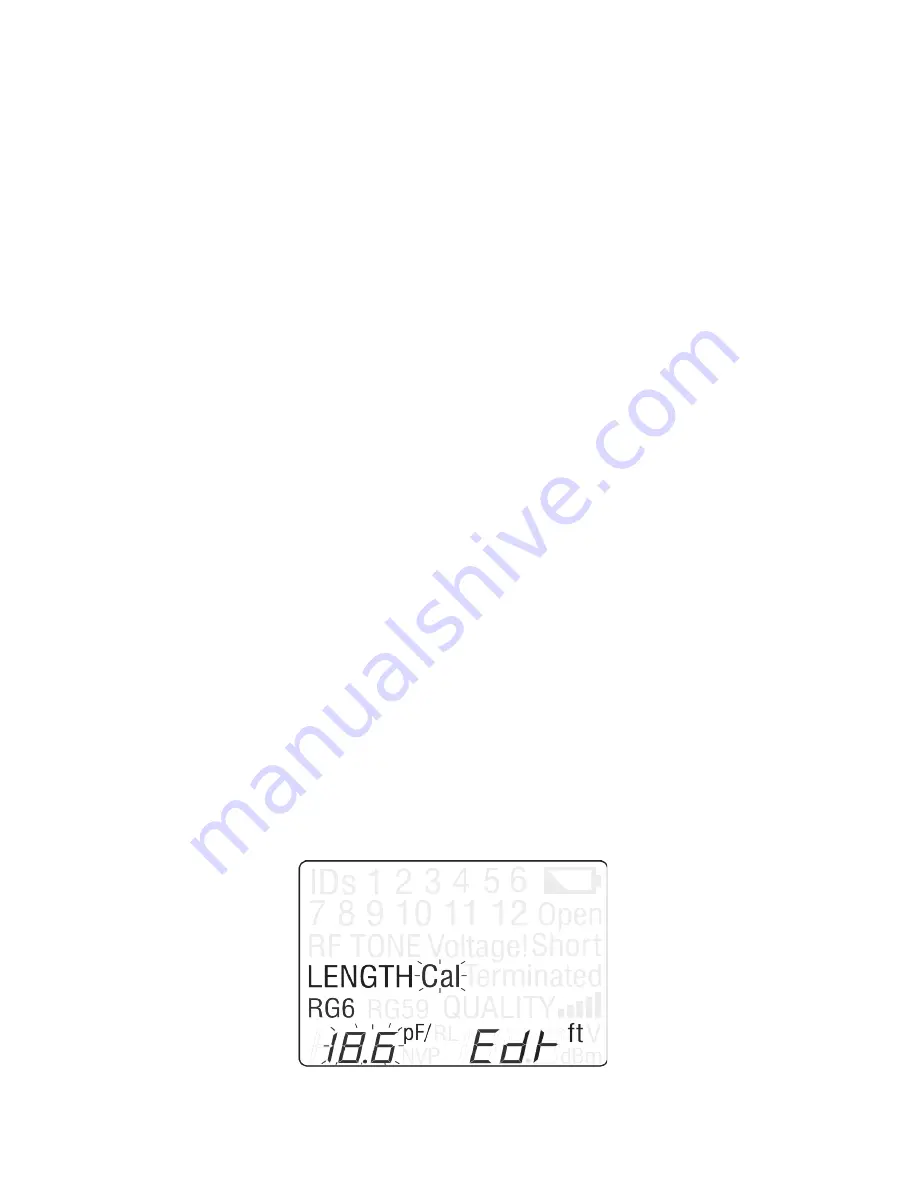
3. Hold down the LENGTH button for two seconds to enter Edit Mode in
order to edit the length constant value. The LCD display screen shows
the following icons (see Figure 13):
▪
LENGTH icon displays indicating you are in Length Mode.
▪
The cable type displays (RG6, RG59, or no specified cable).
▪
The length constant value and the calibration icon (“Cal”) blink,
one after the other, demonstrating you are in Edit Mode.
▪
The Edit icon (“Edt”) appears in the lower right corner of the screen.
▪
The measurement unit (“m” for meters or “ft” for feet) displays
to the right of the “Edt” icon.
figure 13.
Adjusting Length Constant Value


