


10
Chapter 2: Hardware Setup
3
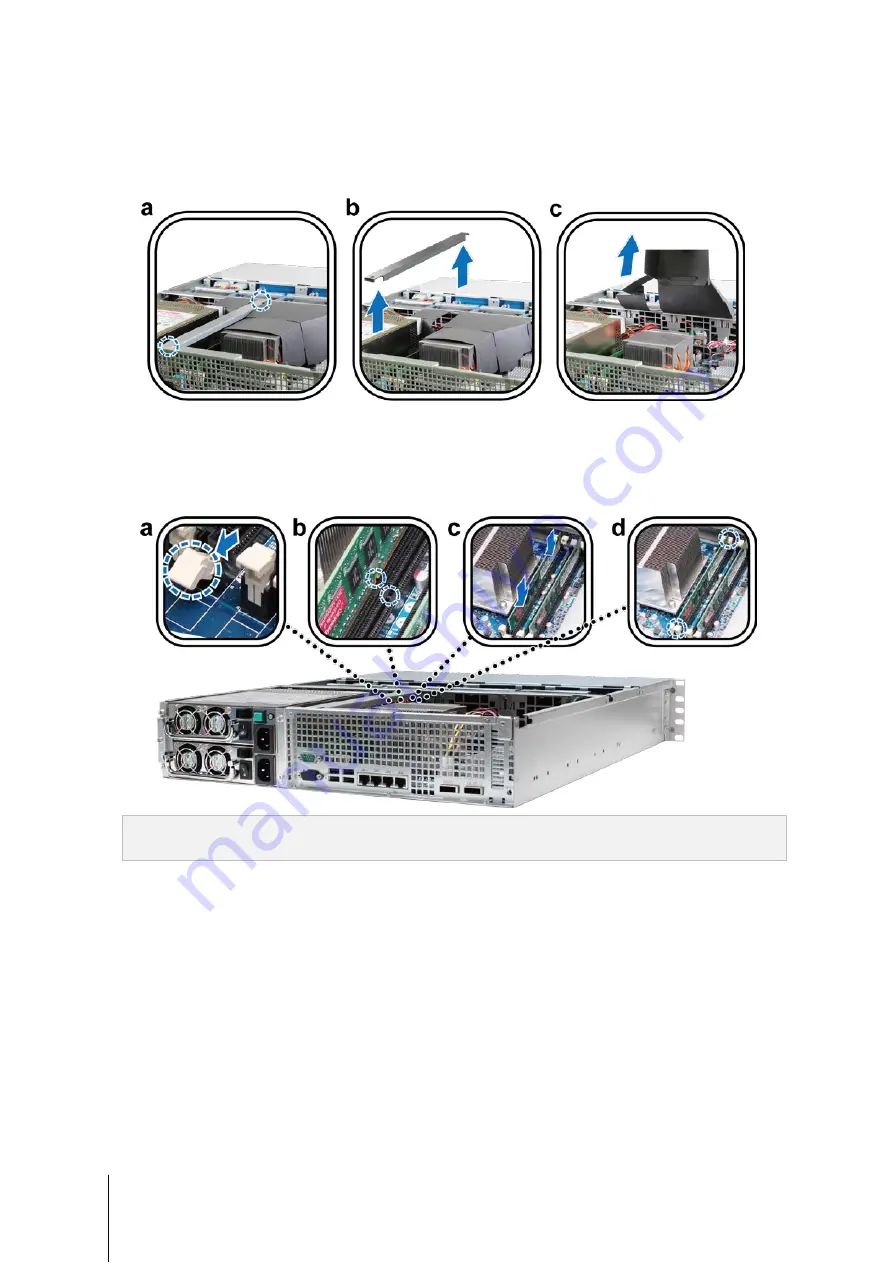
To access the memory slot, follow the steps below:
a
Remove the screws from the support bracket as illustrated below.
b
Remove the support bracket.
c
Lift the air duct upwards.
4
To insert the new memory module, follow the steps below:
a
Release the ejectors on the memory slot by pushing them outwards.
b
Align the notch on the gold edge of the module with the notch in the memory slot.
c
Use two fingers to apply firm, even pressure and push the memory module downward.
d
When the memory is inserted correctly, the ejectors will snap into place.
Important:
5
Replace the top cover, slide it into place, and tighten the two screws on the back of your RackStation.
To avoid damaging the memory module, please hold it by the edges and do not touch the gold
connectors.
Make Sure RackStation Recognizes New Memory Capacity
After installing a new memory module in your RackStation, we recommended checking whether the system
recognizes the new memory.
To check the memory of your RackStation:
1
Start up your RackStation. (See “Start Up Your RackStation” on Page 15 for more information.)
2
Install DSM. (See “Chapter 3:
17 for more information.)
3
Log in to Synology DiskStation Manager (DSM).


