Synology DS414slim Quick Installation Manual Download Page 12


  12 


Chapter 

Chapter 3: 

Install DSM on DiskStation 

After hardware setup is finished, please install DiskStation Manager (DSM) – a browser-based operating system 

specifically designed for Synology NAS. 
We highly recommend using Synology’s 

Web Assistant 

to install DSM with a web browser. Synology Web 

Assistant can automatically download the latest software from the Internet and guide you through installation. 

Install DSM with Web Assistant 

Your DiskStation comes with a built-in tool called 

Web Assistant 

to help you configure and install DSM. To use 

Web Assistant, please follow the steps below. 

Power on the DiskStation. 

Open a web browser on a computer in the same network as the DiskStation. 

Depending on your network environment, do either of the following: 

If you have Internet access, go t

If you do not have Internet access, go t

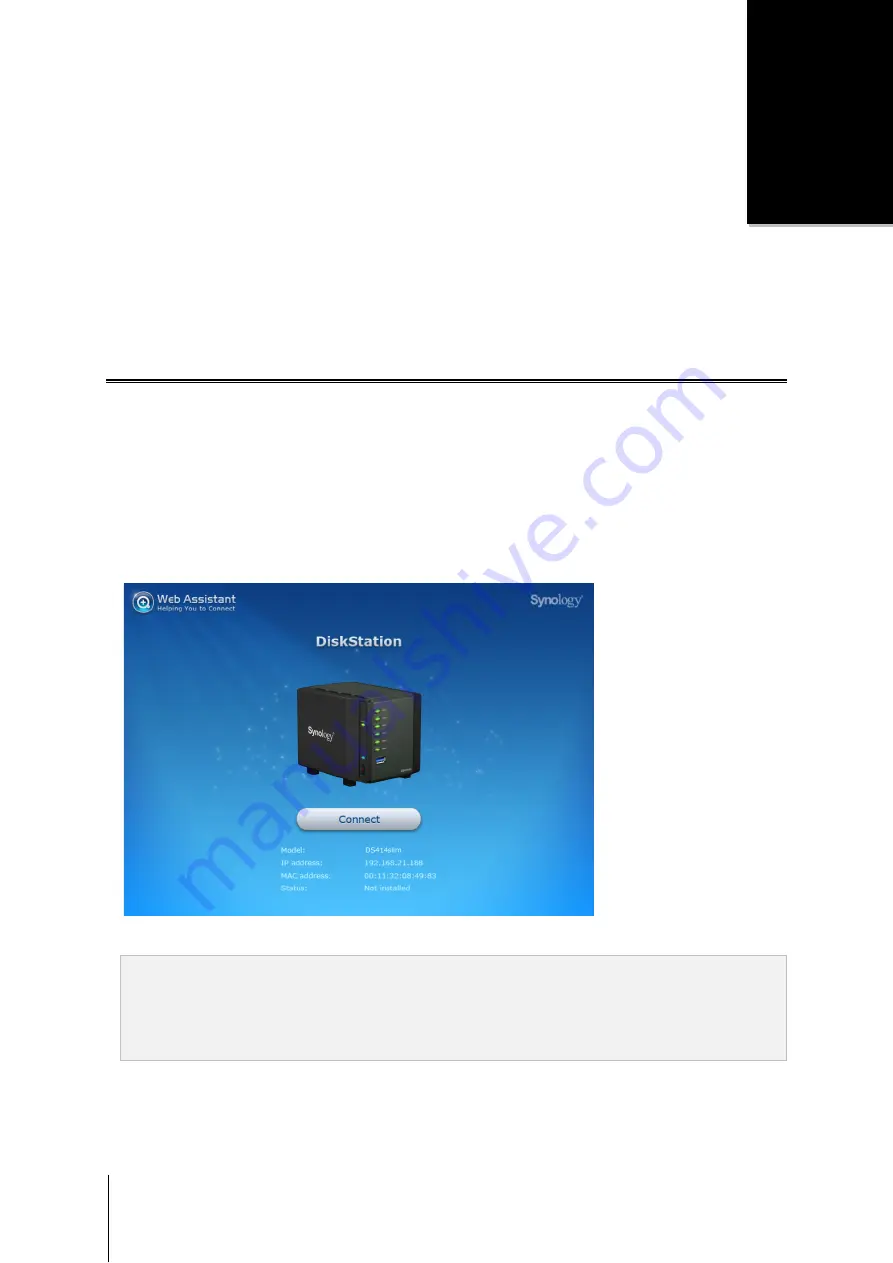
Web Assistant will be launched in your web browser. It will search and find your DiskStation within the local 

network. The status of your DiskStation should be 

Not Installed


Click 

Connect 

to start the setup process. Follow the onscreen instructions to complete the setup process. 

Note: 

1. 

Suggested browsers: Chrome, Firefox. 

2. 

Both the DiskStation and the computer should be in the same local network. 

3. 

Internet connection must be available during DSM installation with Web Assistant. 

Summary of Contents for DS414slim

Page 1: ...Synology DiskStation DS414slim Quick Installation Guide Synology_QIG_DS414slim_20140520...

Page 2: ...5 Chapter 2 Hardware Setup Tools and Parts for Drive Installation 6 Install Drives 6 Start Up Your DiskStation 8 Replace Malfunctioning Fan 9 Chapter 3 Install DSM on DiskStation Install DSM with Web...

Page 3: ...ease check the package contents to verify that you have received the items below Also make sure to read the safety instructions carefully to avoid harming yourself or damaging your DiskStation Package...

Page 4: ...e information see Appendix B LED Indication Table 5 USB 3 0 Ports Front Back Panel Connect external hard drives USB printers or other USB devices here 6 LAN Ports Back Panel Connect network cables her...

Page 5: ...ord Wipe with damp paper towels Do not use chemical or aerosol cleaners To prevent the unit from falling over do not place on carts or any unstable surfaces The power cord must plug in to the correct...

Page 6: ...e drive models Warning If you install a drive that contains data the system will format the drive and erase all existing data Please back up any important data before installation Install Drives 1 Pul...

Page 7: ...herwise the drive might not function properly 4 Repeat the steps above to install all prepared drives 5 Drives are numbered as illustrated below You can use the included drive tray labels to label the...

Page 8: ...omes with your DiskStation varies depending on your region The image below is for reference only 2 Connect one end of the AC power adapter to the power port of the DiskStation Connect the other end to...

Page 9: ...the cooling fan located on the bottom of the DiskStation malfunctions please follow the steps below to remove and replace the malfunctioning fan with a new one 1 Power down the DiskStation and remove...

Page 10: ...p 4 Remove the screws from the fan case and slide out the malfunctioning fan 5 Slide a new fan into the fan case Tighten the screws to secure the fan in place 6 Plug the fan power cord into the DiskSt...

Page 11: ...11 Chapter 2 Hardware Setup 7 Close the fan case...

Page 12: ...r on the DiskStation 2 Open a web browser on a computer in the same network as the DiskStation 3 Depending on your network environment do either of the following a If you have Internet access go to fi...

Page 13: ...13 Chapter 3 Install DSM on DiskStation Learn More Congratulations Your DiskStation is set up now For more information or online resources about your DiskStation please visit www synology com...

Page 14: ...ybrid RAID Up to 2 Disk Fault Tolerance Agency Certifications FCC Class B CE Class B BSMI Class B HDD Hibernation Yes Scheduled Power On Off Yes Wake on LAN Yes Language Localization English Deutsch F...

Page 15: ...ic Network connected Blinking Network active Off No network HDD 1 4 Green Static Drive ready and idle Blinking Accessing drive Orange Static Drive error Off No internal drive Power Blue Static Powered...

Page 16: ...o control access to the components features or functions of the Product or Software Section 6 Open Source The Software may contain components licensed to Synology under the GNU General Public License...

Page 17: ...the United States except as otherwise provided below In such cases the arbitration will be conducted before a single arbitrator and will be limited solely to the dispute between you and Synology The a...

Page 18: ...ategory III Products at the Web Site The failure to register a Product at the Web Site will not diminish the warranty rights set forth in Section 2 1 Synology is not responsible for Customer s failure...

Page 19: ...RANTY WHETHER BASED ON CONTRACT TORT INCLUDING NEGLIGENCE STRICT LIABILITY OR OTHER THEORY EVEN IF SYNOLOGY HAS BEEN ADVISED OF THE POSSIBILITY OF SUCH DAMAGES 3 3 Limitation of Liability SYNOLOGY S A...

Page 20: ...forcement rules The arbitration shall take place in Taipei Taiwan R O C and the arbitration proceedings shall be conducted in English or if both parties so agree in Mandarin Chinese The arbitration aw...

Reviews: