2
5) Filter drawer
6) Position the sample
7) Using GeneSnap
8) Adjusting the camera
settings
+
If after clicking ‘Install’ within the Syngene dialogue box you are presented with an error message:
‘Unable to run installation program. CD may be corrupted’, then click ‘OK’. Browse for the install.bat file
on the CD and right click on it and select ‘Run as administrator’. Within the resulting User Account
Control dialogue box click ‘Continue’ and now GeneTools will install (continue from “Follow the
instructions….”).
NB
GeneTools needs to be installed and licensed to activate both the Effective Pixels and Focus
Indicator features in GeneSnap, the acquisition software.
NB2
Within GeneSnap, images can be automatically transferred to GeneTools using the Send to
GeneTools icon. For Windows VISTA in order for this link to operate you need to perform a mouse right
click on the GeneTools desktop icon and select Run as administrator. This only needs to be performed
once and now all users can use this function.
Start the GeneSnap program by double clicking the icon on the Windows desktop.
Place the UV/EtBr filter with the thread pointing upwards in the filter drawer (found below the
camera on the top of the InGenius LHR unit). This filter can be interchanged with other filters for
different dyes.
Using GeneSnap
Image capture and enhancement is carried out within
GeneSnap
(if the program does not open
automatically simply double-click on the GeneSnap desktop icon).
You will now see the GeneSnap User box.
Type into the space your name and click the OK button. This is now your configuration and any
changes you make to the way you use or set-up the program will be stored as defaults under your
name. Each user can enter a name or title for their own individual user preferences so that whenever
you start InGenius LHR and enter a particular name at the log-in stage the system adapts for that
user’s preferred settings. In future you only need select your name from the drop down list.
GeneSnap will now fully open and you will see an image capture window appear. If the capture window
is not visible at any time, click on the camera icon at the top of the screen
To obtain a live image, click the green live button within the image capture window.
The image capture window will now show the current camera view.
Open the cabinet and place the sample on the UV transilluminator or visible light converter. The
converter is placed on the transilluminator.
Place the sample on the UV transilluminator or
visible light converter and close the door until
the interlock clicks.
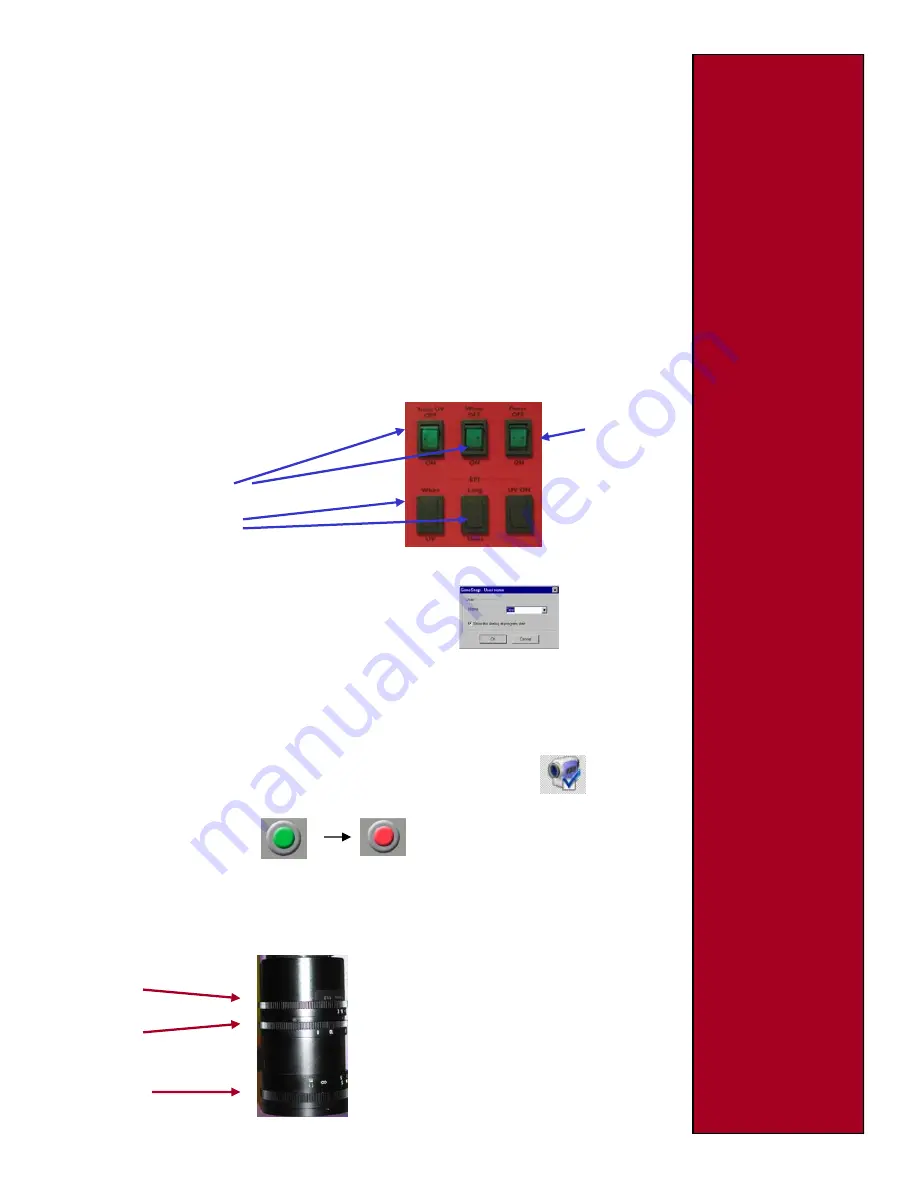
Select the appropriate light source -
Trans UV or overhead white
Epi UV (long or short) or Epi White if options
purchased
PowerOn/off
Adjust Aperture, Zoom and Focus
settings manually until a suitable image
is displayed.
Aperture
Zoom
Focus


