background image

11

Travel the road with assurance.

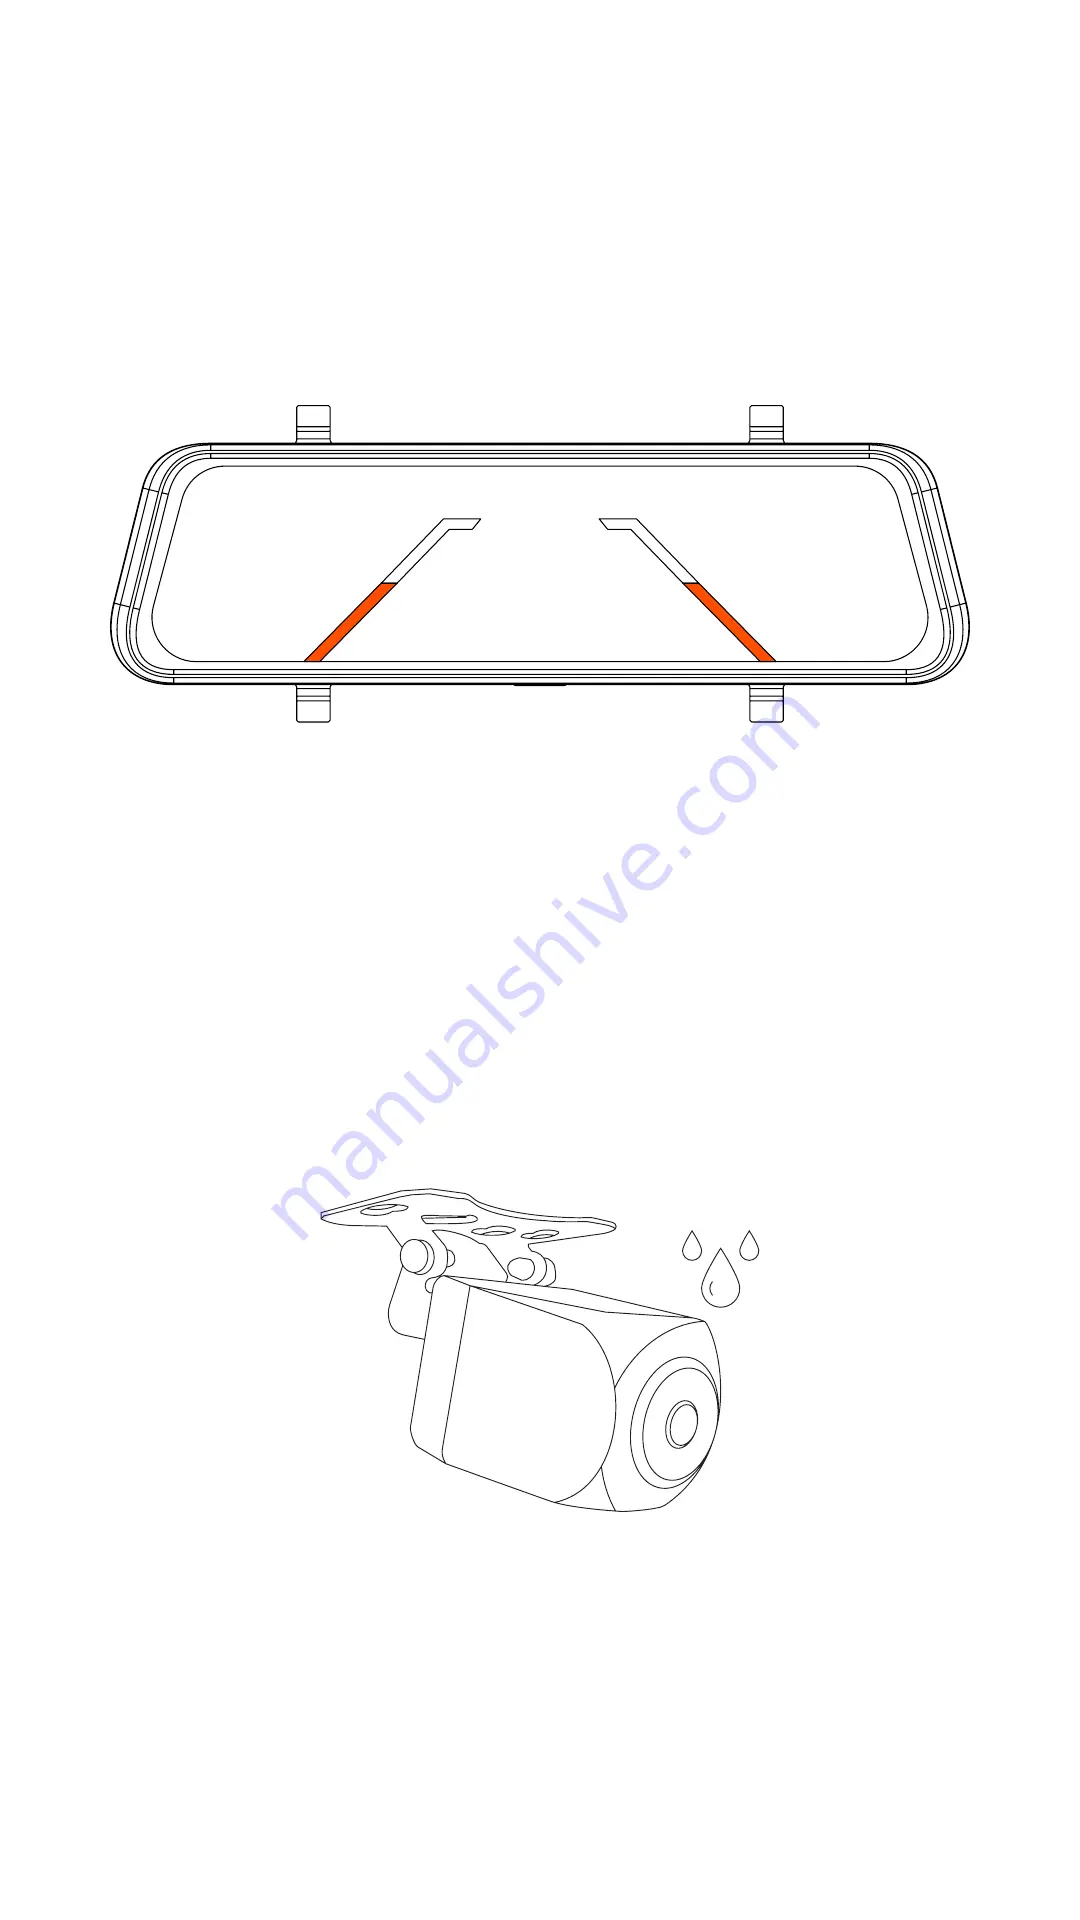
Image Assisted Reverse Parking

IP67 Rated Waterproof Rear Camera

Guidance lines when reversing your vehicle gives you a 
better sense when objects are in the vehicle’s blind spot. 
Helps to prevent accidents when reversing your vehicle.

Don’t worry about rain and snow affecting your rear 
mounted camera. The waterproof design of the rear 
camera prevents damage from the weather.

Summary of Contents for Roadsight Mirror

Page 1: ...Forward and Rear Dash Camera Instruction Manual ...

Page 2: ...iring Back Up Camera Option 1 19 8 Wiring Back Up Camera Option 2 21 9 Placing Rear Camera 25 10 Toggle Camera Display From LED Display to Traditional Mirror 26 11 Main Camera Functions 27 12 Dash Camera Viewing Angle 28 13 Playback Menu 29 14 Video Folders 30 15 Video Player 32 16 Image Folder 33 17 Image Viewer 35 18 Menu Settings 36 19 Updating Firmware 41 20 Camera Information 42 ...

Page 3: ... dash cam lens and only use a suitable lens cleaner and a soft cloth Do NOT expose this product to rain moisture or water under any circumstances doing so may result in the risk of electric shock or fire Do NOT perform servicing other than that contained in the instruction manual unless you are qualified to do so When installing in a vehicle always place the device securely against the windscreen ...

Page 4: ...4 Travel the road with assurance For Step by Step Install Videos Go to www sylvania automotive com Click here to view install video ...

Page 5: ...A Roadsight Mirror Rear Camera C SYLVANIA Roadsight Mirror Quick Start Guide D Rubber Mounting Straps 2X E Adhesive Strip F Mounting Screws 2X G USB Charging Cable H 32GB Micro SD Card I Trim Removal Tool J SYLVANIA Dash Camera Window Sticker 3X A B C E I D J G F 1 Package Contents H ...

Page 6: ...ion Continuous Loop Recording Auto Locks and Saves Collision Video Capture and Save Images Easily 10 1080p Full Width IPS Touch Screen Image Assisted Reverse Parking IP67 Rated Waterproof Rear Camera Length 257 76 mm 10 15 in Width 19 93 mm 0 78 in Height 32 37 mm 1 27 in Weight 318g Technical Specifications Approximate Size Weight ...

Page 7: ... Travel the road with assurance 170 Ultra Wide Field of View Forward and rear camera record at HD 1080p quality with 170 Ultra Wide field of view Offering up to 340 field of view at 30 frames per second ...

Page 8: ...r intelligent collision software senses if the vehicle has been bumped or hit and starts recording the incident The recorded collision video is saved and locked on the camera Intelligent motion detection software detects movement in the environment around and starts recording The recorded motion video is saved and locked on the camera ...

Page 9: ...on Video Recordings are automatically saved over one another No need to remove and empty micro SD card Locked footage is saved and cannot be overwritten In the event of a collision the dash camera will automatically lock and save video Go to the playback menu to view saved collision video ...

Page 10: ...1080p touch screen to give high resolution playback The IPS screen also prevents glare and reduces reflection during the day Capture and Save Images Easily Press the Take Photo button to quickly capture and save the image on your dash camera Saved photos can be viewed in the playback menu under images ...

Page 11: ...ance lines when reversing your vehicle gives you a better sense when objects are in the vehicle s blind spot Helps to prevent accidents when reversing your vehicle Don t worry about rain and snow affecting your rear mounted camera The waterproof design of the rear camera prevents damage from the weather ...

Page 12: ... for Field of View Adjustment C Mini USB Power Slot D Rear View Camera Aux Power Slot E Micro SD Card Slot F Power Button G System Speaker H Cushion Pads to Prevent Scratches to OEM Mirror I Rubber Mount Strap Brackets J Adjustable Dash Camera Position Slide A C D E B F G H H J I 3 Device Layout ...

Page 13: ...t Angle Bracket Correct mounting position as shown L Bracket Feet for Mounting M Red Power Cable for Auto Switch to Rear Camera N 19 3 Rear Camera Aux Power Cable O 11 7 Camera Aux Power Cable with USB Port P Mini USB Power Cable K M N L O P ...

Page 14: ... card to avoid damage to the device If necessary use a thin pointed device to push the card further To remove the memory card push the card until it clicks and remove the card from the slot 2 Insert included micro SD card into slot until it clicks into place 3 To remove micro SD card press down slightly then remove micro SD card from the slot 4 Installing Micro SD Card ...

Page 15: ...r Use the Adjustable Dash Camera Position Slide to extend dash camera fully out Making sure the dash camera does not interfere with the OEM rear view mirror during install 1 Attach included Rubber Mounting Straps 2x to the back of the mirror dash camera 5 Mounting SYLVANIA Roadsight Mirror Dash Camera ...

Page 16: ...se the 2 Rubber Mounting Straps to hold it in place 3 To power the device and charge the battery only use the included Mini USB Power Cable Connect the Mini USB Power Cable to the top of the mirror dash camera 4 Use the included trim removal tool to tuck power cable alongside of your vehicle Removing A Pilar to tuck wire inside is optional ...

Page 17: ...17 Travel the road with assurance 5 Plug the Camera Aux Power Cable into the 12V power socket 6 When the vehicle s engine starts the device turns on automatically ...

Page 18: ... Rear Camera Option 1 No Splicing Option 2 Splice Into Back Up Light Back Up Camera View w Finger Swipe Yes Yes Automatically Switches Display to Back up View No Yes Back Up Guidance Lines No Yes Requires Splicing into Back Up Light 12V No Yes ...

Page 19: ...on 1 2 Using the included trim removal tool to tuck rear camera wire to the back of your vehicle Removing A Pilar to tuck wire inside is optional 1 Connect Rear Camera Aux Power Cable to the top of the SYLVANIA Roadsight Mirror dash camera to power the rear camera ...

Page 20: ...ssurance 3 Leave red cable disconnected as it is not required 4 With this option you will need to swipe the display screen from left to right to toggle to back up view Guidance lines will not be available with this setup option ...

Page 21: ...on 2 2 Using the included trim removal tool to tuck rear camera wire to the back of your vehicle Removing A Pilar to tuck wire inside is optional 1 Connect Rear Camera Aux Power Cable to the top of the SYLVANIA Roadsight Mirror dash camera to power the rear camera ...

Page 22: ...is recommended to use a multimeter A to find positive and negative wires Detach battery terminal connectors to avoid electrical shock Determine the proper splice wire connectors to use for the gauge wire you will be splicing into NOT INCLUDED Use splice wire connectors B Example to splice into the back up bulb wiring harness A B ...

Page 23: ...which bulb is your reverse light and then which wire is the positive and negative wire If you are not sure contact your vehicle manufacturer or reference a wiring diagram for your vehicle 3 To enable automatic display switching from forward view camera to rear view camera you will need to splice the red wire on the rear camera power cable into your positive wire of your vehicle back up lights ...

Page 24: ...sitive wire use a splice connector to connect your red wire 7 Turn vehicle on to power up the SYLVANIA Roadsight Mirror dash camera 8 Put the vehicle in reverse to check rear camera has been installed correctly Correct installation should result in a clear image with guidance lines ...

Page 25: ...e will not be upside down 2 Find a place to mount the rear camera on the back of your vehicle 3 Mount bottom of bracket above or behind the camera to your vehicle using the provided adhesive tape WARNING If you wish to use the provided screws to permanently install the back up camera SYLVANIA is not liable for any damages you may cause to your vehicle ...

Page 26: ...irror 1 Forward dash camera field of view 2 Rear camera back field of view Option 1 wiring 3 Rear camera with guidance lines Option 2 wiring Press the power button to toggle between the LED display and the standard mirror function When the display is on you can toggle between 3 display screens ...

Page 27: ... Functions Recording Indicator Screen Brightness Adjustment Battery Status File Lock Toggle Record On Off Record Audio On Off View Saved Files Take Photo Lock Video Override Camera Settings Date and Time Dash Camera Field of View Adjustment Controls ...

Page 28: ...only be done along the vertical axis so be sure to position the device correctly on the windshield along the horizontal axis as close as possible to the windshield s center While pulling or pushing the device in the holder ensure that the camera captures the image in proportions of 30 sky 70 road ...

Page 29: ...oad with assurance 13 Playback Menu ATTENTION You must take the camera out of video recording mode to access the playback functionality otherwise you will see this screen Press the Playback button to view saved files ...

Page 30: ...r clicking the Playback button you are taken to the saved video files Level 1 Level 2 Previous Menu Return to Home Screen Folder 1 Forward Dash Camera Folder 2 Rear Dash Camera Go to Saved Video Files Go to Saved Image Files Toggle between file folder pages ...

Page 31: ...deo File Video File Name Format VID_20200713_125532 Year Military Time Month Day Seconds All saved video files are available here Use the page toggle controls to see more saved videos Locked video files are saved and stored after a collision is detected ...

Page 32: ...with assurance Click any video file to open Video Player Previous Menu Lock Unlock Video File Press to Delete Video File Play Button 15 Video Player VID_20200207_11230 Delete Current File Cancel Delete VID_20200207_11230 ...

Page 33: ...e 16 Image Folder After clicking the Playback button you are taken to the saved video files Press the Saved Images icon to see saved photos Level 1 Level 2 Folder 1 Forward Dash Camera Folder 2 Rear Dash Camera Go to Saved Image Files ...

Page 34: ... road with assurance Level 3 Locked Video File Image File Name Format IMG001 JPG Image Acronym Image Number File Format All saved image files are available here Use the page toggle controls to see more saved images ...

Page 35: ...35 Travel the road with assurance Click any video file to open Image Viewer Previous Menu Lock Unlock Image File Press to Delete Image File 17 Image Viewer Delete Current File Cancel Delete ...

Page 36: ...d with assurance 18 Menu Settings Resolution Toggle between 1080p and 720p Loop Recording Choose to record videos in 1 3 or 5 minute intervals Contrast Adjusts the exposure of the capture image video up or down manually ...

Page 37: ...Mode Choose to record videos in 1 3 or 5 minute intervals G senor Choose collision detection sensitivity level Vehicle Formatting Reformat the micro SD card that is inserted in the dash camera WARNING Reformatting will erase all data on SD card ...

Page 38: ...ssurance Date Time Set Year Month Day Hour Minute Default Returns camera settings to default Parking Monitor Turns on and off G Sensor to power up the camera when it is in standby mode once it detects a force to start recording ...

Page 39: ...ith assurance Key Sound Turns on and off the audible cues when touching buttons on the touch screen Language Default is English but there are options to change to Spanish and French Motion Turns on and off motion detection ...

Page 40: ...40 Travel the road with assurance Version Displays latest firmware version name White text that says no SD lets you know how much available space you have on the micro SD card when there is one inserted ...

Page 41: ...cted file to the micro SD memory card 3 Insert the memory card with the downloaded file into the dash cam slot 4 Connect the device to a power source and turn it on 5 The indicator light will flash while the firmware file is being downloaded to the device 6 Upon completion of the process the device will reboot automatically 7 Check in the settings menu if the correct firmware version is displayed ...

Page 42: ... input voltage 12 24VDC Mini USB Connection for Power Storage temperature 4 F to 158 F 20 C to 70 C Operating temperature 14 F to 140 F 10 C to 60 C Batteries should not be disposed of in unsorted municipal waste but separately collected to facilitate the correct treatment and recycling of the substances they contain The recycling of batteries ensures the recovery of these valuable materials and p...

Page 43: ...Forward and Rear Dash Camera Instruction Manual ...

Reviews: