background image

1.Read instructions-

All the safety and operating instructions

should be read before the appliance is operated.

2.Retain Instructions-

The safety and operating instructions

should be retained for future reference.

3.Heed Warnings

-All warnings on the appliance and in the

operating instructions should be adhered to.

4.Follow Instructions-

All operating and use instructions

should be followed.

5.Cleaning-

Unplug TV/VCR from the wall outlet before

cleaning. Do not use liquid cleaners or aerosol cleaners. Use
a damp cloth for cleaning.

EXCEPTION:

A product that is meant for uninterrupted

service and, that for some specific reason, such as the possi-
bility of the loss of an authorization code for a CATV con-
verter, is not intended to be unplugged by the user for clean-
ing or any other purpose, may exclude the reference to
unplugging the appliance in the cleaning description other-
wise required in item 5.

6.Attachments-

Do not use attachments not recommended by

the TV/VCR manufacturer as they may cause hazards.

7.Water and Moisture-

Do not use this TV/VCR near water-

for example, near a bath tub, wash bowl, kitchen sink, or
laundry tub, in a wet basement, or near a swimming pool,
and the like.

8.Accessories-

Do not place this TV/VCR on an unstable cart,

stand, tripod, bracket, or table. The TV/VCR may fall, caus-
ing serious injury to someone, and serious damage to the
appliance. Use only with a cart, stand, tripod, bracket, or
table recommended by the manufacturer, or sold with the
TV/VCR. Any mounting of the
appliance should follow the manu-
facturer’s instructions and should
use a mounting accessory recom-
mended by the manufacturer. An
appliance and cart combination
should be moved with care.
Quick stops, excessive force, and
uneven surfaces may cause the
appliance and cart combination to
overturn.

AMEUBLES-

Cet appareil ne doit être

placé que sur un meuble (avec ou sans
roulettes) recommandé par le fabricant.
Si vous l’installez sur un meuble à
roulettes, déplacez les deux ensembles
avec précaution. Un arrêt brusque, l’u-
tilisation d’une force excessive et des surfaces irrégulières
risquent de déstabiliser l’ensemble et de le renverser.

9. Ventilation-

Slots and openings in the cabinet and the back

or bottom are provided for ventilation and to ensure reliable
operation of the TV/VCR and to protect it from overheat-
ing, and these openings must not be blocked or covered.
The openings should never be blocked by placing the
TV/VCR on a bed, sofa, rug, or other similar surface. This
TV/VCR should never be placed near or over a radiator or
heat register. This TV/VCR should not be placed in a built-
in installation such as a bookcase or rack unless proper
ventilation is provided or the manufacturer’s instructions
have been adhered to.

10.Power Sources-

This TV/VCR should be operated only

from the type of power source indicated on the marking
label. If you are not sure of the type of power supply to
your home, consult your appliance dealer or local power
company. For TV/VCRs intended to operate from battery
power, or other sources, refer to the operating instructions.

11.Grounding or Polarization-

This TV/VCR is equipped

with a polarized alternating-current line plug(a plug having
one blade wider than the other). This plug will fit into the
power outlet only one way. This is a safety feature. If you
are unable to insert the plug fully into the outlet, try revers-
ing the plug. If the plug should still fail to fit, contact your
electrician to replace your obsolete outlet. Do not defeat the
safety purpose of the polarized plug.

12.Power-Cord Protection

-Power-supply cords should be

routed so that they are not likely to be walked on or
pinched by items placed upon or against them, paying par-
ticular attention to cords at plugs, convenience receptacles,
and the point where they exit from the appliance.

- 2 -

EN

9I03

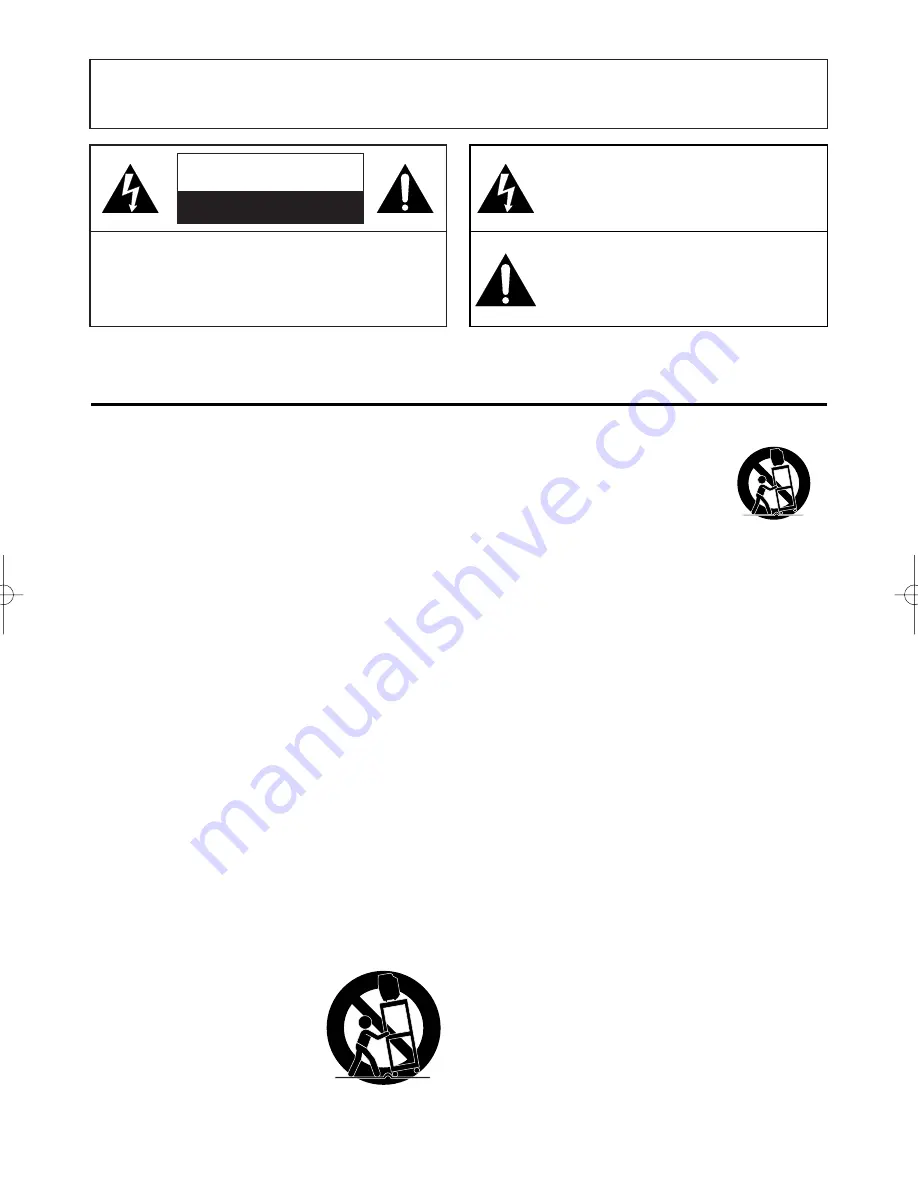
WARNING:

TO REDUCE THE RISK OF FIRE OR ELECTRIC SHOCK, DO NOT EXPOSE THIS APPLIANCE
TO RAIN OR MOISTURE.

CAUTION:

TO REDUCE THE RISK OF ELECTRIC

SHOCK, DO NOT REMOVE COVER (OR BACK).
NO USER SERVICEABLE PARTS INSIDE. REFER
SERVICING TO QUALIFIED SERVICE PERSON-
NEL.

CAUTION

RISK OF ELECTRIC SHOCK

DO NOT OPEN

THIS SYMBOL INDICATES THAT DAN-
GEROUS VOLTAGE CONSTITUTING A
RISK OF ELECTRIC SHOCK IS PRESENT
WITHIN THIS UNIT.

THIS SYMBOL INDICATES THAT THERE
ARE IMPORTANT OPERATING AND
MAINTENANCE INSTRUCTIONS IN THE
LITERATURE ACCOMPANYING THE
APPLIANCE.

The caution marking is located on the rear of the cabinet.

IMPORTANT SAFEGUARDS

PORTABLE CART WARNING

S3126A

SYMBOLE D'AVERTISSEMENT POUR 

LES COMPOSANTES

APPAREIL ET MEUBLE A ROULETTES

S3126A

Summary of Contents for 13 Inch SSC132

Page 1: ...ts the ENERGY STAR guidelines for energy efficiency ENERGY STAR is a U S registered mark If you need additional assistance for set up or operating after reading owner s manual please call TOLL FREE 1 800 968 3429 Please read before using this equipment INSTRUCCIONES EN ESPAÑOL INCLUIDAS This Owner s Manual is made of recycled paper ...

Page 2: ...cabinet and the back or bottom are provided for ventilation and to ensure reliable operation of the TV VCR and to protect it from overheat ing and these openings must not be blocked or covered The openings should never be blocked by placing the TV VCR on a bed sofa rug or other similar surface This TV VCR should never be placed near or over a radiator or heat register This TV VCR should not be pla...

Page 3: ...age Requiring Service Unplug this TV VCR from the wall outlet and refer servicing to qualified service per sonnel under the following conditions a When the power supply cord or plug is damaged or frayed b If liquid has been spilled or objects have fallen into the TV VCR c If the TV VCR has been exposed to rain or water d If the TV VCR does not operate normally by following the operating instructio...

Page 4: ...magnetic fields Avoid moving TV VCR to locations where temper ature differences are extreme Do not handle the power cord with wet hands Do not pull on the power cord when disconnecting it from an AC wall outlet Grasp it by the plug If by accident water is spilled on your unit unplug the power cord immediately and take the unit to an Authorized Service Center for servicing Do not put your fingers o...

Page 5: ... 11 CHANNEL SET UP AGAIN 12 DELETING OR ADDING CHANNEL 12 SELECTING THE LANGUAGE 13 DAYLIGHT SAVING TIME 13 C TV OPERATION 14 WATCHING A TV PROGRAM 14 GAME MODE 14 DEGAUSSING 14 PICTURE CONTROL 14 CLOSED CAPTION SYSTEM 15 V CHIP SET UP 15 FM MODE 17 C PLAYBACK 17 NORMAL PLAYBACK 17 AUTO REPEAT PLAYBACK 18 SEARCH 18 SLOW MOTION 19 RENTAL PLAYBACK 19 VERTICAL HOLD CONTROL 20 STILL PICTURE 20 TRACKIN...

Page 6: ... SLP mode will show a fairly clear picture Digital Auto Tracking DTR Automatically adjusts the tracking for each tape you play Rental play mode Improves playback picture quality from worn tapes such as rental tapes Auto repeat Allows you to repeat the playing of a tape indefinitely without pressing the PLAY button Time search Lets you set the TV VCR to advance the tape by entering the desired play...

Page 7: ...control 7 STOP button Press to stop the tape motion EJECT button Press in the Stop mode to remove tape from TV VCR L button Press to select setting modes from the on screen menu Press to enter digits when setting program for example setting clock or timer program 8 REW button Press to rewind the tape or to view the picture rapidly in reverse during playback mode Rewind Search s button Press to sel...

Page 8: ... 99 press this button first then press the last two digits To select channel 125 first press the 100 button then press 2 and 5 16 MENU button Press to display the main menu on the TV screen 17 DISPLAY button Display the counter or the cur rent channel number and current time on the TV screen See page 25 18 SPEED button Press to choose the desired recording speed SP SLP 19 T PROG CLEAR button Press...

Page 9: ...tdoor antenna NOTE The connection of an indoor antenna may not always give acceptable TV reception Note to CATV system installer This reminder is provided to call the CATV system installer s attention to Article 820 40 of the NEC that provides guidelines for proper grounding and in particular specifies that the cable ground shall be connect ed to the grounding system of the building as close to th...

Page 10: ... to point to AUTO PRESET Then press the F FWD B button The tuner scans and memorizes all active channels in your area NOTES The TV VCR distinguishes between standard TV channels and cable channels If you want to play or record a video tape BEFORE presetting the tuner you must press the MENU button on the remote control To preset the tuner again see CHANNEL SET UP AGAIN on page 12 The TV VCR may me...

Page 11: ...UP LANGUAGE ENGLISH CAPTION OFF ZERO RETURN TIME SEARCH INDEX SEARCH Set the clock accurately for proper automatic timer recording If the Public Broadcasting Station PBS is available in your area follow AUTO CLOCK SETTING If it is not follow MANUAL CLOCK SETTING AUTO CLOCK SETTING You can have the TV VCR set the clock automatical ly by using the Public Broadcasting Station PBS channel in your area...

Page 12: ...OCK SET MONTH DAY YEAR 0 5 0 7 TUE 2 0 0 2 HOUR MINUTE NOTE When unplugging the AC cord or if there is a power failure for more than 3 seconds you may have to reset the clock TO CHANGE CLOCK SETTING If you want to change the clock 1 Follow steps 1 and 2 2 Select where you want to change using the F FWD B or REW s button 3 Enter correct numbers using the PLAY K or STOP L button 4 Press the MENU but...

Page 13: ...LANGUAGE ENGLISH CAPTION OFF ZERO RETURN TIME SEARCH INDEX SEARCH CHANNEL SET UP B ADD DELETE CH TV AUTO PRESET 08 ADD DELETE DAYLIGHT SAVING TIME Select this feature and the TV VCR s clock automati cally will advance one hour in April then reverse one hour in October When Daylight Saving Time is ON the clock will change automatically as follows First Sunday of April At 2 AM the clock imme diately...

Page 14: ...cture controls BRIGHT CON TRAST COLOR TINT and SHARPNESS are preset to factory specifications Although they are usually the best you may need to make some further adjustments for a natural looking image NOTES Procedures must be followed within 5 seconds or the Picture Control mode will be cancelled When setting the Picture Control the Game mode will be cancelled Make sure TV VCR power must be turn...

Page 15: ...on Press the MENU but ton on the remote control to return to TV mode WHEN THE CLOSED CAPTION MODE IS ON The On Screen Display will disappear after 5 sec onds This is also true when the MUTE button is pressed and when the PAUSE STILL button is pressed while recording If there is a power failure of any kind the unit will retain its memory for this feature M E N U TIMER PROGRAMMING PICTURE CONTROL SE...

Page 16: ... 14 Unsuitable for children under 14 TV MA Mature audience only 4 Exit the V Chip setting mode Press the MENU button on the remote control to return to original mode TV Y7 BLOCK B FV BLOCK TV PG BLOCK B D BLOCK L BLOCK S BLOCK V BLOCK B TV Y VIEW TV Y7 VIEW TV G VIEW TV PG DLSV BLOCK TV 14 DLSV BLOCK TV MA LSV BLOCK MPAA RATING SET UP Make sure TV VCR power must be turned on 1 Select V CHIP SET UP...

Page 17: ...n the remote control The radio frequency appears on the TV screen 2 Select the radio frequency you want to receive Press the CHANNEL K or L button until your desired radio frequency appears FM 88 0 MHz NOTES FM mode is not available for model SRC22194 The radio frequency indication repeats to appear and disappear You can not record the FM radio wave broadcast ing If you receive a weak radio signal...

Page 18: ...MMING PICTURE CONTROL SETTING CLOCK CHANNEL SET UP USER S SET UP V CHIP SET UP LANGUAGE ENGLISH CAPTION OFF B ZERO RETURN TIME SEARCH INDEX SEARCH The TV VCR has an auto repeat function that allows you to repeat a tape indefinitely without touching the PLAY button ALL REPEAT Repeat playback from the beginning to the end of the tape BLANK REPEAT Repeat playback from the begin ning to a blank part o...

Page 19: ...e remote control to return to the TV mode 4 Start playback Press the PLAY button to start playback RENTAL PLAY B appears Once you select the Rental mode it stays in effect even after you turn off the TV VCR TO CANCEL THE RENTAL MODE Repeat steps 1 and 2 select OFF using the F FWD B or REW s button on the remote control Press the MENU button on the remote control to return to TV mode If there is a ...

Page 20: ... 5 seconds then disappear 2 Stop the recording by pressing the STOP button when recording is completed If you decide to record on the tape again cover the hole with plastic tape Tracking adjustment will be set automatically Digital Tracking function when you start play back However when playing pre recorded tapes or tapes recorded on units other than your own noise lines black and white streaks ma...

Page 21: ...away You can set 8 programs to record on specific days daily or weekly within a 1 year period In the example below the timer is being set to record DATE July 5th 2002 SETTING TIME from 7 30PM to 8 50PM CHANNEL CH61 TAPE SPEED SP Make sure If your TV VCR is connected to a cable or satellite box you must set the TV VCR to channel 3 or 4 to match the output channel of the box Clock is set to the corr...

Page 22: ...atch ing TV TIMER REC STANDBY starts flashing on the TV screen 2 minutes before the programmed start time TIMER PROGRAMMING CH DATE BEGIN END B 61 7 05 FRI 7 12P M TIMER PROGRAMMING CH DATE BEGIN END B 61 7 05 FRI 7 30P M TIMER PROGRAMMING CH DATE BEGIN END B 61 7 05 FRI 7 30P M 8 30P M TIMER PROGRAMMING CH DATE BEGIN END B 61 7 05 FRI 7 30P M 8 50P M TIMER PROGRAMMING CH DATE BEGIN END B 61 7 05 ...

Page 23: ...S SET UP Press the MENU button on the remote control Press the PLAY K or STOP L but ton to point to USER S SET UP Then press the F FWD B button M E N U TIMER PROGRAMMING PICTURE CONTROL SETTING CLOCK CHANNEL SET UP B USER S SET UP V CHIP SET UP LANGUAGE ENGLISH CAPTION OFF ZERO RETURN TIME SEARCH INDEX SEARCH 2 Set AUTO RETURN to ON Press the PLAY K or STOP L but ton to point to AUTO RETURN Press ...

Page 24: ... on the remote control until SLEEP TIMER appears To view the time left for sleep timer press the WAKE UP SLEEP button twice then press the MENU button on the remote control to exit the sleep timer setting SLEEP TIMER 2 00 WAKE UP ON OFF ON TIMER TV TAPE TV BTIME 12 00AM You can make copies of video tapes made by friends or relatives for your enjoyment Connect your TV VCR and a Source Playing VCR u...

Page 25: ...1 800 968 3429 to locate an Authorized Service Center ON SCREEN DISPLAY To check the Counter Clock and Channel number on the TV screen press the DISPLAY button on the remote control Each time you press the DISPLAY button on the remote control the TV screen will change as follows WHEN THE CLOSED CAPTION MODE IS OFF Counter mode After 5 seconds only the counter remains To clear it press the DISPLAY ...

Page 26: ...ng a copy of a video tape copy guard protection CLOSED CAPTION PROBLEM POSSIBLE REMEDY My TV VCR is showing captions You are watching a live broadcast and spelling errors made by the that are misspelled closed captioning production company may pass through uncorrected A prerecorded program will not show any misspelled words because of the normal time available for editing the captions My TV VCR wi...

Page 27: ...NATIONS If you subscribe to cable TV the channels are displayed as 1 125 Cable companies often designate channels with letters or letter number combinations Please check with your local cable company The following is a chart of common cable channel designations TV Display TV Display TV Display TV Display TV Display TV Display TV Display TV Display CATV channel TV Display W 80 W 81 W 82 W 83 W 84 W...

Page 28: ...PERACIÓN Y SUS FUNCIONES 28 CONEXIONES DE ANTENA CABLE 30 MODO DE ENTRADA EXTERNA 31 INSTALACIÓN DE LAS PILAS 31 PREPARACIÓN DE CANALES POR PRIMERA VEZ 31 AJUSTE DEL RELOJ 31 1 Toma de entrada de vídeo VIDEO Conéctela a la toma de salida de vídeo de su videocámara u otra videograbadora 2 Toma de entrada de audio AUDIO Conéctela a la toma de salida de audio de su equipo de audio videocámara u otra ...

Page 29: ...urante la reproducción 14 Compartimiento del videocasete 15 Botones numerados Púlselos para seleccionar los canales deseados para ver o grabar Para seleccionar canales del 1 al 9 pulse primero el botón 0 y luego el botón 1 a 9 Botón 100 Cuando seleccione canales de tele visión por cable cuyo número sea superior al 99 pulse primero este botón y luego pulse los dos últimos dígi tos Para seleccionar ...

Page 30: ...podrá 1 Utilizar el mando a distancia del televisor videograbado ra para seleccionar canales 2 Programar uno o más canales sin codificar para realizar la grabación automática con temporizador NOTA Con esta unidad SÓLO se podrá grabar y ver un mismo canal al mismo tiempo CABLE CON CONVERTIDOR DESCODIFICADOR O CONVERTIDOR DE EMISIONES VÍA SATÉLITE Si su servicio de televisión por cable le suministra...

Page 31: ...sí FECHA 7 de mayo de 2002 HORA 5 40 PM 1 Pulse el botón MENU en el mando a distancia Pulse el botón PLAY K o STOP L para indicar AJUSTE RELOJ Luego pulse el botón F FWD B 2 Pulse el botón PLAY K o STOP L para indicar AJUSTE MANUAL RELOJ Luego pulse el botón F FWD B 3 Pulse el botón PLAY K o STOP L hasta que aparezca el mes deseado Ejemplo Mayo 05 Luego pulse el botón F FWD B 4 Pulse el botón PLAY...

Page 32: ...ce commercial use such as hotel rental or office use of this product or damage which results from fire flood lightning or other acts of God THIS WARRANTY DOES NOT COVER PACKING MATERIALS ANY ACCESSORIES EXCEPT REMOTE CONTROL ANY COSMETIC PARTS COMPLETE ASSEMBLY PARTS DEMO OR FLOOR MODELS FUNAI CORP AND ITS REPRESENTATIVES OR AGENTS SHALL IN NO EVENT BE LIABLE FOR ANY GENERAL INDIRECT OR CONSEQUENT...

Reviews: