8
- Do not remove or alter grounding prong in any manner. In the event of a malfunction or breakdown, grounding
provides a path of least resistance for electrical shock.
SUPPLEMENTARY SAFETY REGULATIONS
(1) Avoid cutting nails. Inspect for and remove all nails from the work piece before operation.
(2) Before connecting the machine to the power source, make sure the blades are mounted according to the
operation regulations and all bolts are tightened securely.
(3) Be careful when installing and removing the blades as they are extremely sharp and could cause serious
injury if mishandled.
(4) Do not take out the chips of wood from the chips exhaust outlet with your fingers. The high speed rotating
blades will hurt you.
(5) Before planing the work piece, you must wait until the blades reach the maximum speed.
(6) Replace blades as a pair. Replace them of the same dimensions and weight or the function for planing and
cutting will be effected even invites the machine damaged.
(7) Keep the blades sharp, the dull blades will increase the damage of kickback.
(8) Secure the machine to the supporting surface, otherwise, the machine will tip over, slide, or walk on the
supporting surface.
(9) Do not make planing cut deeper than 2,8 mm.
(10)Do not perform planning operation on material shorter than 355 mm, narrower than 19 mm, or wider than
330 mm, or thinner than 13 mm.
(11) Do not leave the machine running when you are away.
(12) Before any adjusting for the machine, turn off the switch and power and wait for the blades to come to a
complete stop.
(13) Do not back the work toward the infeed table.
(14) Do not use the tool to cut rebate.
(15) Never use the machine without the appropriate guard in place and correctly adjusted.
(16) During operation, support the work piece and adequately at all time, maintain control of the work at all time.
(17) The effectiveness of the device for the prevention of kickback and the feed spindle should be regularly
inspected to ensure safety operation.
OPERATION REGULATIONS
CAUTION:
Make sure that the switch is in off position before adjusting the cutting depth, replacing or
adjusting the blades. Make sure the blade screws are securely tightened.
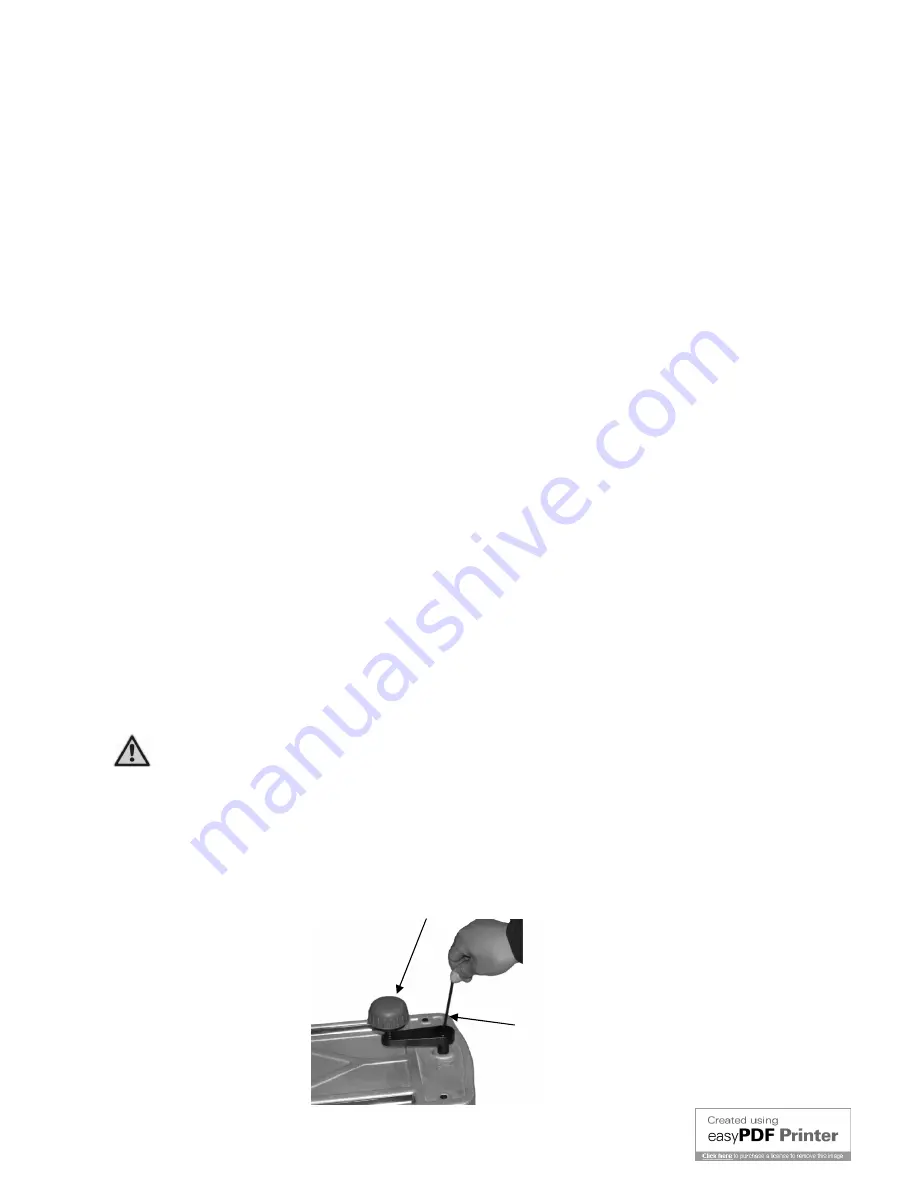
MOUNTING THE HANDLE
Take out handle, hex bolt, flat washer and hex wrench key from accessory box.
Press the handle assembly to shaft by hex wrench key with hex bolt and spring lock washer
Refer to Figure 5
Handle Assembly
Figure 5
Hex key
Summary of Contents for ST-330 TP
Page 13: ...13 PART DIAGRAM ...


