


888
Operating the
OutbackCam
The different modes, settings and features of the
OutbackCam
can be accessed via
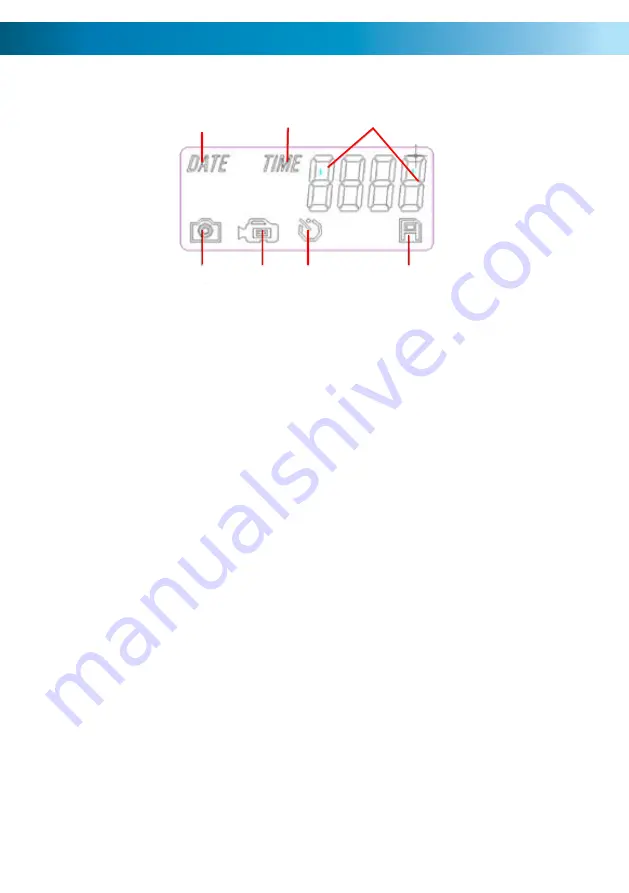
the built-in LCD screen. The menu looks something like this:
Setting up the
OutbackCam
The first time you turn on the
•
OutbackCam
, you’ll be taken directly to Setup
Mode. Here you’ll be able to configure the
OutbackCam
to operate as you’d
like for the duration of its installation.
To access the Setup Mode at any other time, simply press the SETUP button.
•
It may take approximately 10-20 seconds for the
OutbackCam
to enter Setup
Mode, slightly longer if it has to finish recording and saving any recordings
already underway.
To access other options to set, use the UP and DOWN buttons.
•
To select an option to edit, use the OK button.
•
To exit the setup mode, simply press the SETUP button.
•
If you want to change a setting, press OK. Then, use the UP and DOWN
•
buttons to change the value shown.
The order of options which can be set is as follows:
•
Date Setup
Time Setup
Still Image/Movie Recording Selection
Recording Delay Setup
Current Recording Count
Date Setup
When you have access to the Date Setup, the Date symbol will flash in the upper
left corner of the screen. The date is displayed in the format
MMDD
. Thus, the
second of March would be displayed as 0302, or the fifteenth of December as
1215.
Press UP and DOWN to change the selected value. Press OK to confirm.
•
Once you’ve entered the the Month and Day, then you’ll be able to select the
•
year. Again, enter the correct value and press OK to confirm. You’ll be taken
to the Time Setup screen.
Date
Time
Numerical
Display
Still Image
Movie
Recording
Record
Delay
SD Card


