6
6
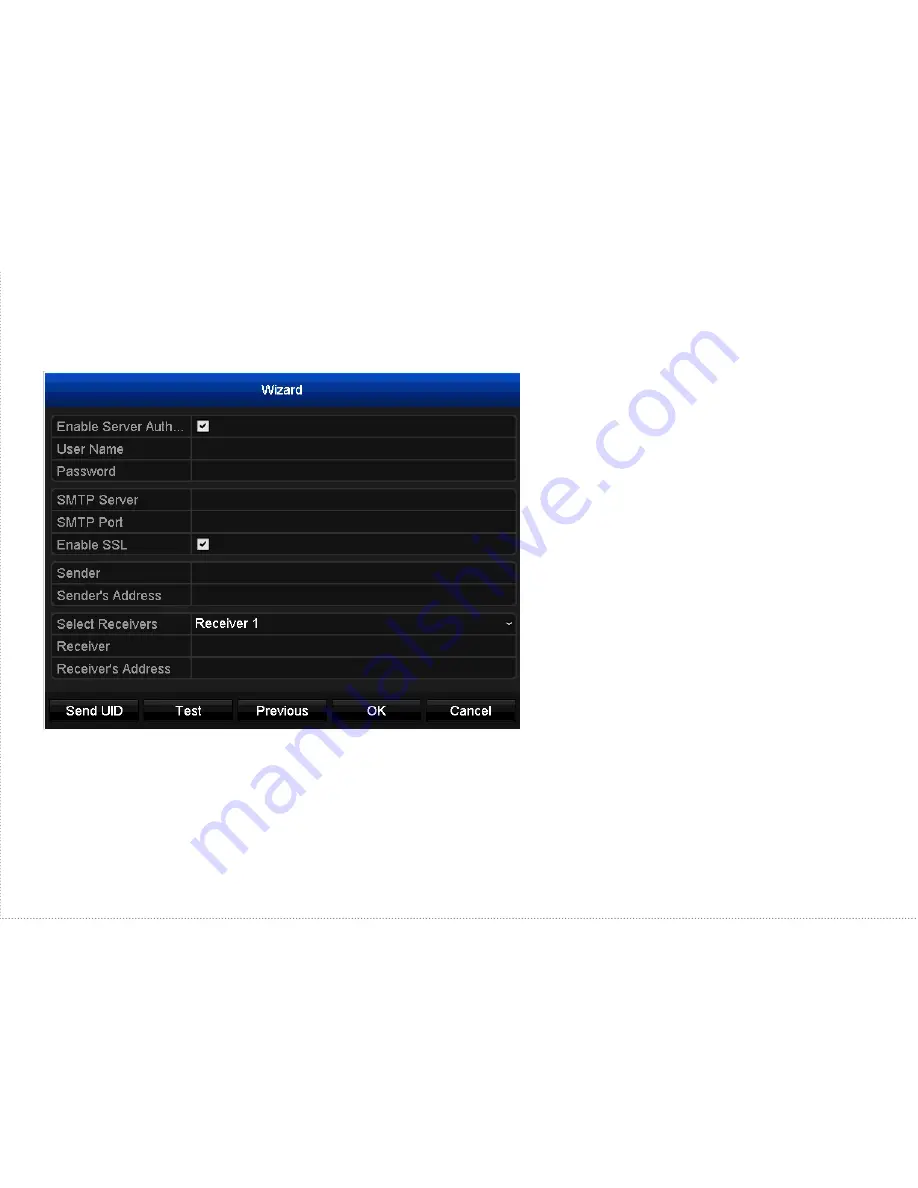
Configure Email Details
7
Ensure the email address where you want to receive email alerts is entered in the
Receiver’s
Address
box. Click
Test
to verify that the details entered are correct. After you’ve finished testing
your email, click
Send UID
to receive an email containing your DVR’s UID. The UID can be used to
access your DVR with SwannView Plus on your PC or mobile device.
Click
OK
to save the settings and complete the Wizard. Shortly, all of your connected cameras will
appear on your DVR Live View screen.
Sender’s email, eg. “[email protected]”
Sender’s email password
Enter “smtp.gmail.com”
Change to “465” for Gmail
Sender’s name. For example, “John’s DVR”
The Email address, eg. “[email protected]”
Recipient’s name. For example, your
name
Recipient’s email, eg. [email protected]
You can configure your email account
details so that the DVR can send you
email alerts when events occur. We
recommend using Gmail because it
works well with your DVR and it’s free!
If you don’t have a Gmail address, go
to www.gmail.com to create one and
then enter the various details here.


