12
Starting the DVR
Once the DVR has been connected to power it
will switch itself on automatically. The DVR takes
approximately 45 seconds to boot up, during which
time the image to the right will be displayed.
The default mode of the DVR is live-viewing mode. This is the mode which monitors the images coming
from your cameras in real-time, and allows you to configure your recording and channel options. The
DVR automatically starts in live-viewing mode, with multi-view enabled.
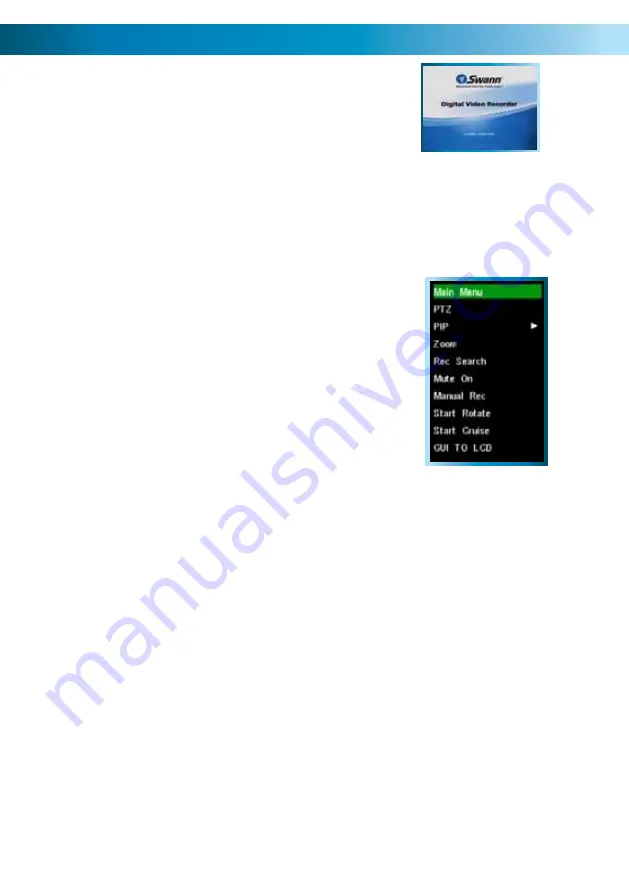
The first thing you’ll probably open is the pop-up menu. To access the pop-up menu, right-click
anywhere on the live-viewing screen, or press the MENU / ESC button on the front panel of the DVR,
or on the remote control. The pop-up menu lets you quickly access the following functions, which can
be selected by left-clicking the option you want:
Main Menu:
Opens the Main Menu of the DVR. See page 13.
PTZ:
Opens the Pan, Tilt, Zoom controls. The same function can
be accessed by pressing the PTZ button on the remote control
or front panel.
PIP (Picture In Picture):
Accesses a list of available PIP modes.
You can also access and cycle through these modes using the PIP
button on the remote control.
Rec Search:
Opens the Record Search menu, as detailed on page 18.
Mute On/Off:
Turns the audio on or off.
Manual Rec:
Instantly engages manual recording.
Start Rotate:
Initiates the automatic display rotation. Channels will be displayed sequentially on an
automatic loop. To set the rotate time, use the Video Setup menu (see page 29). If Rotate has already
been turned on, then this option will change to
Stop Rotate
, which will disable the rotate function.
Start Cruise:
This will initiate the cruise mode for PTZ devices. You’ll need to have configured your PTZ
device using the PTZ Configuration menu (page 23) and then programmed a series of preset points
(page 31) to use as a series of cruise movements.
GUI to LCD or GUI to TV:
Switches which output will display the menus. You can send the menus to
the monitor connected to the VGA output (referred to as the “LCD”) or through the composite video
output (referred to as the “TV”). The actual device you use doesn’t matter (so an LCD TV connected to
the main video output would still be a “TV”, or a CRT display connected to the VGA is still an “LCD”).
Lock
(only appears when enabled - see page 31)
:
Locks the DVR’s user interface. Unlocking the
DVR requires the correct passcode.


