background image

DVR4NET - 

PLUS

4 Camera Digital Video Recorder

DIY Security Kit

2 Real & 2 Imitation Cameras 
Security Monitoring System

CCTV Professional 4 Camera Pack


Professional Security Camera

Night Hawk

Wireless Outdoor Camera

Microcam II

Wireless Security Camera

Imitation Dome Cam

Imitation Security Camera

AV Power Cable - 18m/60ft

Camera Accessory

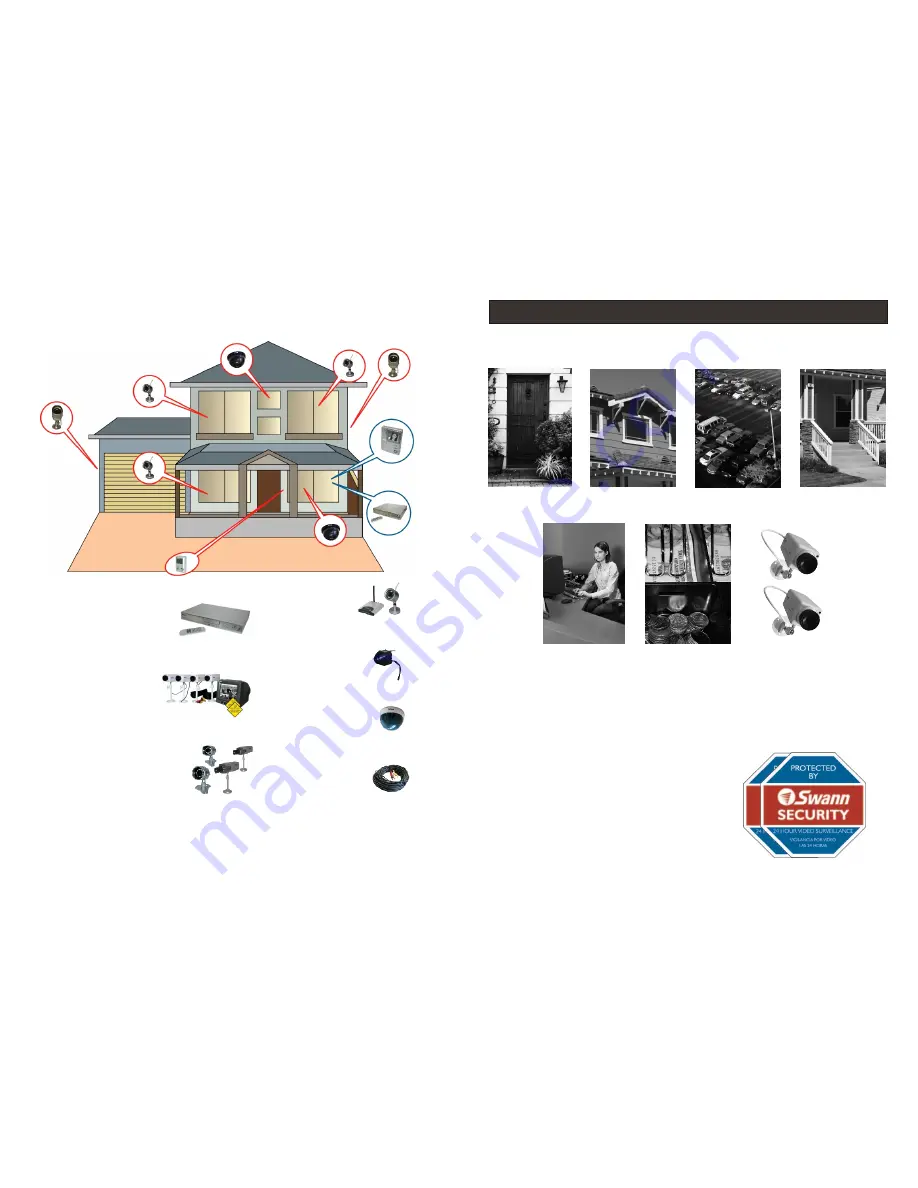
You should position your cameras to cover the areas most exposed to risk. 
See our suggestions below for some ideas:

Where to Place The Security Stickers:

1. On your front window
2. On side windows
3. Near entrance points - doors, gates
4. Next to a dummy camera mounted outside
5. On the front counter
6. On the cash register
7. Next to an obvious camera

1. Doorways

5. Reception
    areas

6. Cash 
    register

7. Mix 
    dummies
    & real 
    cameras

2. Windows

3. Car Parks

4. Verandahs

Tips for locating your camera

** Avoid this unit from moist, damp environment or other wet weather conditions.
Please visit www.swann.com.au for our full camera range.

Summary of Contents for 4 CCTV Cameras Security Monitoring System

Page 1: ...l purchaser of the only and is not transferrable to any third party Unauthorised end user or third party modifications to any component or evidence of misuse or abuse of the device will render all warranties void product The end user is responsible for all shipping costs incurred when product product Help Desk Support Details Warranty Information www swannsecurity com If this device does not work ...

Page 2: ...cover the areas most exposed to risk See our suggestions below for some ideas Where to Place The Security Stickers 1 On your front window 2 On side windows 3 Near entrance points doors gates 4 Next to a dummy camera mounted outside 5 On the front counter 6 On the cash register 7 Next to an obvious camera 1 Doorways 5 Reception areas 6 Cash register 7 Mix dummies real cameras 2 Windows 3 Car Parks ...

Page 3: ...ry re adjust focus by rotating the lens until image is clear Image is too Bright or too Dark Adjust the Brightness or Contrast knobs on the back of the monitor until the image is clear Flicking Image Adjust the V Hold knob on the back of the monitor until the image is stable Image not Switching Ensure the Switching Mode button is set to AUTO you can also rotate the Dwell Time knob to the shorter t...

Page 4: ...sh this button to select the switching mode between cameras Automatic AUTO or Manual MANU Dwell Time Rotate this knob to change the delay time switching between cameras only available in AUTO mode Volume Rotate this knob to adjust the volume Connect the Cameras to Your Monitor Rear View Power Adaptor Monitor Camera Mini DIN Plug DC plug These step by step instructions are provided for you to enabl...

Reviews: