


Installation
CAUTION: Before connecting the power and switching the monitor ON make sure all cameras are con-
nected properly.
1.
Locate the area you would like to place your camera. Please note
that you have a maximum distance of 60ft supplied with this unit.
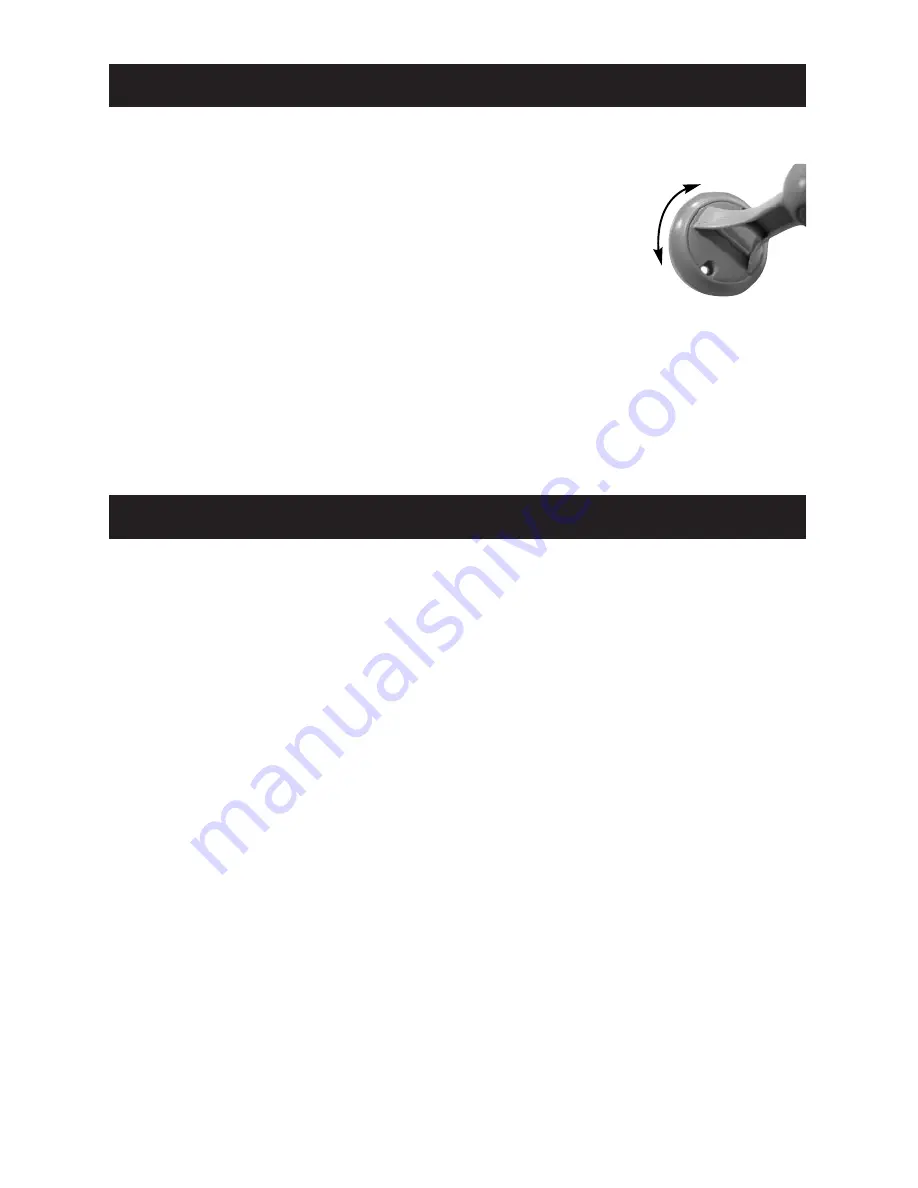
2.
You will have to rotate the camera bracket to uncover the screw
insertion areas. Install the camera accordingly.
Note
: the camera can operate standing alone but screws will provide
more support.
(Picture on right)
3. Using DIN Connector plug one end of the supplied 60' cable to the back of the
camera and the other end to the back of the monitor.
4. You can also use the supplied BNC to RCA connector to convert the BNC jack to RCA. This way
you can plug in your camcorder or any other video device to the monitor. This connection is for
VIDEO only, no audio.
CAUTION: Do NOT use CH 1-4 and VIDEO 1-4 INPUTS at the same time. You must only use either
DIN or BNC jacks. Using both inputs at the same time may damage the unit.
5. This system can also be connected to another monitor, VCR or TV using the the VIDEO and AUDIO
OUT jacks. Simply slip on the BNC connector and using any standard RCA cable (not supplied)
connect it to VIDEO/AUDIO IN on another system.
How To Operate:
1.
After all cameras are connected, pressing the POWER button will turn the system on (LED should
light up). Although the system is turned on the monitor will remain off until you press any of the
four camera buttons (C1 - C4)
2.
After turning the unit on. Pressing C1 - C4 will switch the monitor to the corresponding camera.
3.
Press the AUTO button to have the monitor automatically switch between all cameras. This system
supports up to 4 cameras at one time. If you only have 2 cameras connected the monitor will skip
unused channels and will not display a grey screen.
4.
A green LED light will light up for all unused channel. Example: if you have a camera connected
to C1 and C2, LED above C3 and C4 will be green.
5.
AUTO switching between cameras. Simply press the TIME button and you will notice a
RED light flashing above the C1-4, TALK button. Pressing the TIME button again will let you choose
the time intervals of what the monitor will use to switch between each camera. There are five
pre-set timers: 2, 5, 10, 15 and 20 seconds.
6.
After choosing your desired time sequence press the AUTO button to turn auto switching ON.
7.
You can adjust the volume output for the monitor by sliding the VOLUME knob to the right. If the
cameras are too close to the monitor or any object you may experience high pitch noise.
8.
If your screen appears to be flickering or is too bright/dark try adjusting the corresponding knobs
found inside the flap on the left hand side of the monitor. To open the flap simply press where
marked to do so. (FIG-1)
w w w . s v a t . c o m
5


