Chapter 6: Advanced Chassis Setup
6-7
Note:
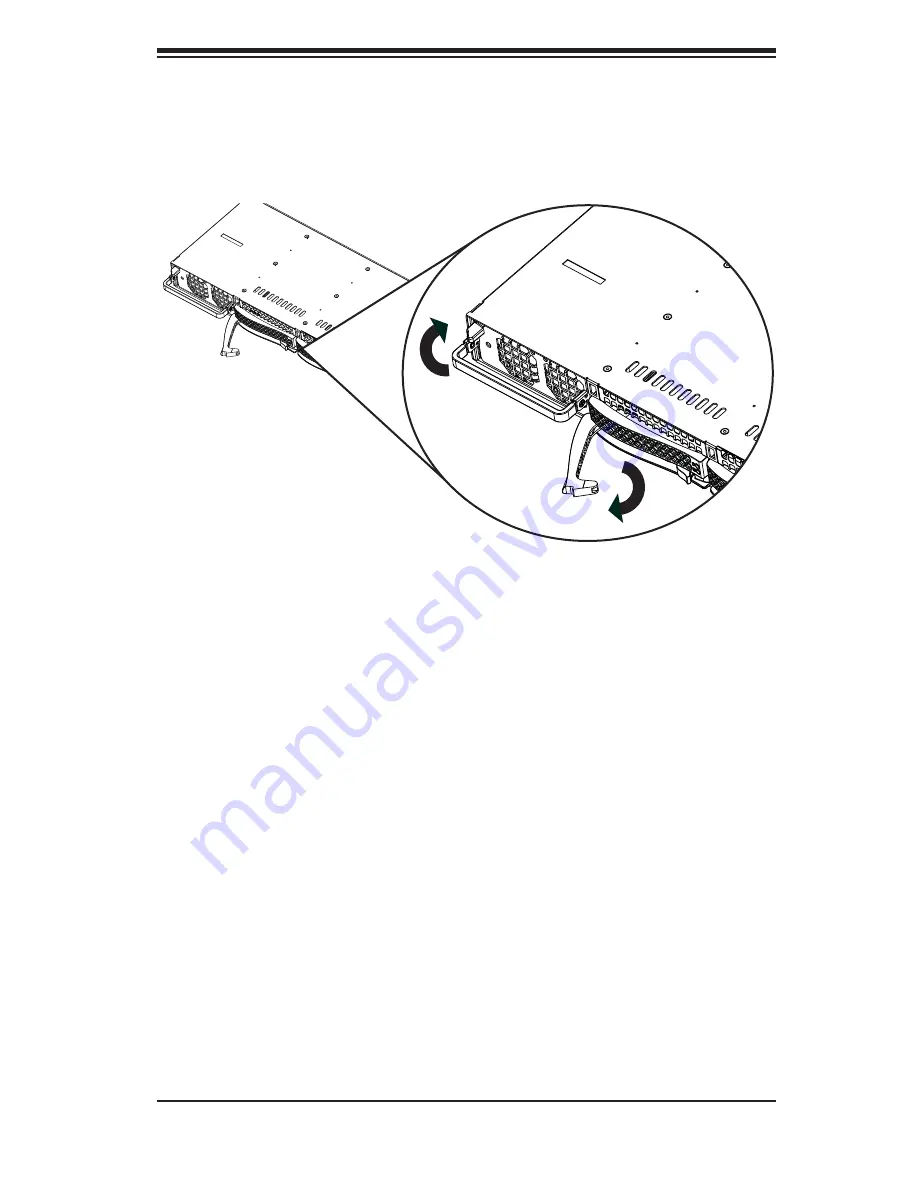
When installing the hard drive carrier that is next to the power supply, the
power supply handle must be lifted before extending the hard drive carrier handle,
or before inserting the hard drive carrier into the drive bay.
Figure 6-5. Installing/Removing the Carrier Next to the Power Supply
Peripheral Drive Installation
Installing or Replacing a Peripheral Drive
Unplug the main power cord to the chassis.
1.
Unplug the power and data cables from the motherboard and/or backplane.
2.
If you are adding a new drive: Remove the dummy tray from the drive bay
3.
The mini-bezel can be removed by pulling out the hard drive beneath the
drive bay, then pulling the mini-bezel forward.
If you are replacing a drive: Locate the locking tab at the rear (left hand side
when viewed from the front) of the peripheral drive. Push the tab toward the
drive and push the drive unit out the front of the chassis.
Insert the new drive unit in the slot until the tab locks in place.
4.
Reconnect the data and power cables.
5.
Replace the chassis cover (replace the server in the rack, if necessary) and
6.
power up the system.
Summary of Contents for SUPERO SUPERSERVER 6016T-GIBQF
Page 5: ...v Preface Notes...
Page 30: ...3 4 SUPERSERVER 6016T GTF GIBXF GIQXF User s Manual Notes...
Page 56: ...5 22 SUPERSERVER 6016T GTF GIBXF GIBQF User s Manual Notes...
Page 66: ...6 10 SUPERSERVER 6016T GTF GIBXF GIBQF User s Manual Notes...
Page 94: ...7 28 SUPERSERVER 6016T GTF GIBXF GIBQF User s Manual Notes...
Page 96: ...A 2 SUPERSERVER 6016T GTF GIBXF GIQXF User s Manual Notes...


