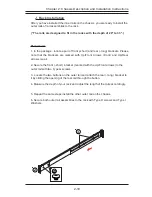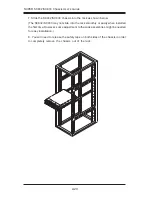
2-13
Chapter 2: Chassis Description and Installation Instructions
Procedures
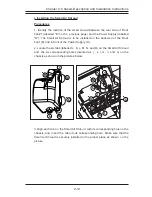
2. Locate the six tabs (labelled J, K, L, M, N, and O) on the Small Air Shroud
and the six corresponding holes (marked as j, k, l, m, n, and o) on the
chassis as shown in the pictures below.
I. Installing the Small Air Shroud
3.Align each tab on the Small Air Shroud with its corresponding hole on the
chassis, and insert the tab into its corresponding hole. Make sure that the
Small Air Shroud is securely installed in the proper place as shown on the
picture.
J
K
L
M
N
O
j
k
l
m
n
o
1. Identify the location of the small shroud between the rear side of Front
Fan#1 (labelled "E" on the previous page) and the Power Supply (labelled
"D"). The Small Air Shroud is to be installed on the back wall of the Front
Fan1(E) and in front of the Power Supply (D).
J
K
N
O


