background image

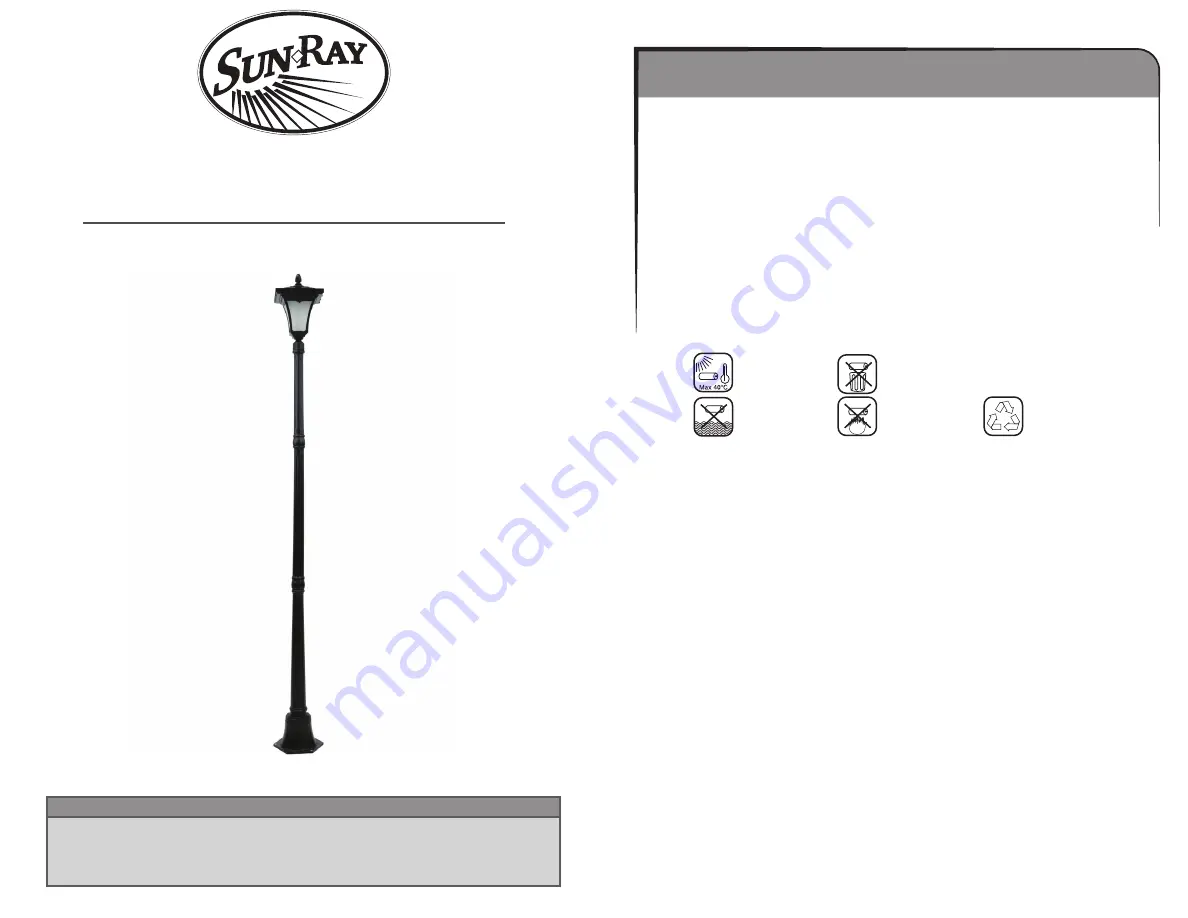
Vittoria Flickering Solar Lamp Post

Sku: 302074

Please keep this instruction manual for future reference

Read the instructions and precautions before use of this product

For warranty information, please refer to the back page of 

this instruction manual.

Clean any dirt and debris from the solar panels, the panels cannont recharge if the 

light is obstructed. Use a soft cloth to clean the panels. Do not use abrasives or 

chemicals that might scrathc or damage the UV coating. 

In a region where snow and ice are likely, and the light assembly is covered with 

snow for an exteded period of time the batteries will requite recharge for at least 8 

hours. 

Recycling

Please dispose of batteries properly. Consult your local telephone listing for a 

battery recycling ceneter in your area. 

Care Instructions

Recycling

Ambient temperature 

maximal 40oC (105oF)

Protect batteries

against heat and fire

risk of explosion

Do not dispose of

batteries in 

household waste

Do not throw 

batteries into water!

Summary of Contents for Vittoria 302074

Page 1: ...OR ACCIDENT ARE NOT COVERED BY THIS LIMITED WARRANTY This warranty does not apply to damage heat induced coloration changes scratching or alteration due to normal use or Additional Limitations THIS LIMITED WARRANTY DOES NOT APPLY TO ACCESSORY OR CONSUMABLE ITEMS RELATED TO THIS PRODUCT ALL IMPLIED WARRANTIES SHALL BE LIMITED IN DURATION TO ONE 1 YEAR FROM DATE OF PURCHASE IN NO EVENT SHALL SELLER ...

Page 2: ...s Do not use abrasives or chemicals that might scrathc or damage the UV coating In a region where snow and ice are likely and the light assembly is covered with snow for an exteded period of time the batteries will requite recharge for at least 8 hours Recycling Please dispose of batteries properly Consult your local telephone listing for a battery recycling ceneter in your area Care Instructions ...

Page 3: ... Hardware Contents A B C D E F K L G H I J K L Lantern Body Base Upper Post Middle Post J Bolts Hex Nut Accorn Nut Lantern Screws Base Screws Mounting Plate Lower Post Lantern Top x1 x1 x1 x1 x3 x2 x1 x3 x3 x2 x1 x1 F ...

Page 4: ...ls Attach lower lamp post E to lamp post base B using screws K in 3 places Place middle post D on the lower post E and twist clockwise to secure Place upper post C on the middle post D and twist clockwise to secure Place the completed lantern assembly A onto the upper lamp ost C and twist clock wise to secure Remove the screws from the top of the lantern housing A as shown Carefully Lift the top o...

Reviews: