


3
Back View:
1.3
Software
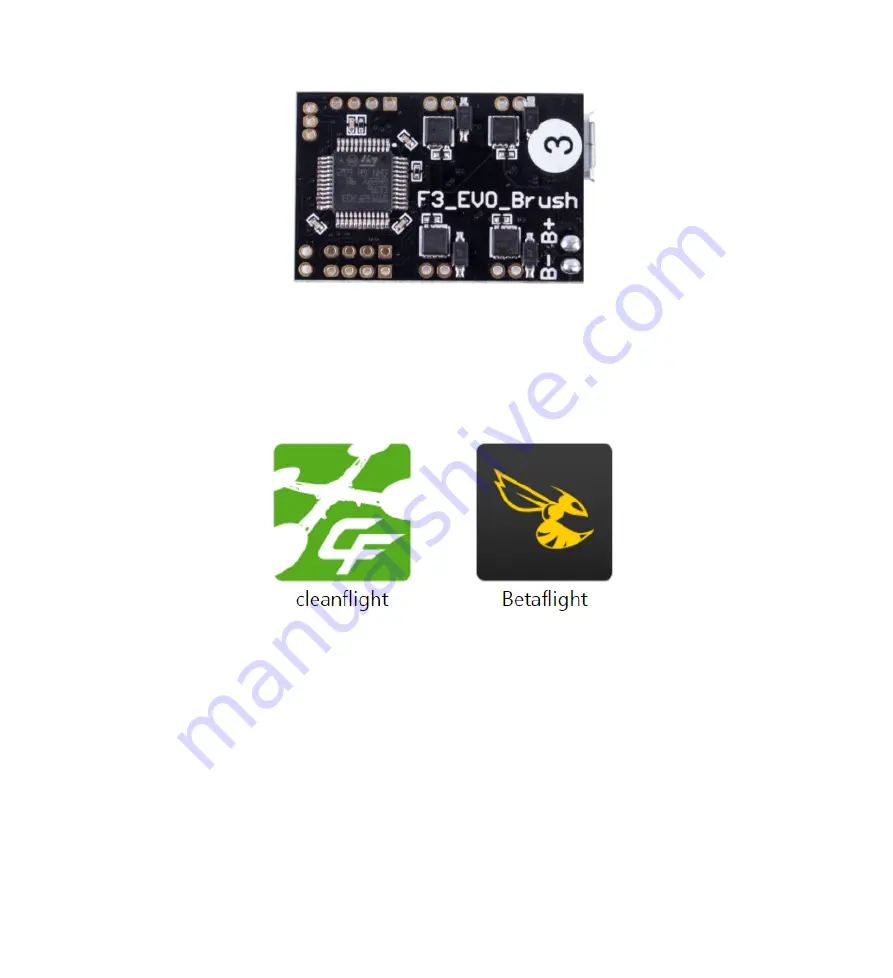
The
F3_EVO_Brush
runs the
Cleanflight
and
Betaflight
flight control software which has a
community with a growing number of friendly developers and users. Being open-source means
that you can also contribute to the system.
Note: Here we use firmware Betaflight, and the software debugging operation above is based
on Betaflight. If you prefer Cleanflight, please refer to the operation in Chapter 4. Cleanflight.
SunFounder


